Bathroom Before and After
IT’S FINALLY DONE!!! Whew. It’s true what they say; take your renovation timeline, then double it. We never could have imaged how much work would go into this bathroom makeover. Are we crazy for exhausting ourselves for 6 weeks on a rental bathroom? Oh my gosh, yes, but as I tell my design clients, it’s always worth it in the end. Even if you have the life sucked out of each and every pore of your body during that time, you’ll be glad you did it.
After

Andy and I do a lot of design-work in our home ourselves, and this room was no exception. We laid our hands on every grimy part of this bathroom. Have you ever removed a toilet? Gross.

Before
To fully appreciate the finished result, you must see the before. To see details of each step, please visit my story highlights on my instagram page. I’m just covering the basics and features in this post, so we can all keep our sanity.
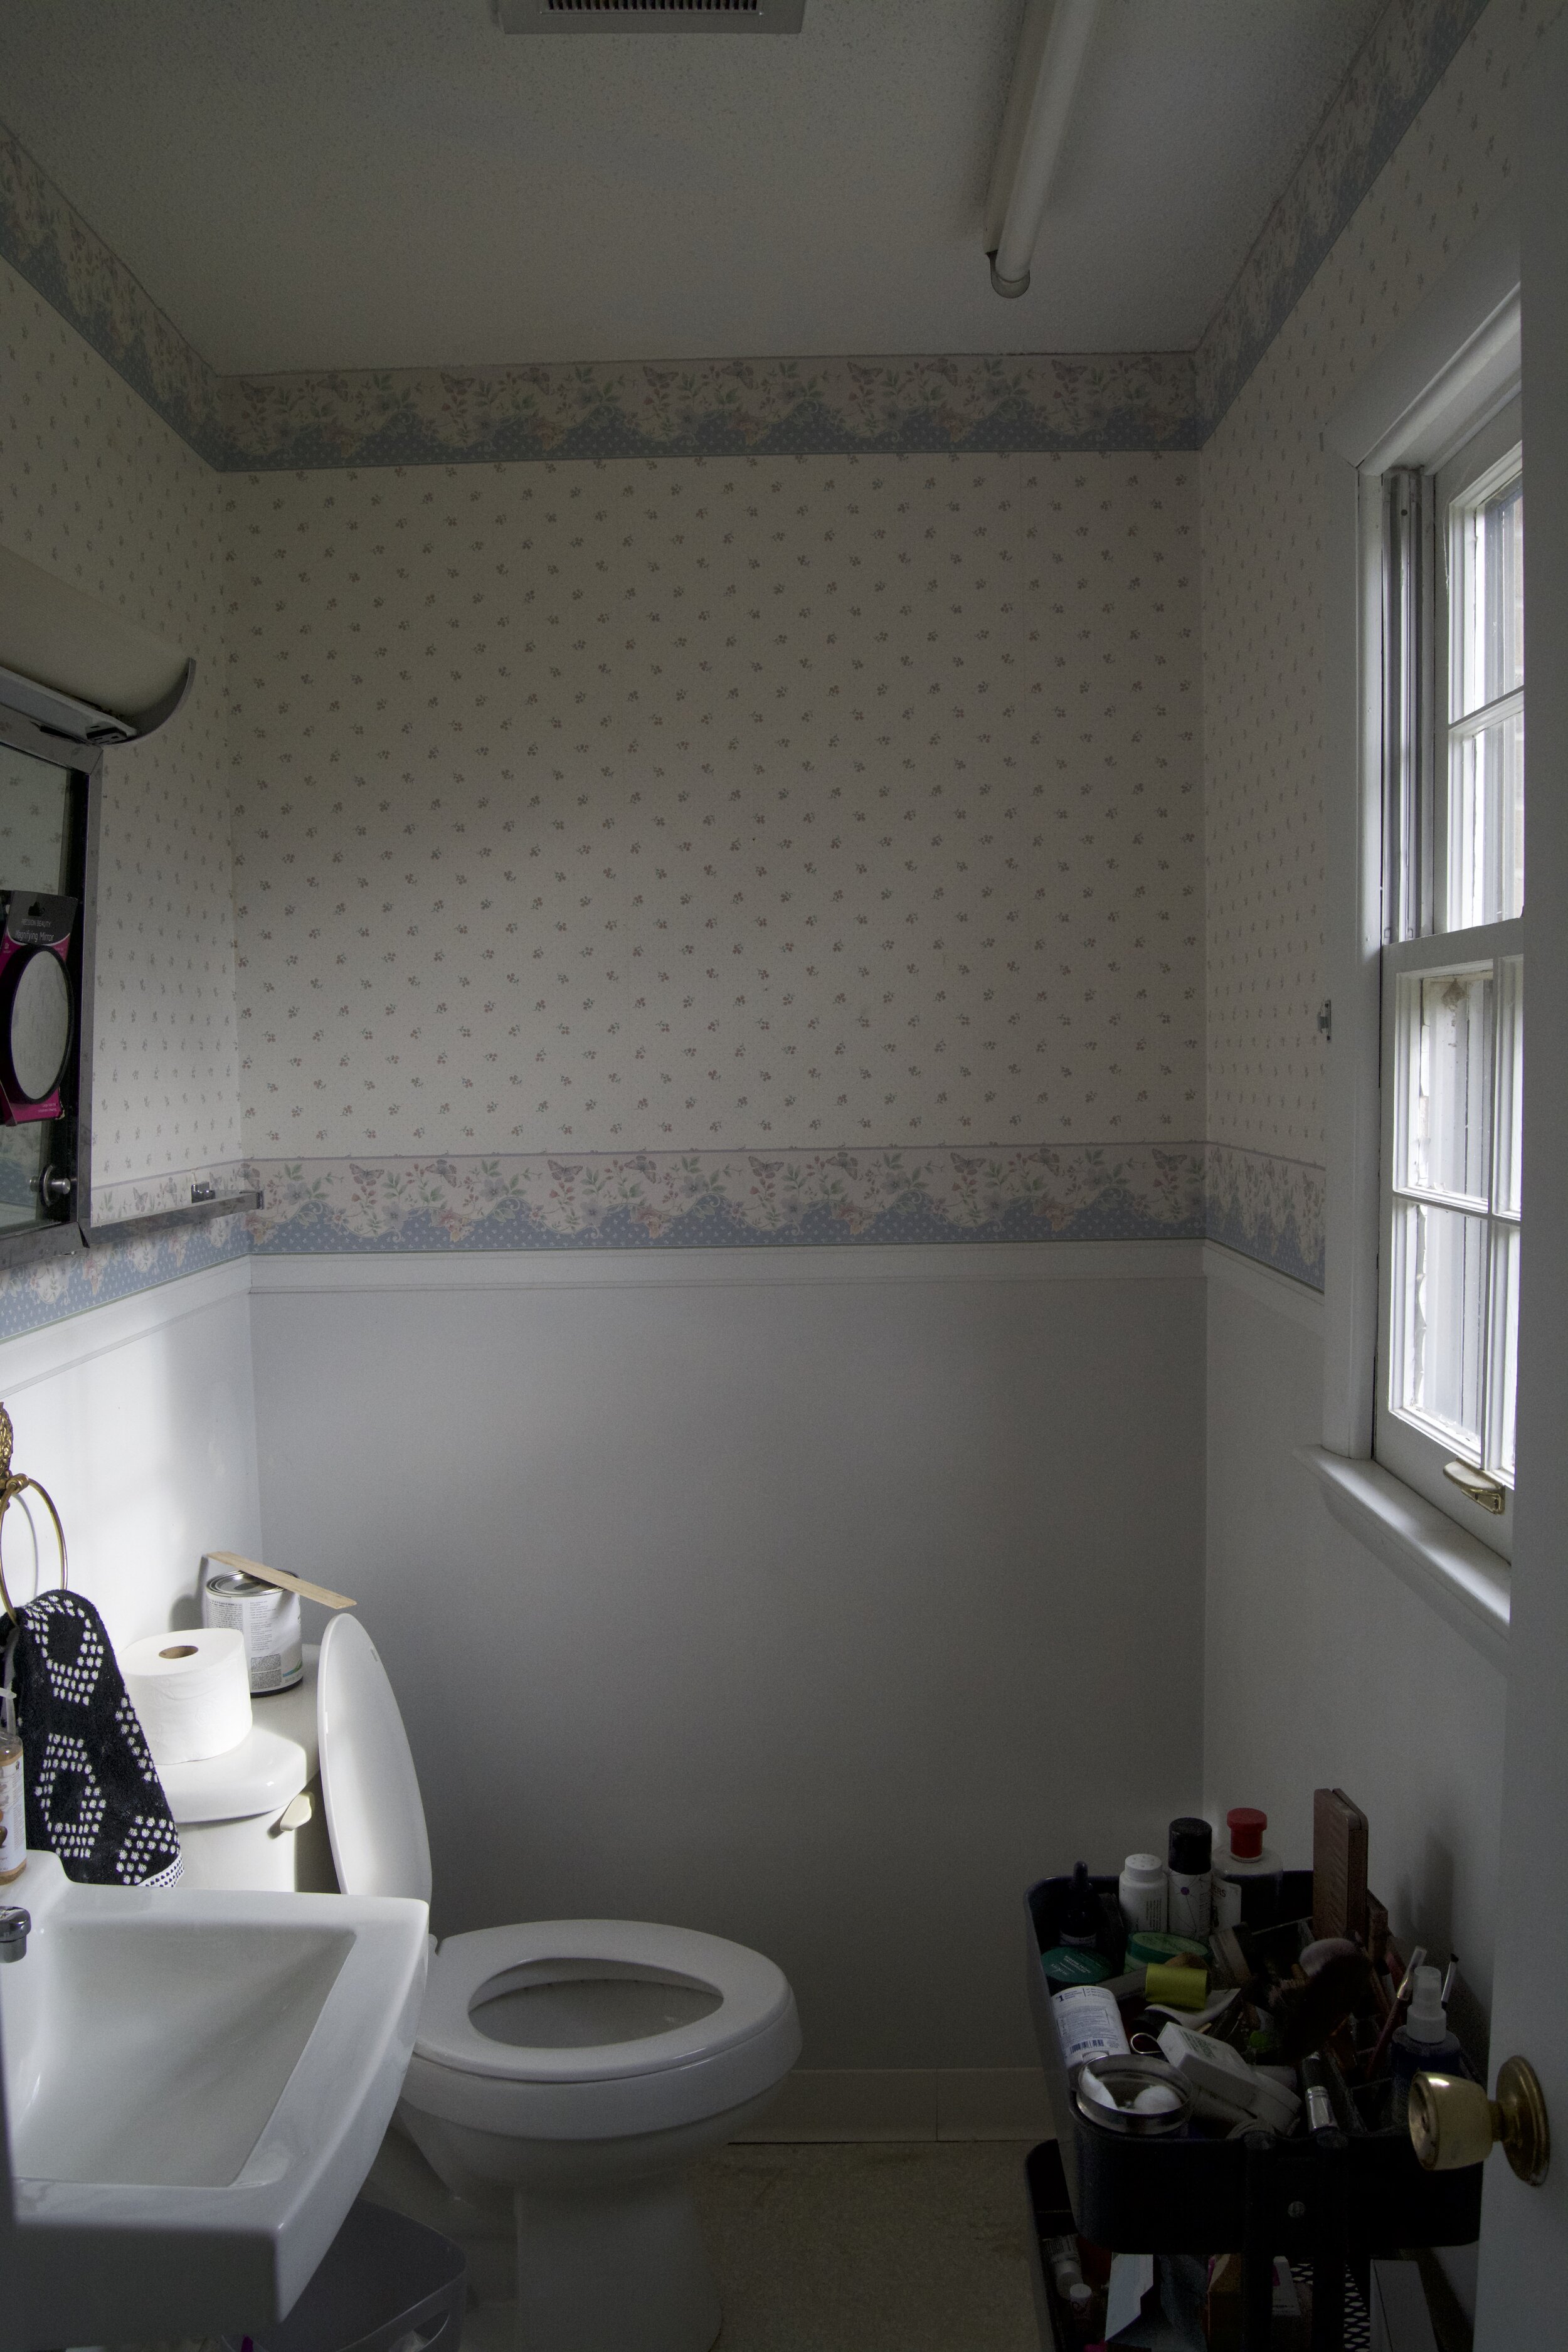
Hey, the 90s called, and they want their wallpaper with country blue border back. Only, they can’t have it back, BECAUSE IT WON’T COME OFF. I mean, maybe it would, but not with my effort. More on that later.

A combination light/storage/mirror sounds like a good idea, does’t it? Like…how practical! REPEAT AFTER ME: I will not choose practical over good design. Whew. Alright, we can all move on.

Is that a dirty floor you may ask? No, that’s just decades of mystery stains. MYSTERY STAINS!!!

Oh, and whoever installed this penetentury-grade sink did an outstanding job. I mean…if you are into loose, PVC pipes secured only by a huge glob of spackle.

Whoever invented the first chrome faucet clearly never cleaned a bathroom.

Excuse me, my eye is twitching due to this florescent tube on my ceiling. Seriously, why would a room this small need this much wattage?

This post contains affiliate links, which means I make a small commission at no extra cost to you. See my full disclosure here.
Process
Alright, so how did we get from this to the finished result? Some of what I am going to share with you may shock you. You may say, no…no…no, no, no. That is not the proper way. That can’t be done. Remember, this is a rental, so we cut corners everywhere we could, and STILL had our plates full weekend after weekend.
I knew the sink had potential, but not with all of those white pipes and chrome fixtures. Since the budget for this renovation was small, I decided to rain down on this mess of PVC with some gold spray paint. I prayed to the goddesses it would match the rest of our brass fixtures. Turns out, Rust-oleum ‘Vintage Gold’ was nearly an exact match! Since we did this before recovering the walls, there was no need to worry about making a mess.

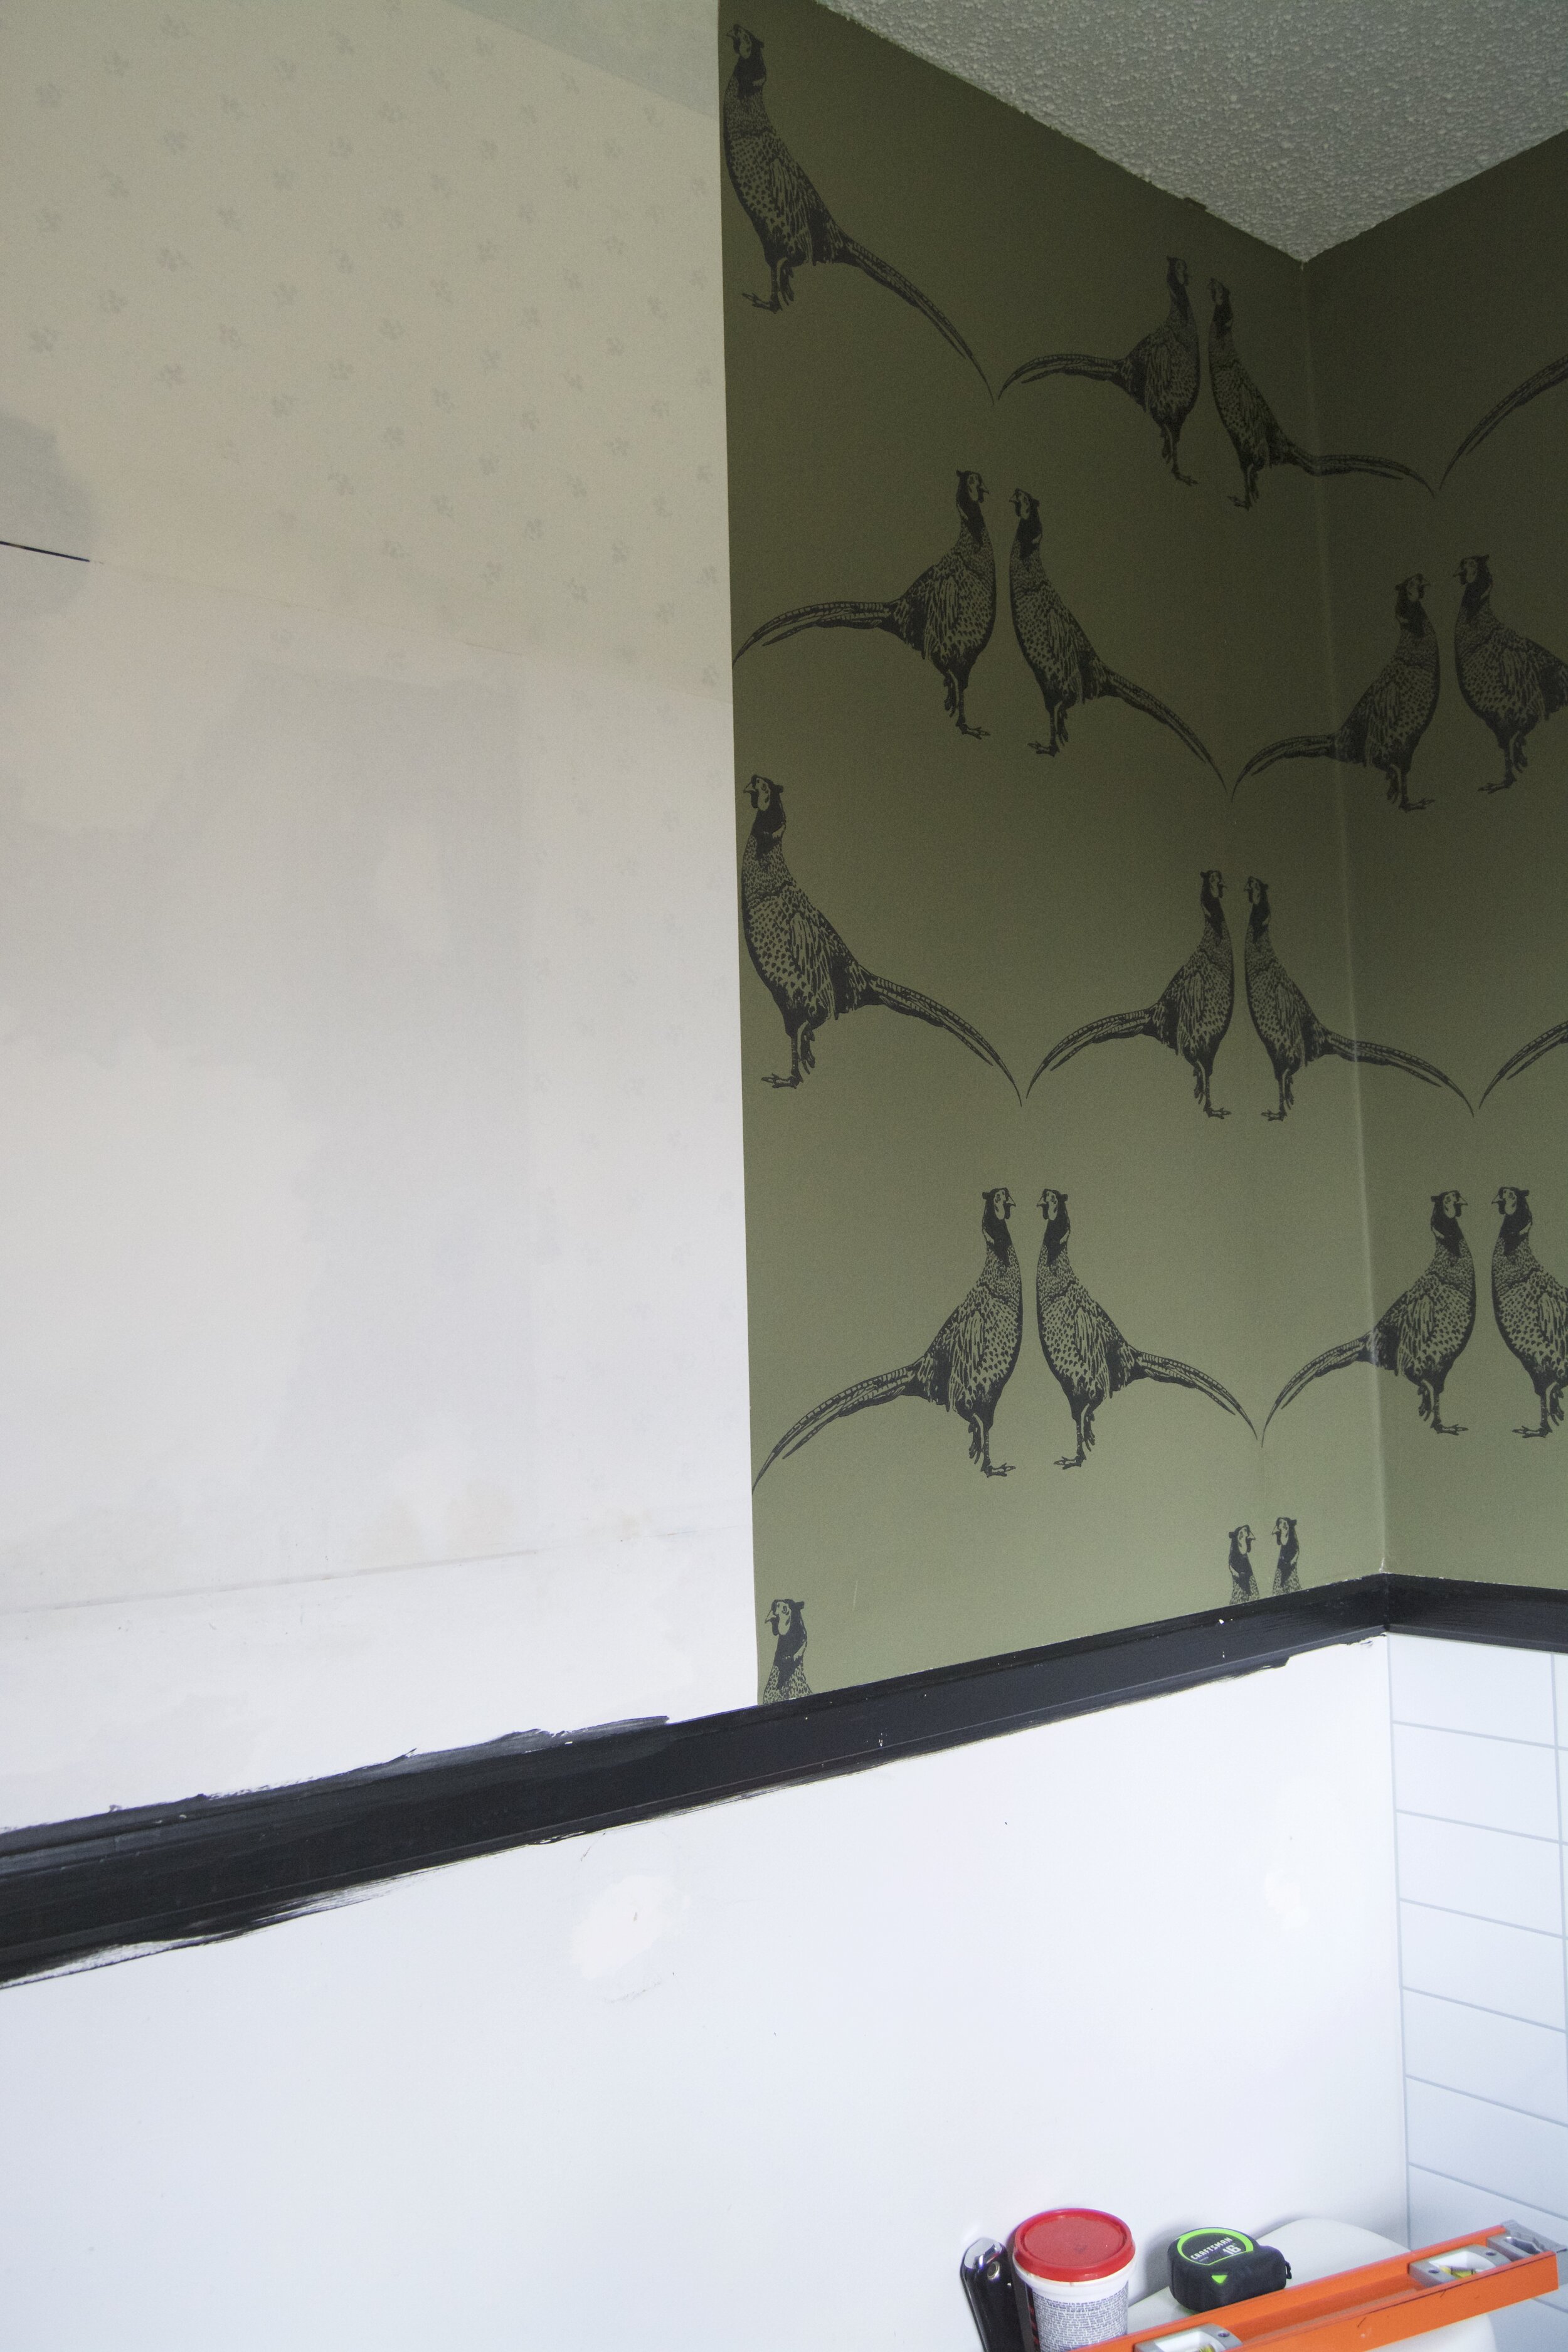
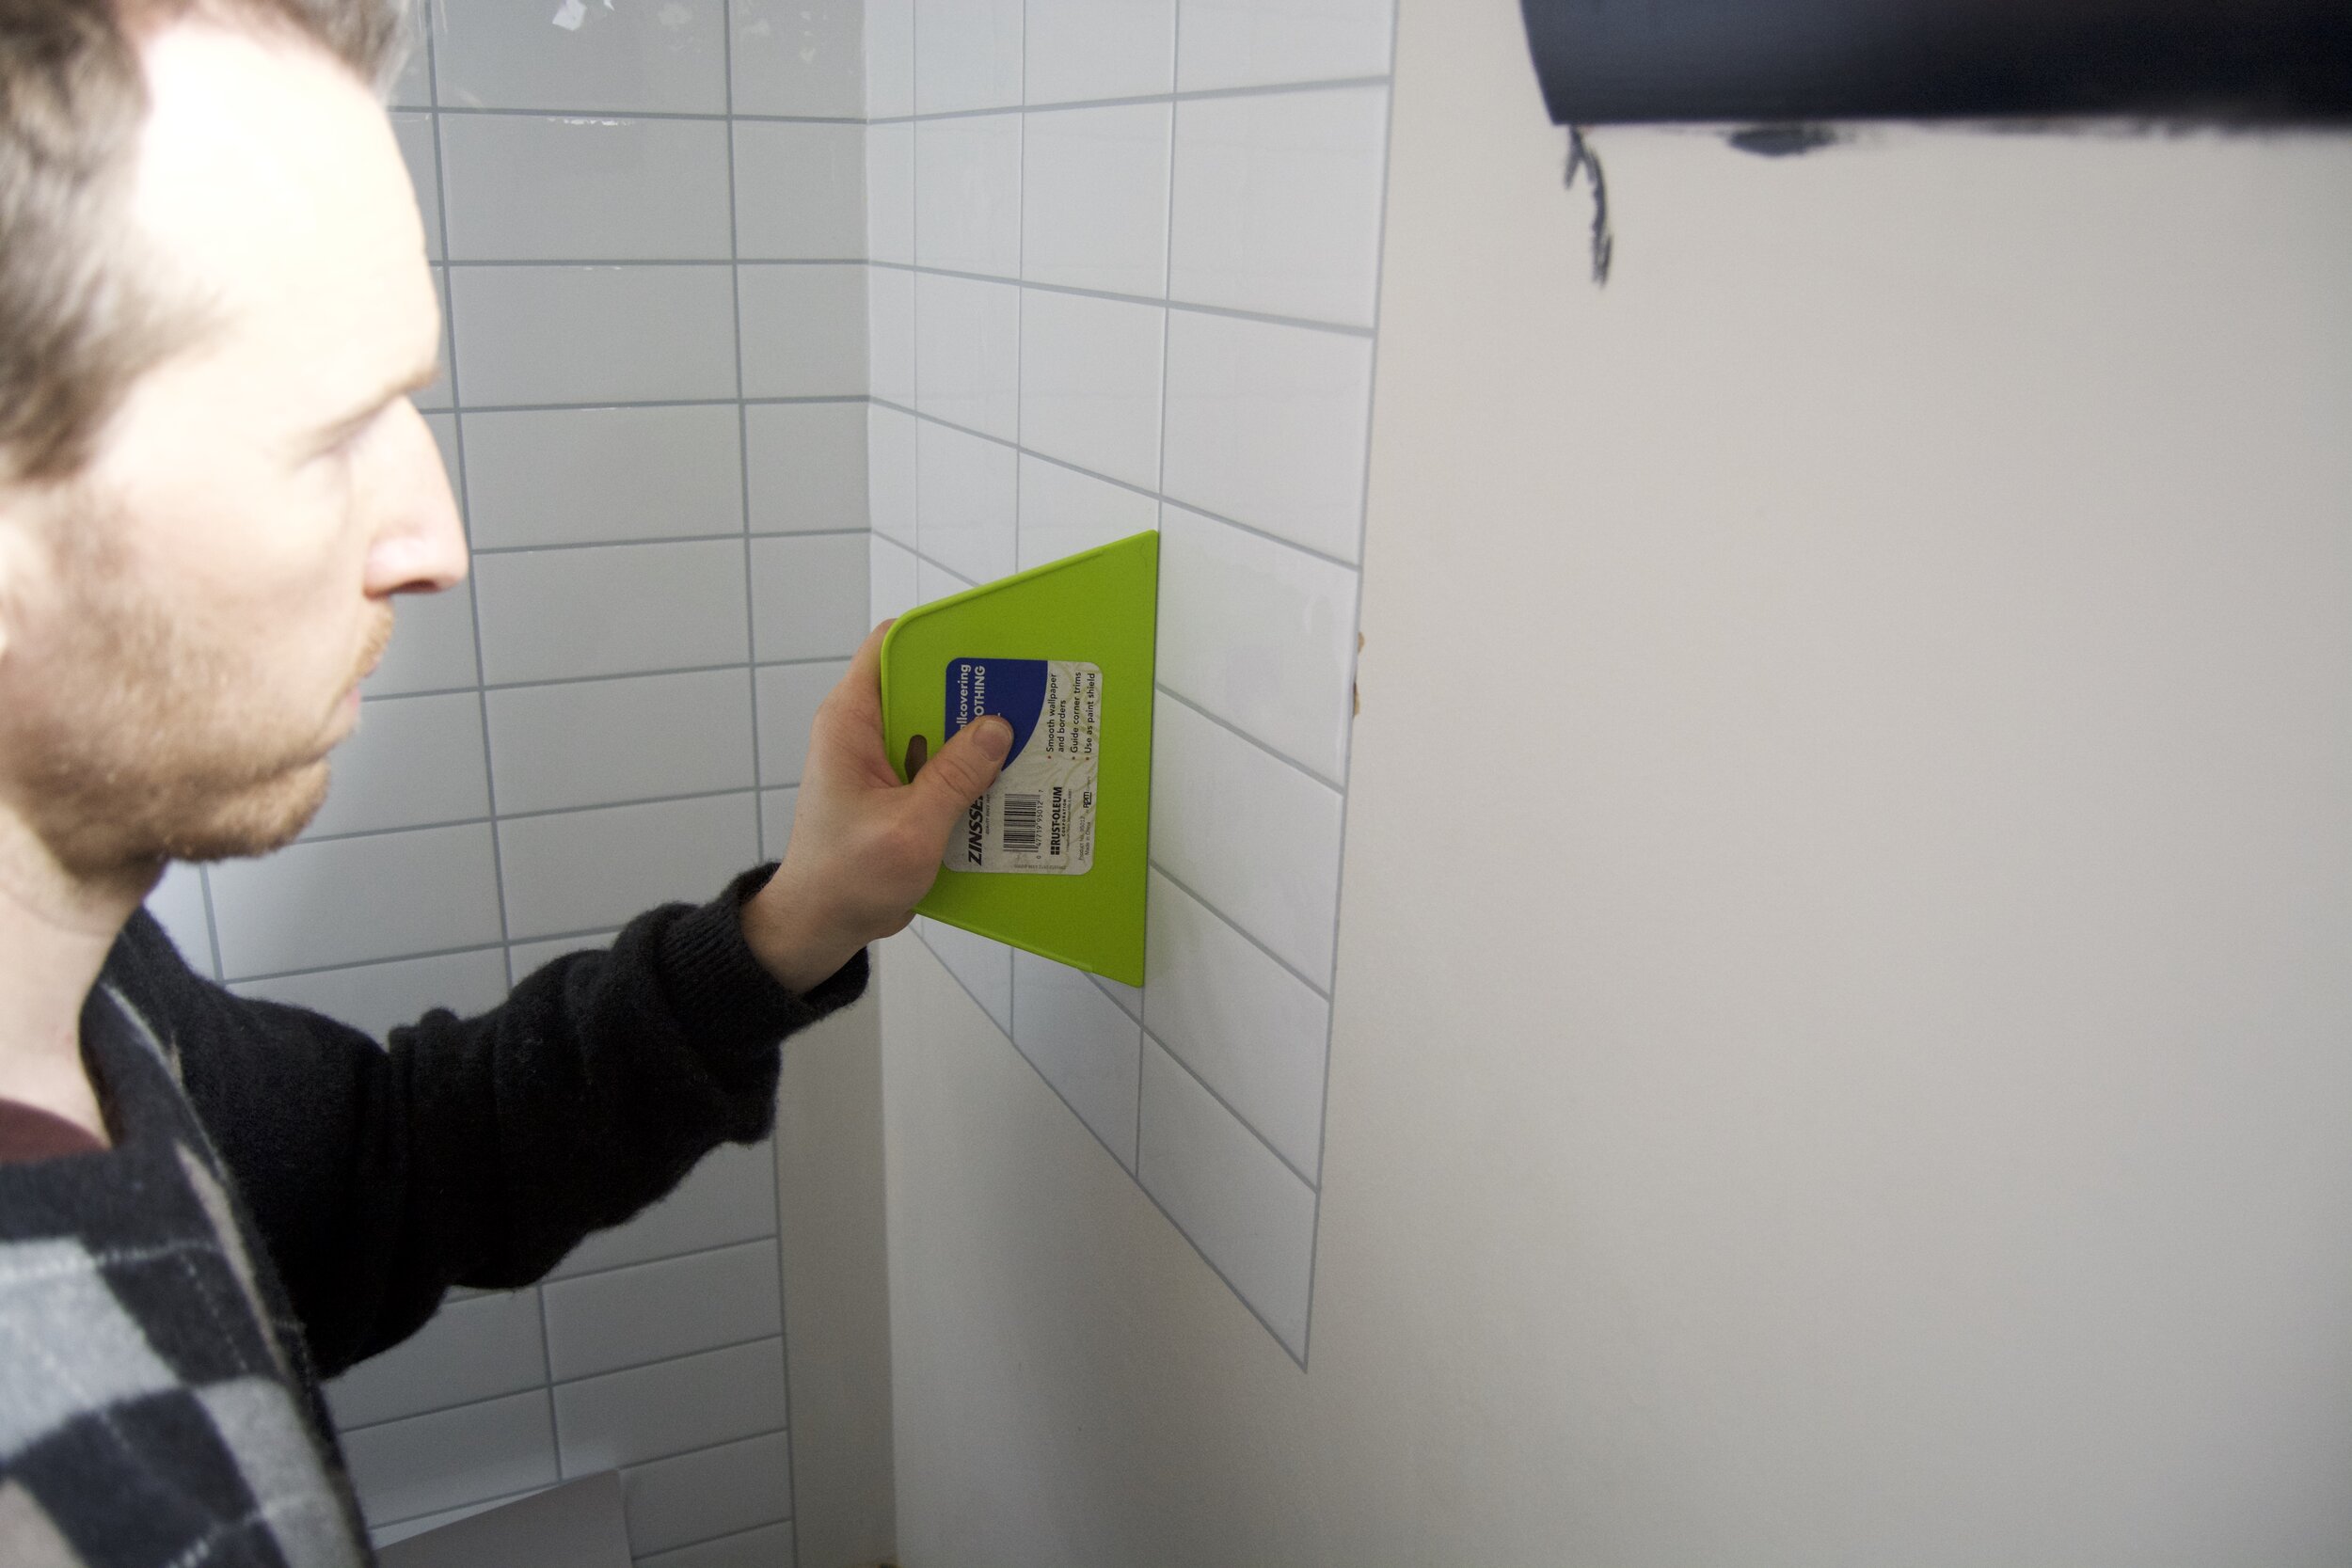
The next thing to do, was to paint all of the wood trim black. Again, I didn’t worry about making a mess on the walls, because I knew they would be covered later. Which brings me to our next step: using a lining paper to cover the wallpaper. Gasp! What did she just say? Yes, that’s right; we covered it! Now, I know this is not the best way to remodel a bathroom. I told you there would be corners cut, and this was a big one. And, SO WORTH IT! We didn’t deal with the agony of removing the crusty old wallpaper. We just sanded any rough spots, spackled areas, and let this lining paper hide the sins of this bathroom. I do wish this paper would have been a little thicker, but it did the job just fine in the end. If we were renovating a bathroom we owned, maybe we would have properly removed the old wallpaper, but maybe not? This really did the trick, and was so much easier.
You can see where the lining paper is at the top. The original wallpaper can still be seen underneath, but it created a smooth surface for us to lay the new wallpaper over. The squeegee was hands-down, our most used tool for the walls.

Now that we had the walls smoothed, we could refresh this space with new wallpaper.
I knew once I saw this pheasant paper by Barneby Gates, it was just the ticket for this vintage/modern bathroom. This pattern has the ability to feel like it was plucked out of a 100 year-old OR contemporary home. It’s a versatile pattern and color that feels impactful yet, not too busy for a small bathroom.
Remember how I said I was sloppy about painting the trim? Well, the paper and wall tile went right up to the edge of it, creating a clean, perfect line. How cool is that!?
Now onto our next hack; Peel and stick tile. I was so thrilled to partner with Tic Tac Tiles for this project. I have used their tiles before in the kitchen, and loved the result. Their tile sheets come in a variety of colors and patterns and even have a slightly 3 dimensional effect to them, creating a realistic looking surface. I fell in love with the subway-straight. It’s a modern take on a timeless, subway tile.
Gotta love a toilet as a work station.
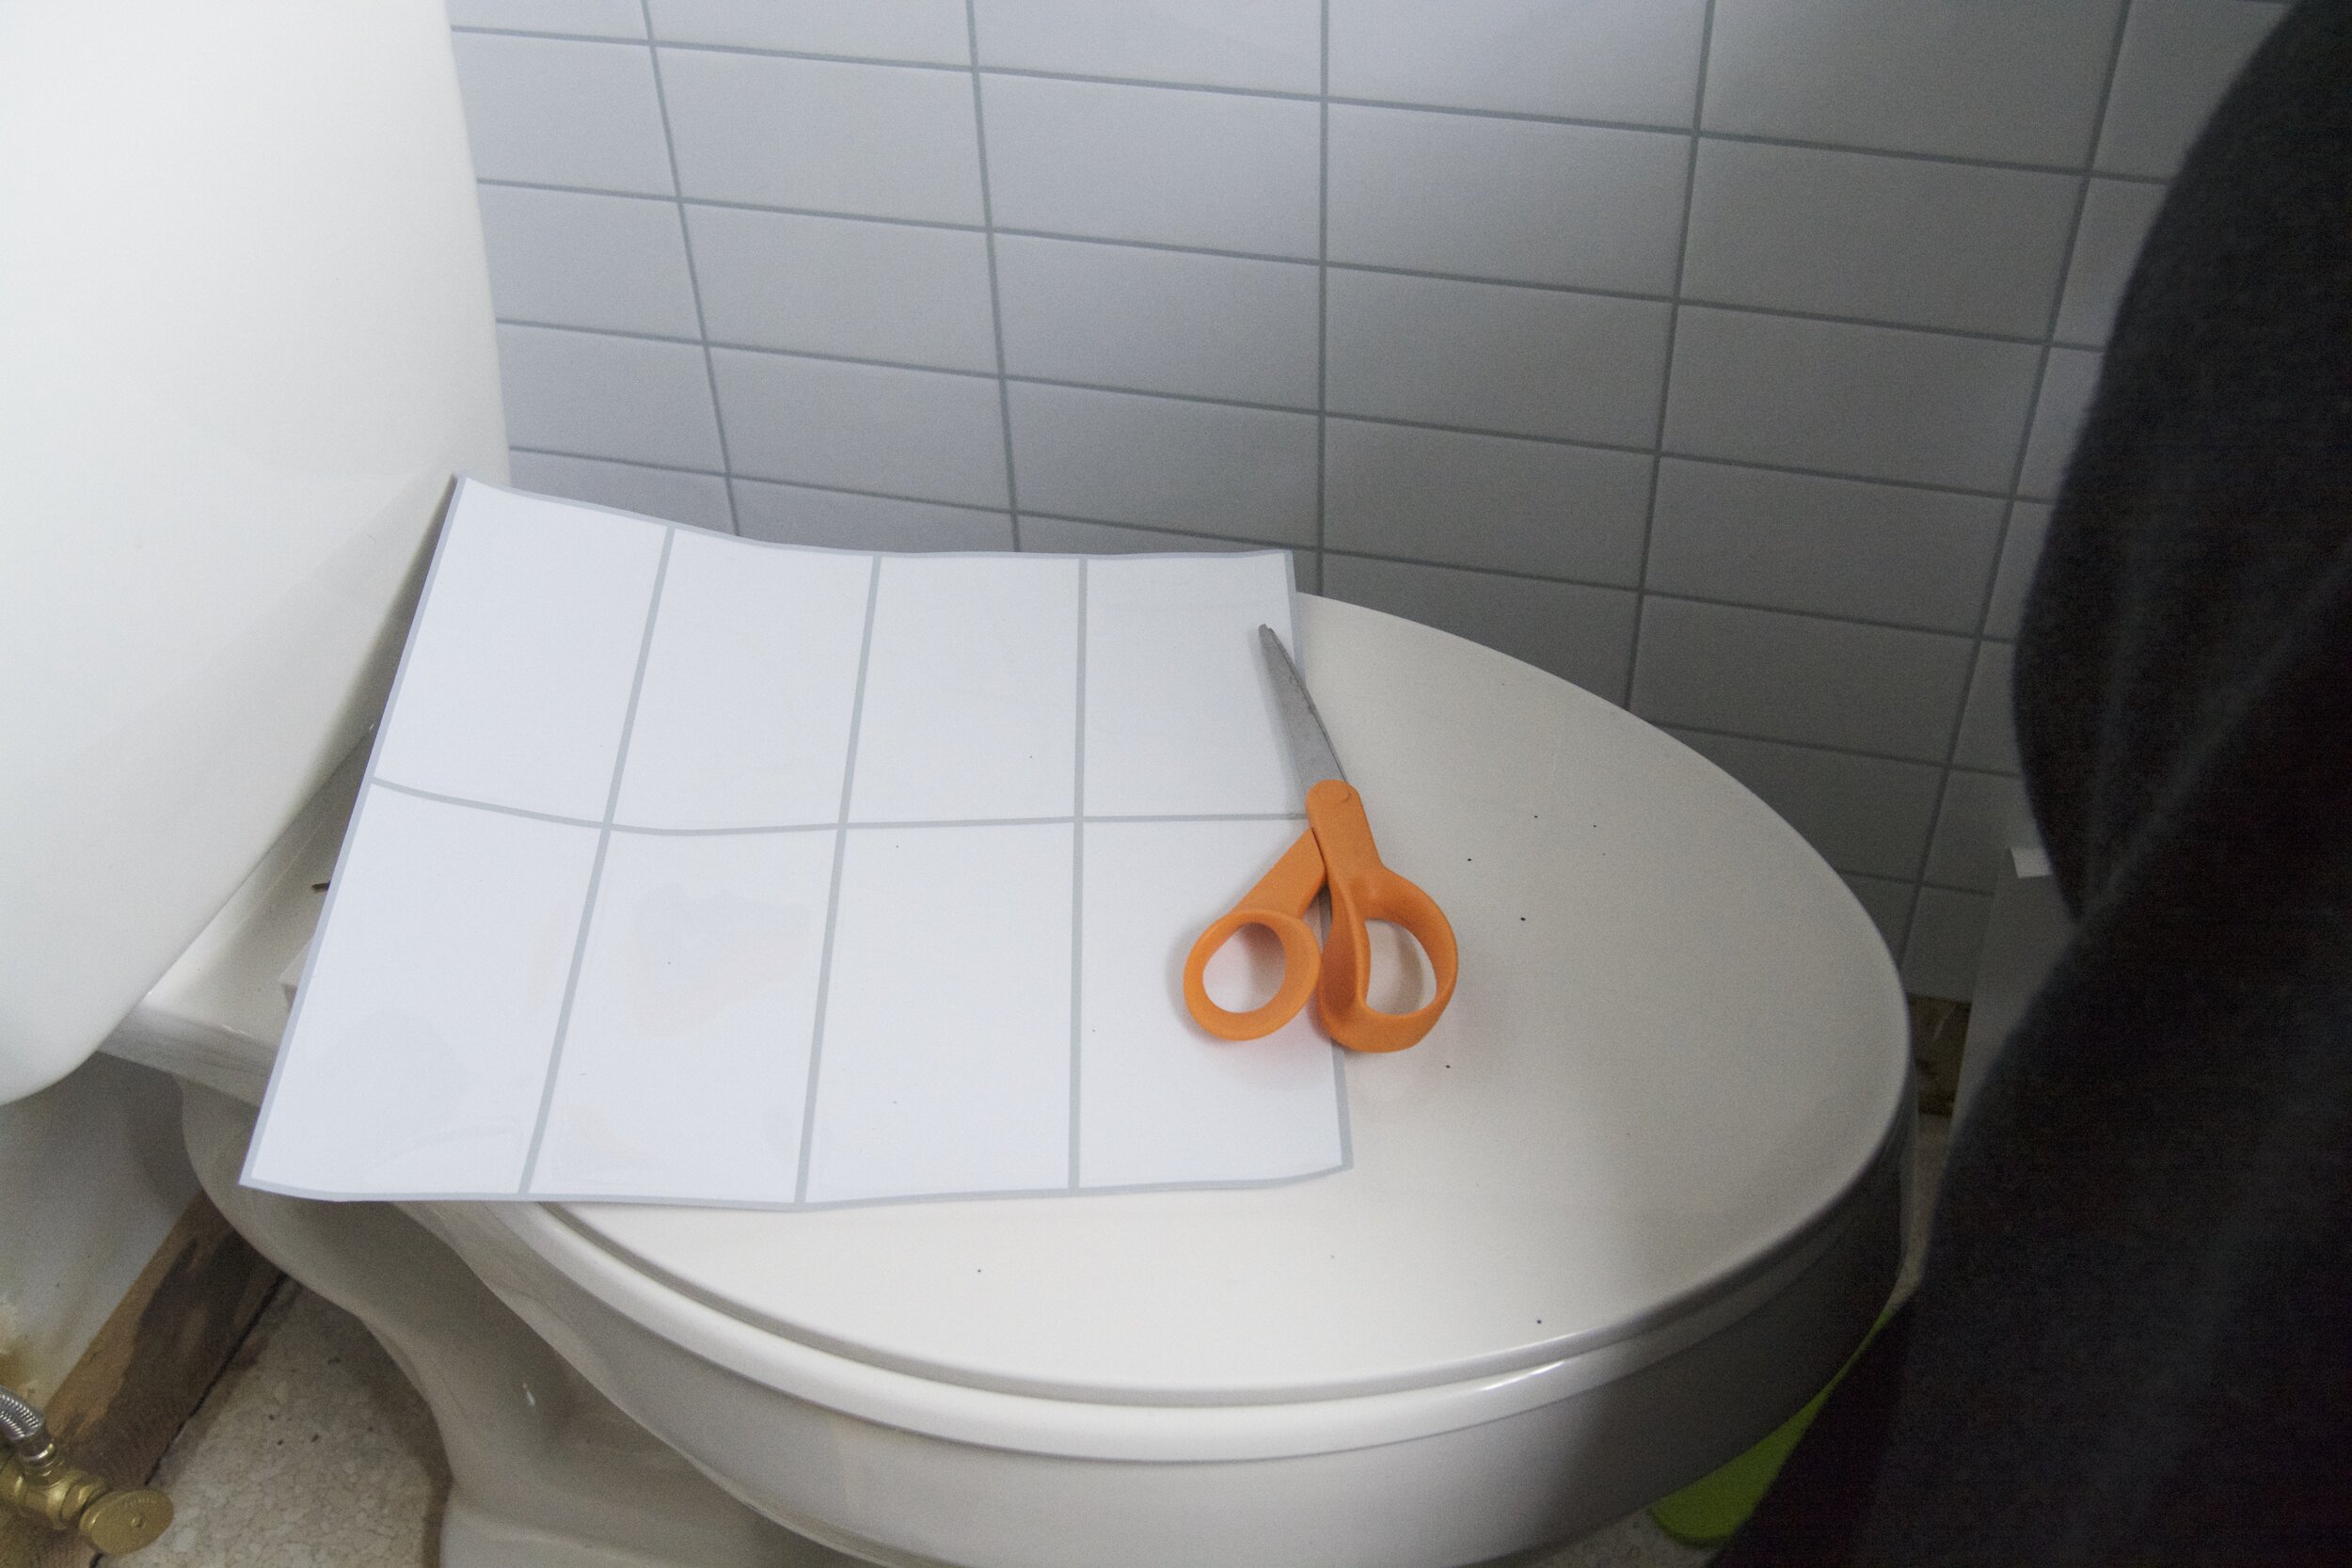
Here are some of my tips for working with adhesive tile:
As with real tile, you’ll want to make sure you order all of the tile needed for your project in one order. We have ordered in separate batches before and noticed the whites were not the same. So calculate the square footage needed carefully.
Use a good pair of scissors to cut the tiles to fit. You can use an exacto knife but we just found that good scissors and a steady hand were easier.
Apply the tile carefully, starting at the top, ensuring the “grout lines” match up.
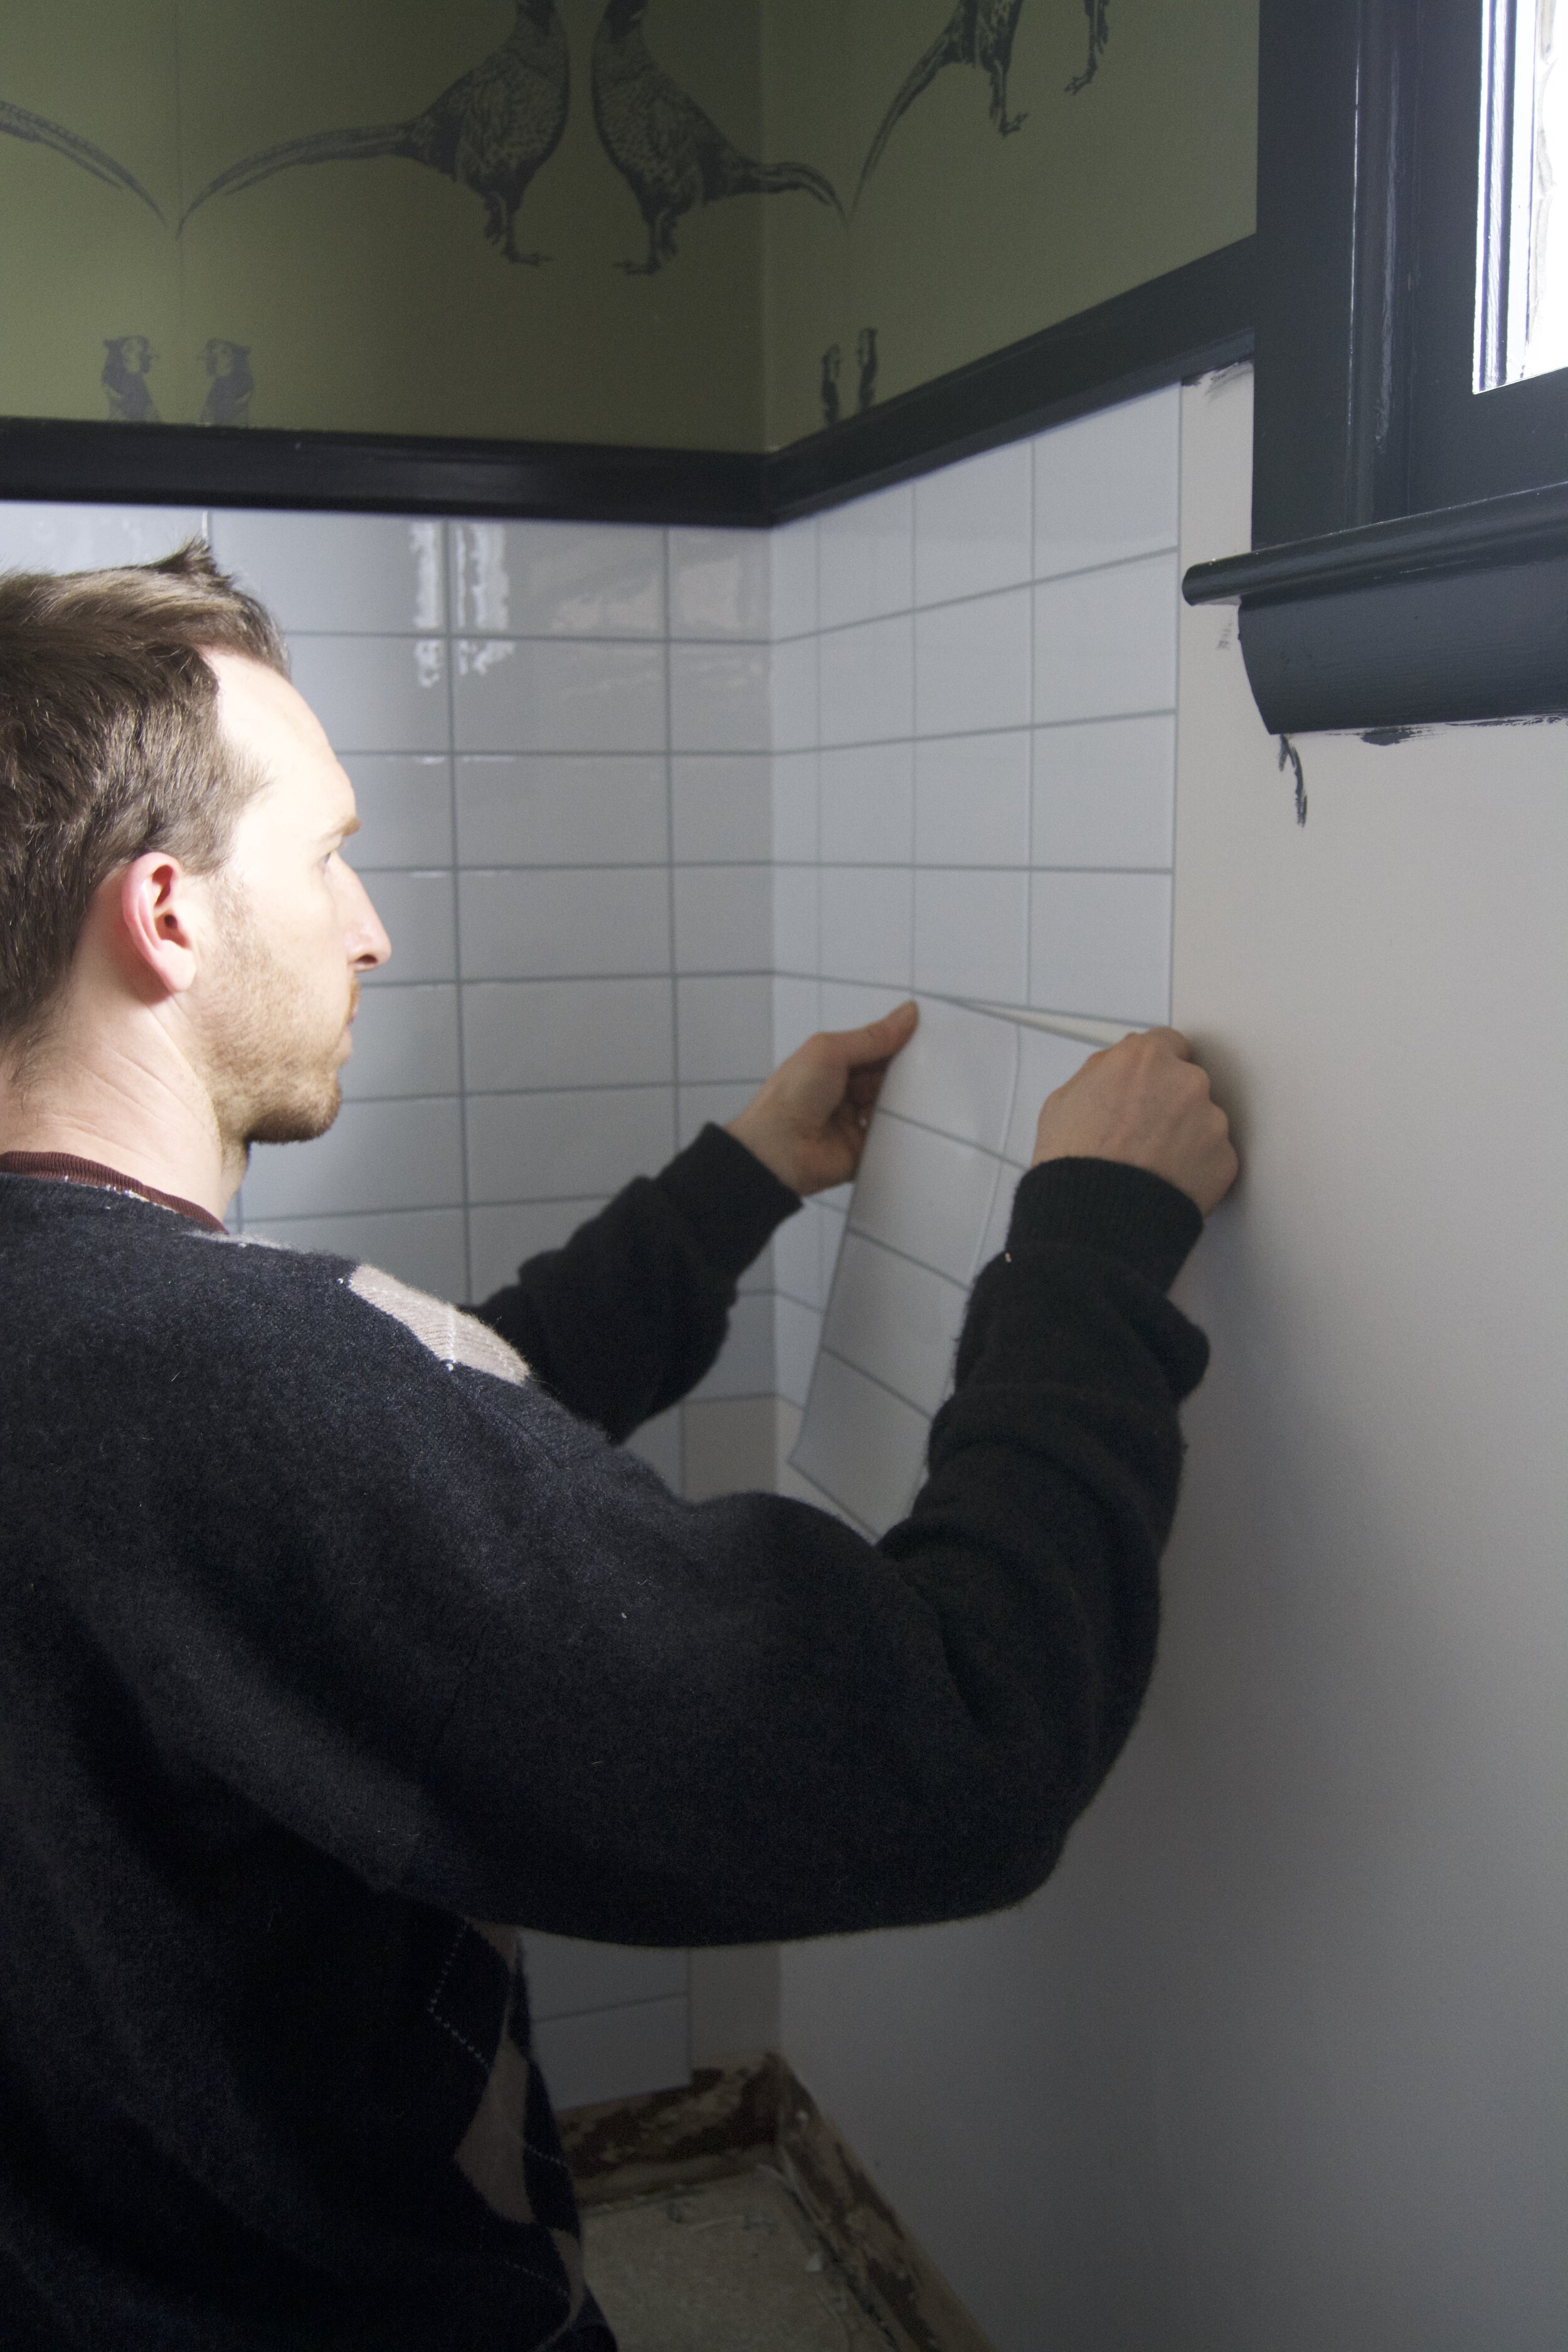
4. Use a squeegee to easily press between the tiles. Once the tiles are in place, they are permanently adhered to the wall.
Remember that fluorescent bulb that was off to the side of our bathroom? Oh, you blocked that out of your memory. Me too.
Changing up the lighting in here was not easy. In the center of the original bathroom was an exhaust fan. Since this bathroom doesn’t have a shower, I made the call that it wasn’t necessary to keep the fan. It’s important to note that each state’s codes for vents vary which is why it’s so important to work with an interior designer to walk you though this process. Some states require them in certain rooms. Since this room had a window that met the size requirements needed for replacing an exhaust fan, we were gravy. I need to have a centered light fixture, people!! I’ve already established a rule that anything that stinks, cannot enter this room. Do those fans really do anything for smells, anyway?? Eww.
On to something that DOESN’t stink - this sleek light fixture by A19 Artisan Lighting. This California based company has a variety of handmade light fixtures that are all customizable. I knew I wanted something minimal and modern in here, and this glossy white ceramic cone pendant fit the bill to a T! With all of the color and finish options they have available, I know this is going to be my new go-to for clients.

One blessing from the original vanity mirror was that there was a light built into it, so installing a vanity light above the new mirror didn’t require major surgery. Well, it did a little, but more of a face-lift. We had to raise the junction box placement about 6 inches. WAY easier than the ceiling. I can’t believe I’m typing this, but I was actually glad there was popcorn on the ceiling after all the rearranging that happened on this ceiling!
This vanity light by DecoCreationStudio complimented the ceiling pendant perfectly. It also helped bridge the gap from the white ceiling to the brass mirror by combining both colors.
I love the crisp white against this green wallpaper.

A round mirror is one of my most-used design tricks because it breaks up the lines in a room. That ol’ mirror/light/storage combo is now in chrome heaven.

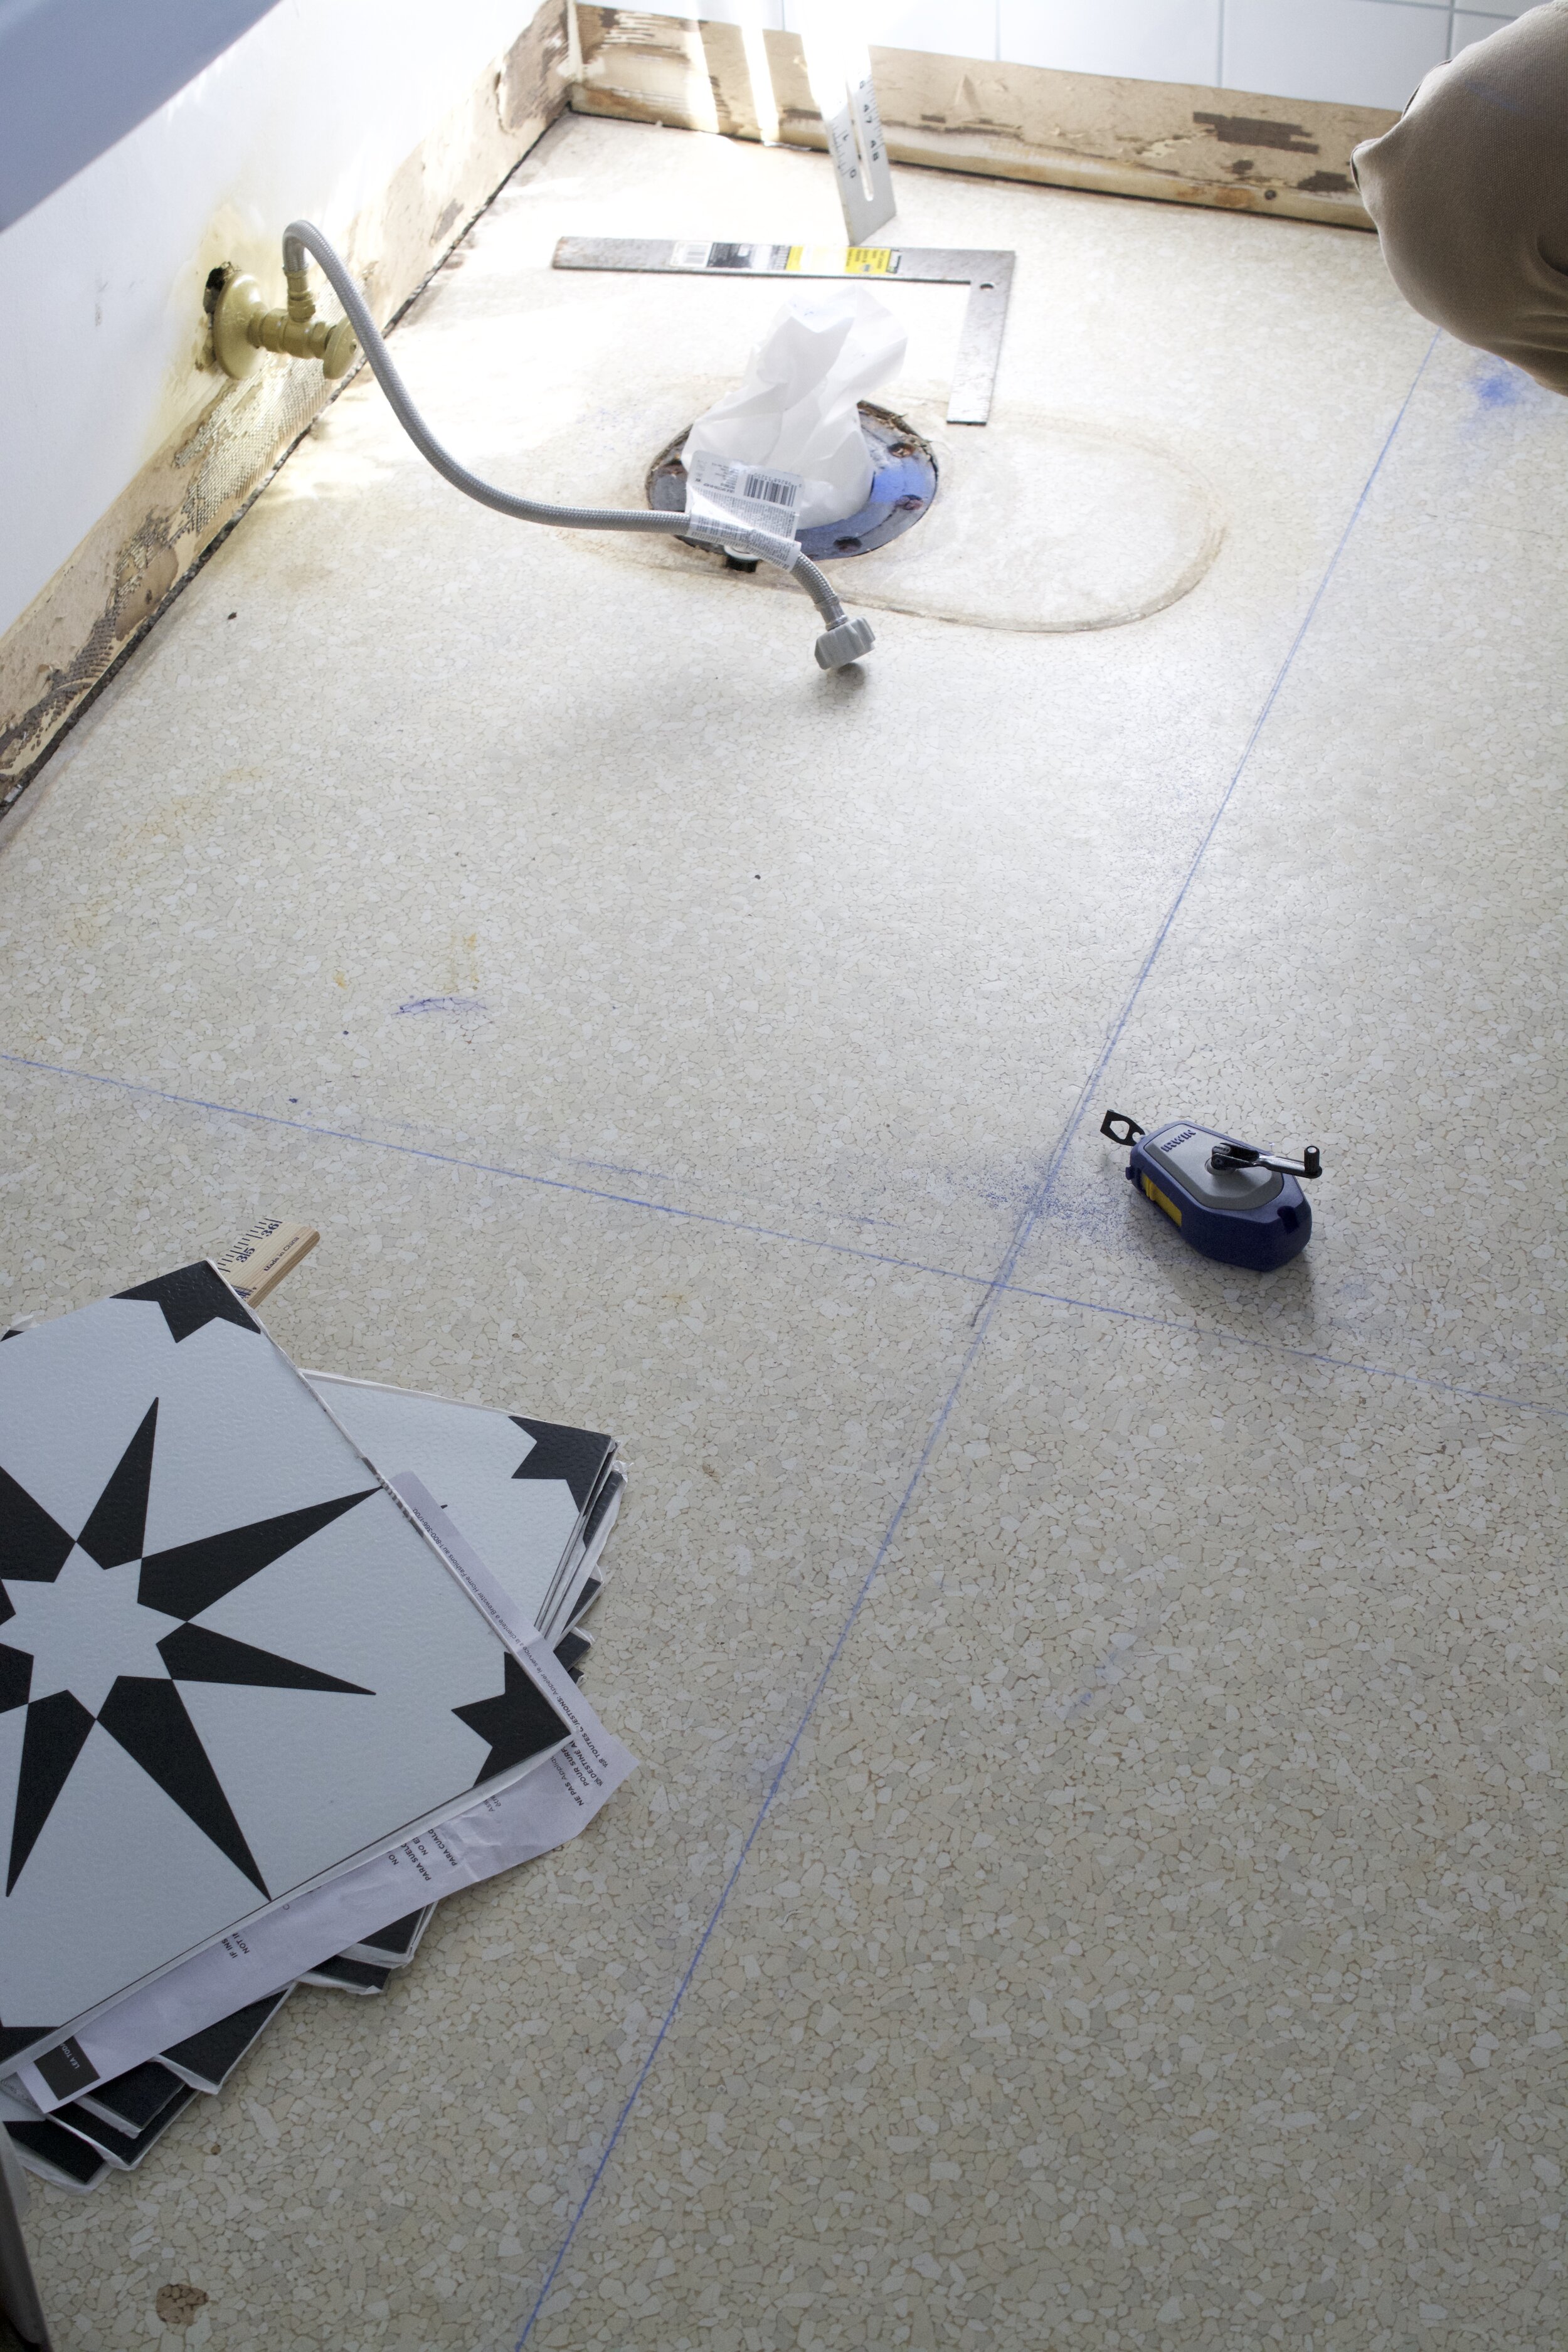
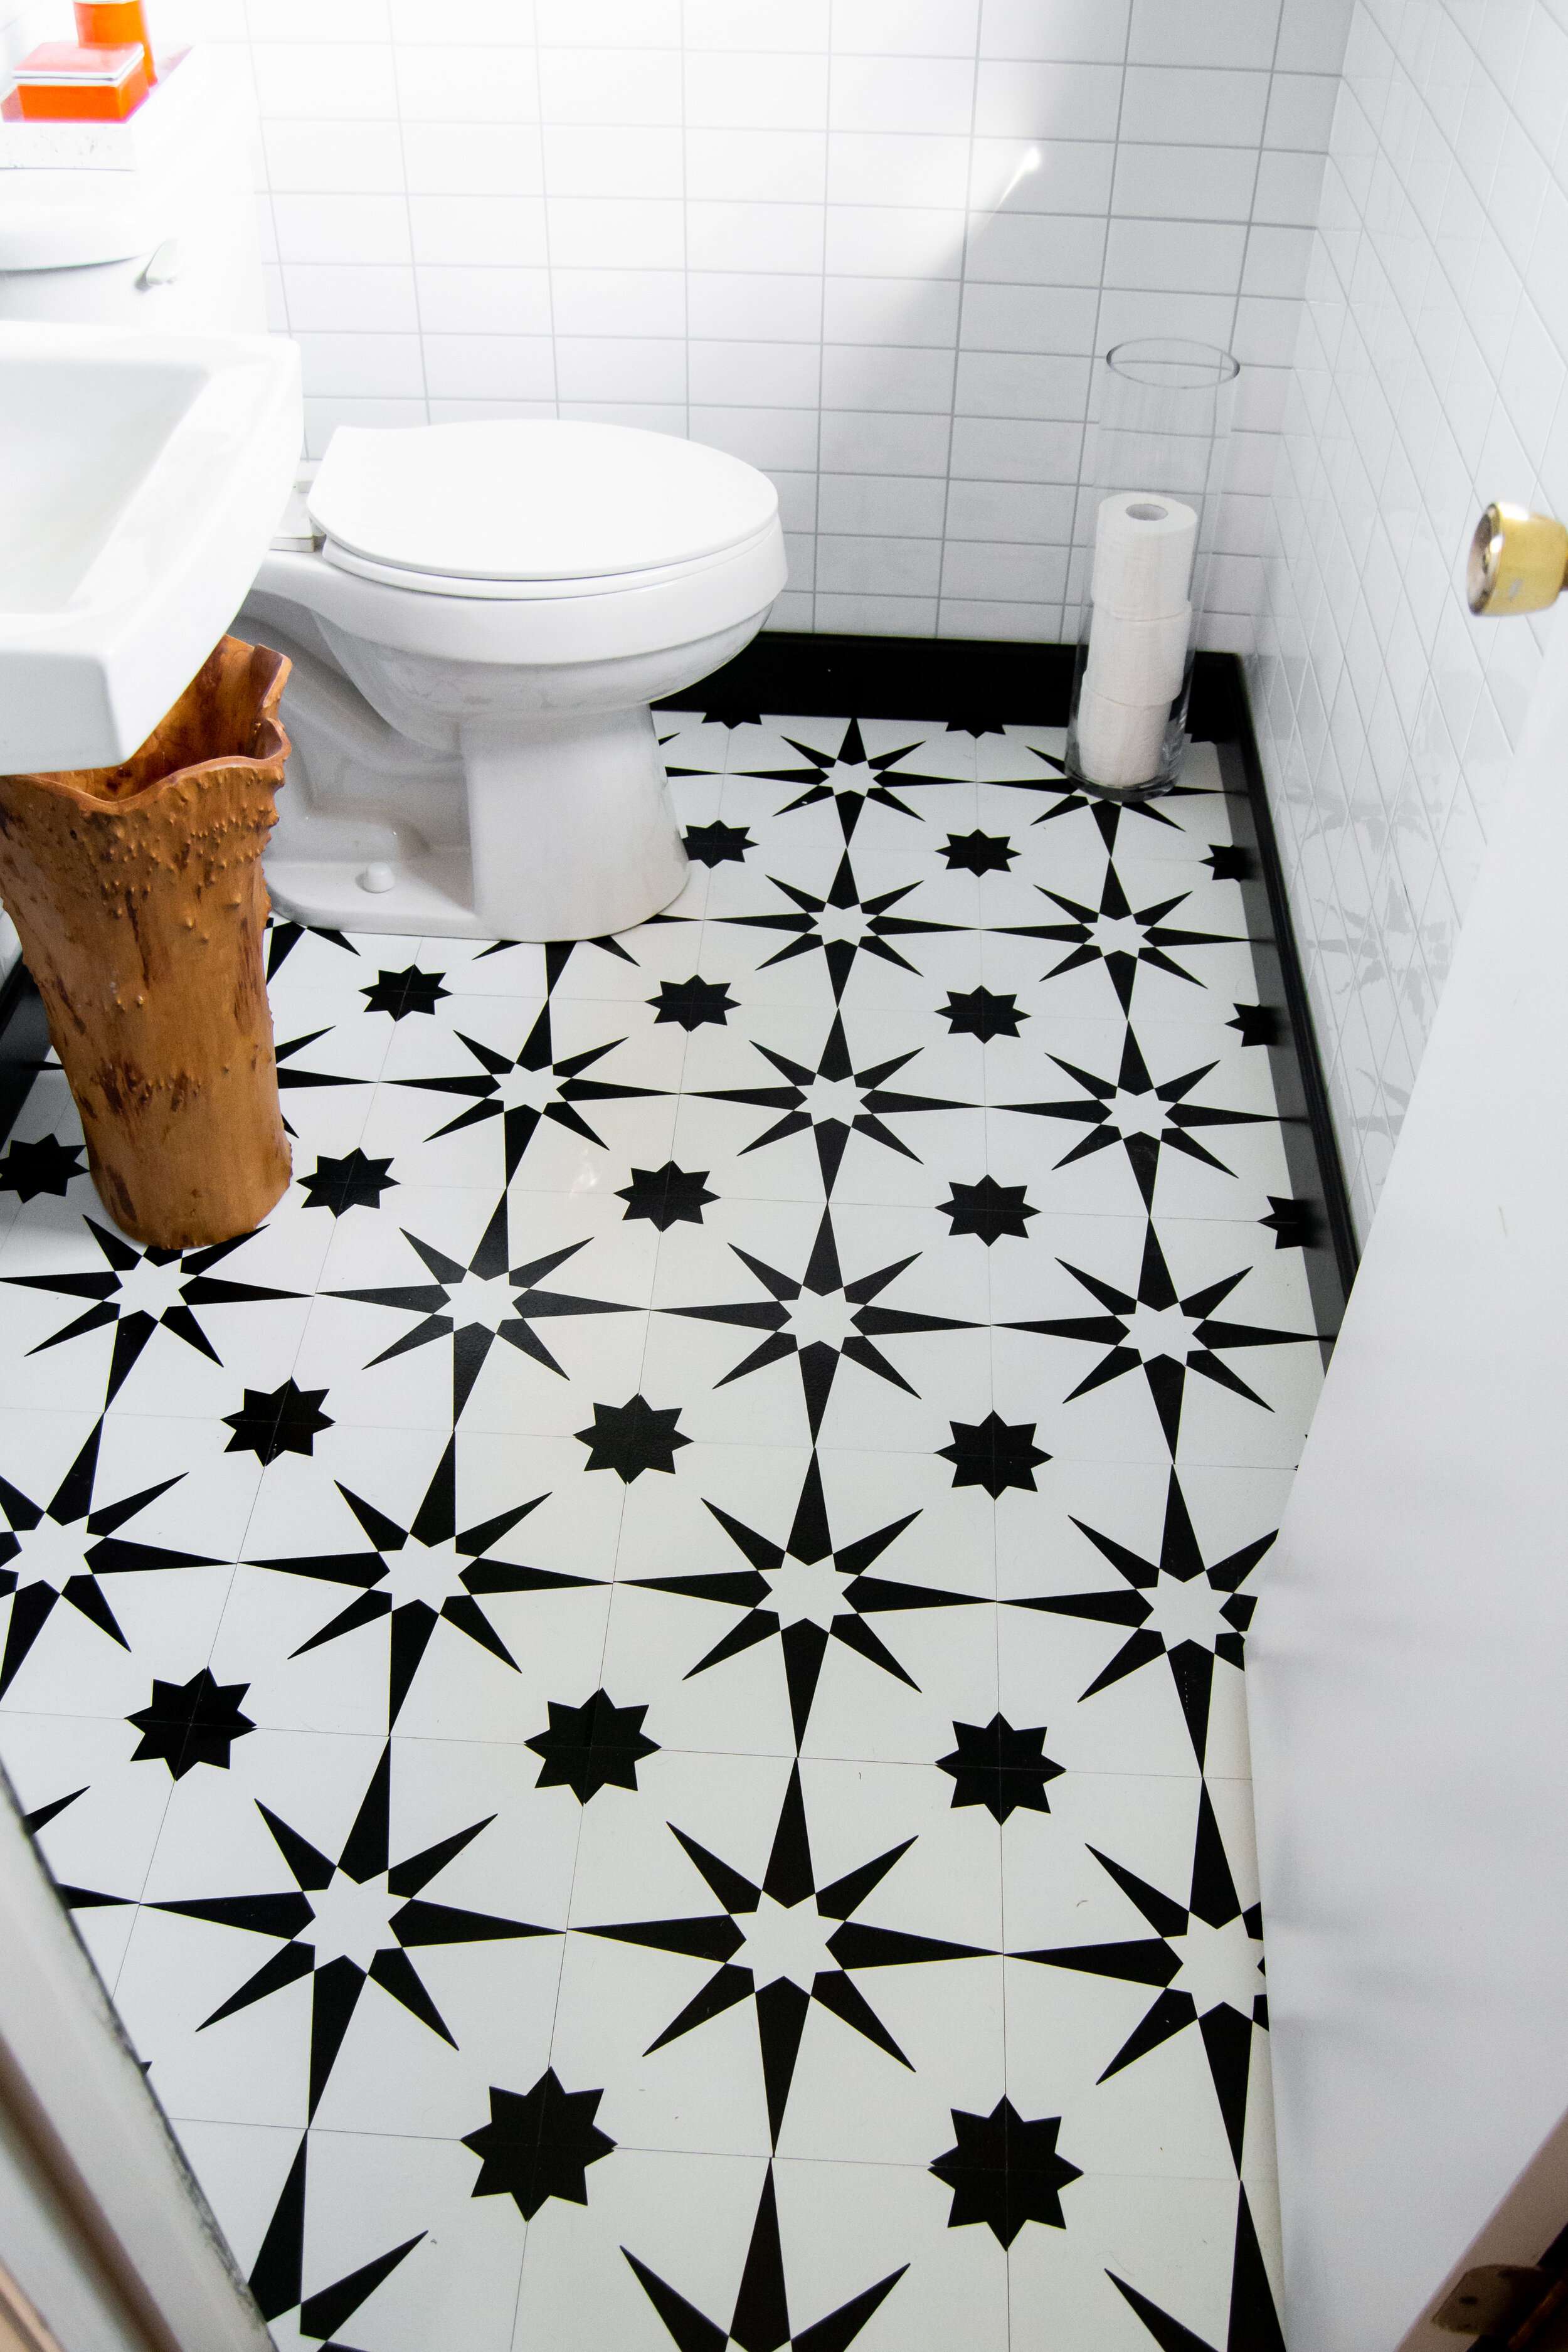
All of this talk about pretty lights almost made me forget about the floors with questionable stains. Yeah, we covered those too! We used Floorpops peel and stick tiles. Their tiles have the size and appearance of encaustic tiles, but at a tiny fraction of the cost.
After thoroughly cleaning the original floor, these could go right over top!

To ensure they were all straight and even, we used a chalk line down the center of the floor and worked out from that point. This tool makes it so easy.

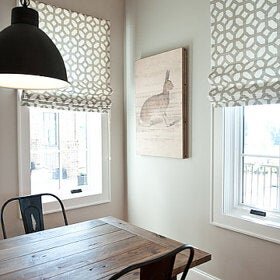
I have always been a huge fan of window valances and pelmets, particularly for rooms typically void of decorative textiles, like bathrooms and kitchens. A stylish, tailored window treatment can pack a punch every bit as much as a throw pillow or rug. Enter ReCreateYour - an etsy shop ran by two, talented women with a passion for exceptional design. They were able to outfit my bathroom window with a custom valance in this amazing, Kelly Wearstler fabric. I really needed something that wouldn’t block any light. Since I have a low ceiling height, I opted for mounting the valance close to the ceiling to elongate the appearance of the window and wall.

I’ve already purchased a pair of custom pillows for the living room from this shop. Kim and Jeanne are such a pleasure to work with!

Since this bathroom is not technically a powder room, but a half bath, it needed SOME storage. I didn’t want to bring in a vanity or large cabinet because part of the beauty of this room is there isn’t a lot covering the walls, which makes it feel so much bigger. I opted for this small, victorian corner cabinet. It’s a place we can store toothpaste and small essentials. I guess I’m lucky my morning routine doesn’t involve much make-up and primping, because there really isn’t room for that in here.


With a new faucet and fresh set of pipes, the sink that once looked like it belonged in a facility, now says, “I belong here, and I have committed no crime!”


There was actually one other thing from the original bathroom we kept: this towel ring. It never really made since to me in the previous bathroom, but then again, nothing in that room did.

This hollowed tree trunk is almost too pretty for trash, but that’s not stopping us.

I couldn’t design a room without some vintage! These porcelain, Japanese containers give this room an additional pop of color, and hold q-tips and cotton balls in style.

Some fresh new black floor trim is another element I chose to connect the dots color-wise in the room. Without it, all of the design elements in the room feel disjointed. The eye so desperately needs that color connection in a room with this much pattern.


And there you have it! We are enjoying our ensuite bathroom so much, and now that it’s over, we can say it was all worth it! Kind of. We will never do this again.
-Katie
Source List
Wallpaper: Barneby Gates, Pheasants
Wall tile: Tic tac tile, straight
Floor tile: Floor Pops, Altair
Faucet: Parlos
Window Valance: Recreate Your
Pendant light: A19 Artisan Lighting
Vanity light: DecoCreation Studio
Wall mirror: Target
Vintage jars: Vintage
Felt head: Hausmatter Vintage
Corner cabinet: Vintage
Tray on toilet: Target
Soap pump: Target
Hand Towel: Target
Trash can: Marshalls
Vase for Toilet paper: Homegoods
Toilet paper holder on wall: JQK
Towel Ring: Vintage
Sponsors


Hi. I’m Katherine.
I’m the content creator for this blog and designer for Hausmatter Interiors, an online design service.