DIY nail head memo board
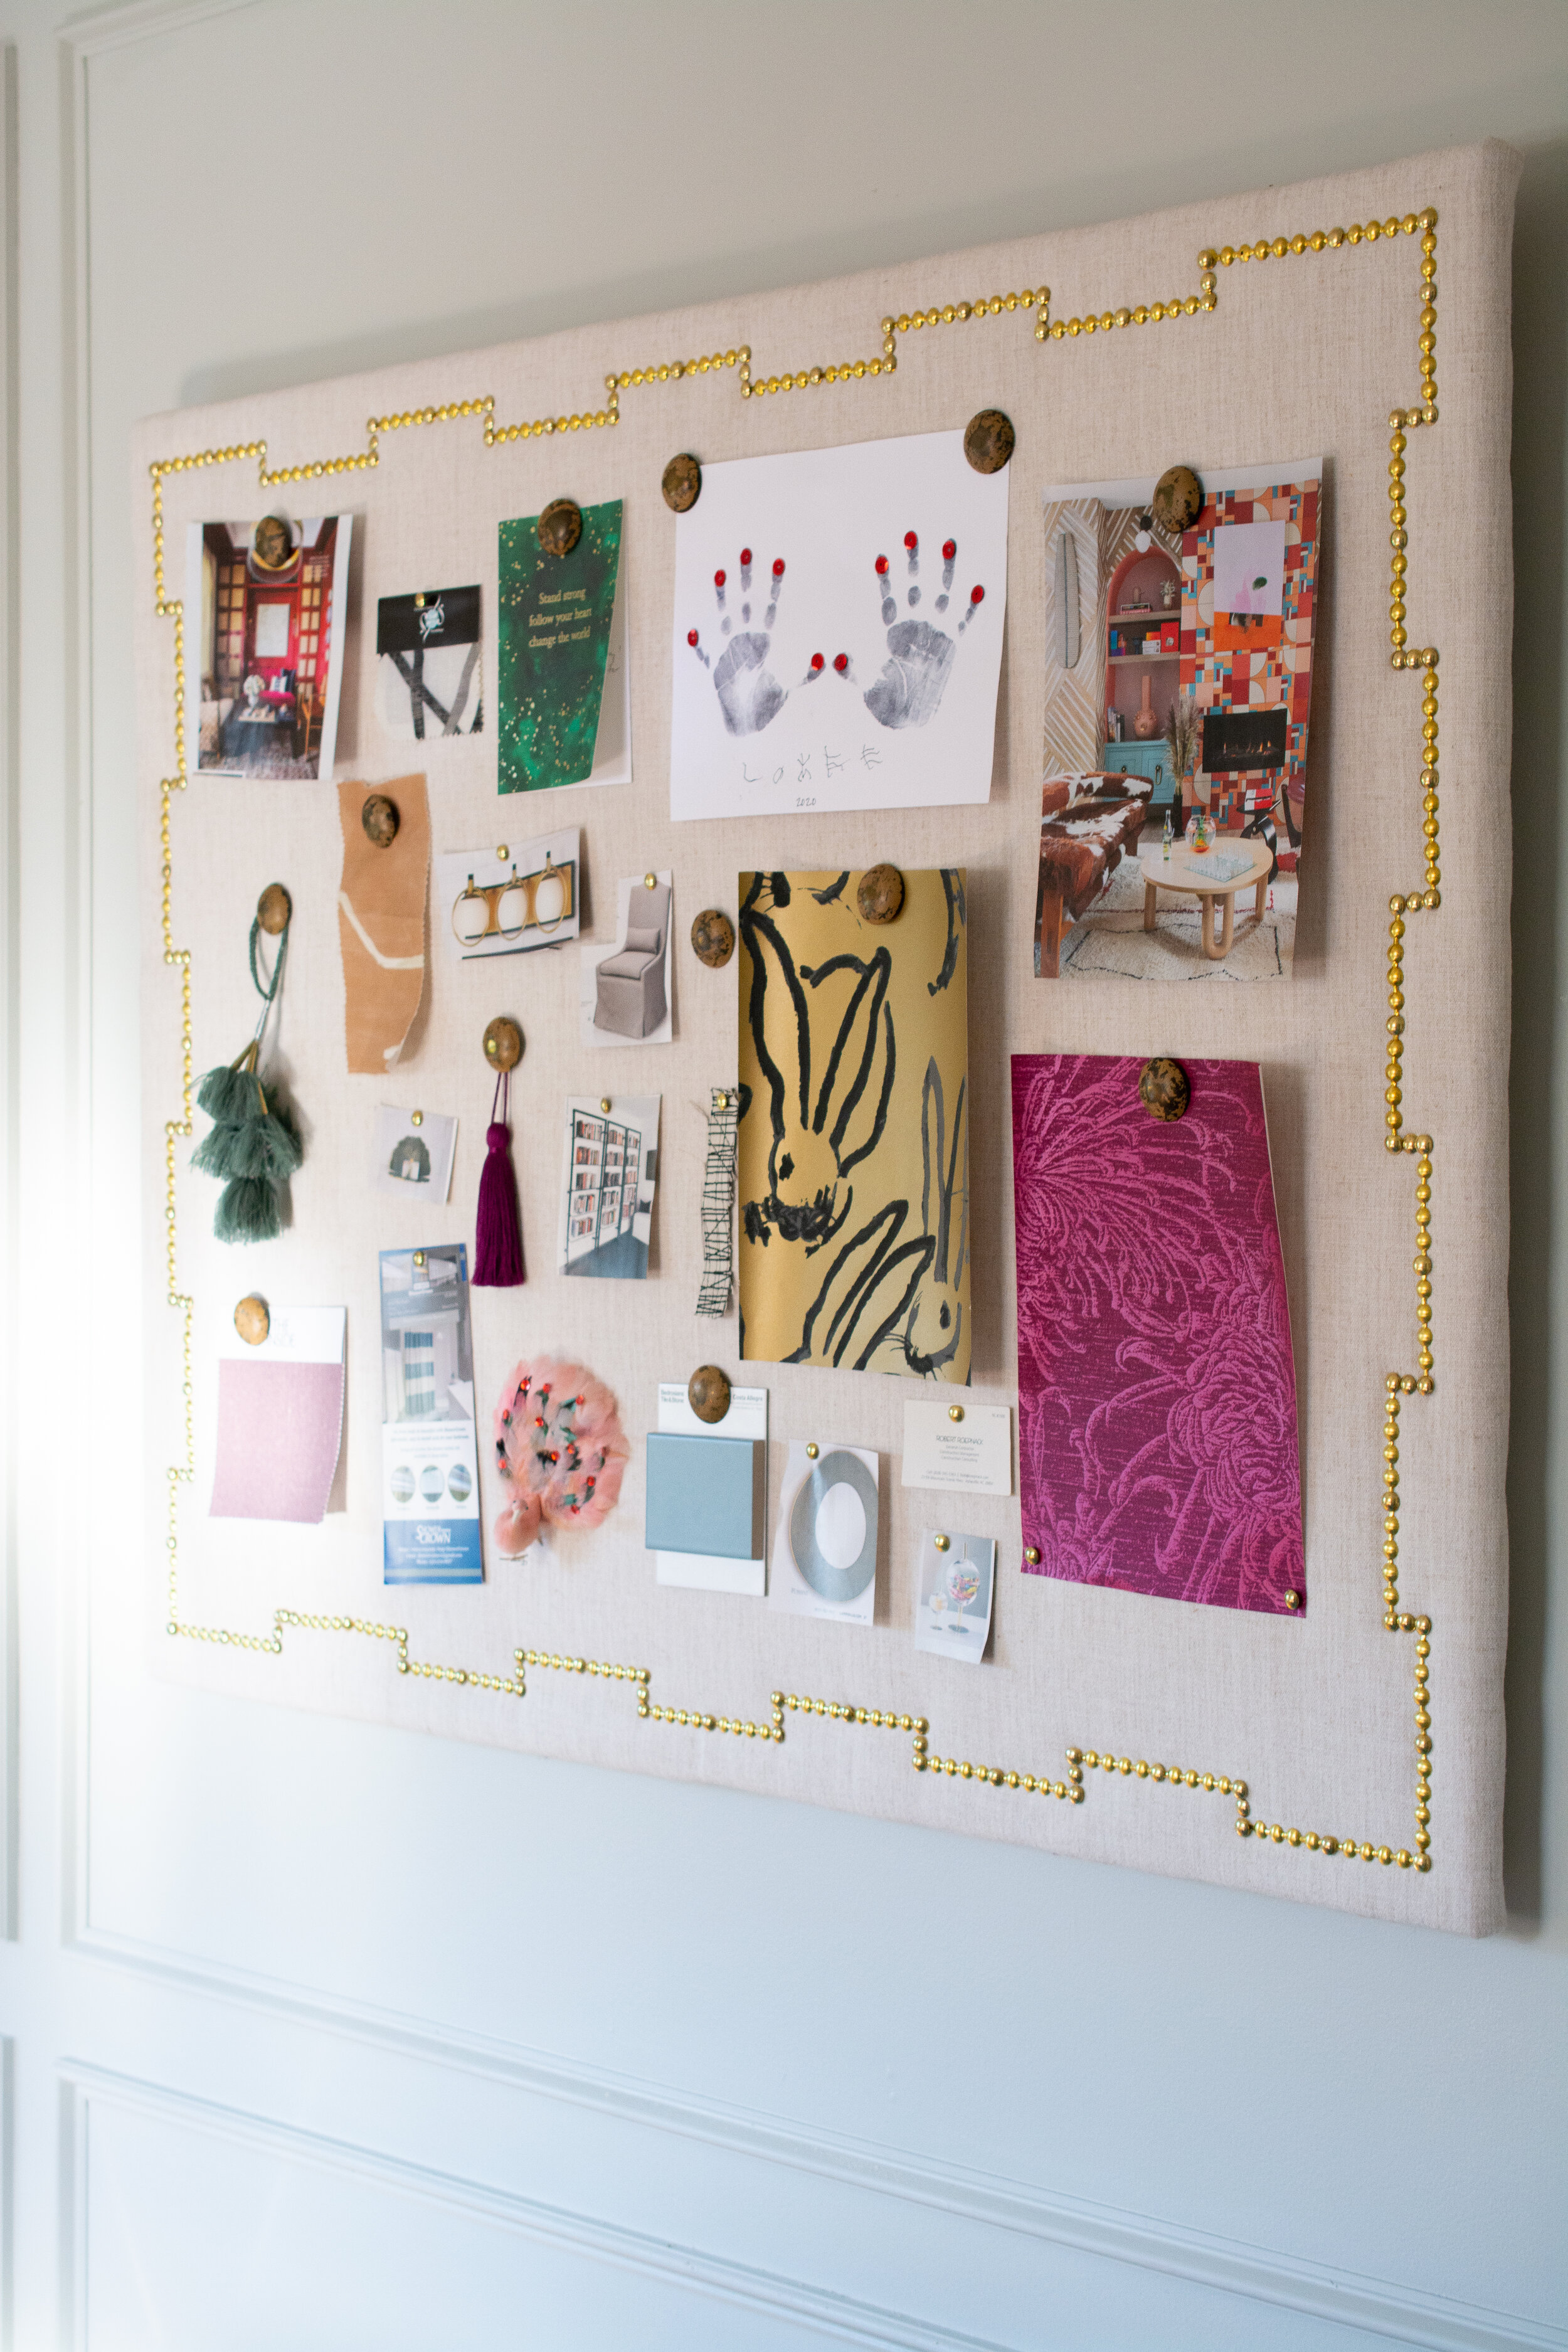
One of my favorite projects from my recent, home office project is this large, glamorous memo board. I just love how tailored and polished it feels with the brass nail heads. It fits in the picture moulding perfectly and serves as a place I can tac inspiration and materials for my client projects.
Applying nail heads to upholstery is normally somewhat of a MAJOR headache and not something I would recommend to the average person as a DIY.
BUT, I have a trick for you to make this super easy. Read on for the how to:

Materials needed:
Two frameless cork boards measuring 24x36”
Dritz nailhead trim in finish of your preference (I used polished brass) found here
One bag of twin size polyester batting
A staple gun with staples 3/8” in length
Fabric of your choice measuring at least 60x48” so you have plenty of room to wrap around the back for stapling. Look in the bolt section where fabric is sold by the yard as these are usually 55 inches wide.
short screws-about .25” in length
a level
a ruler
some good scissors
wire clippers with a fine edge tip for cutting the trim
scrap cardboard or plywood for backing
wire for hanging on the back
-I purchased all supplies (other than the nailheads) at my local Hobby Lobby.
-I originally purchased the white chalk penci shown in this photo l but didn’t end up using it and was too deep in the project to snap a new lol. It is not necessary but you might find it helpful if your fabric is dark enough to make it show up. It is washable, but your nailheads should cover it anyway.

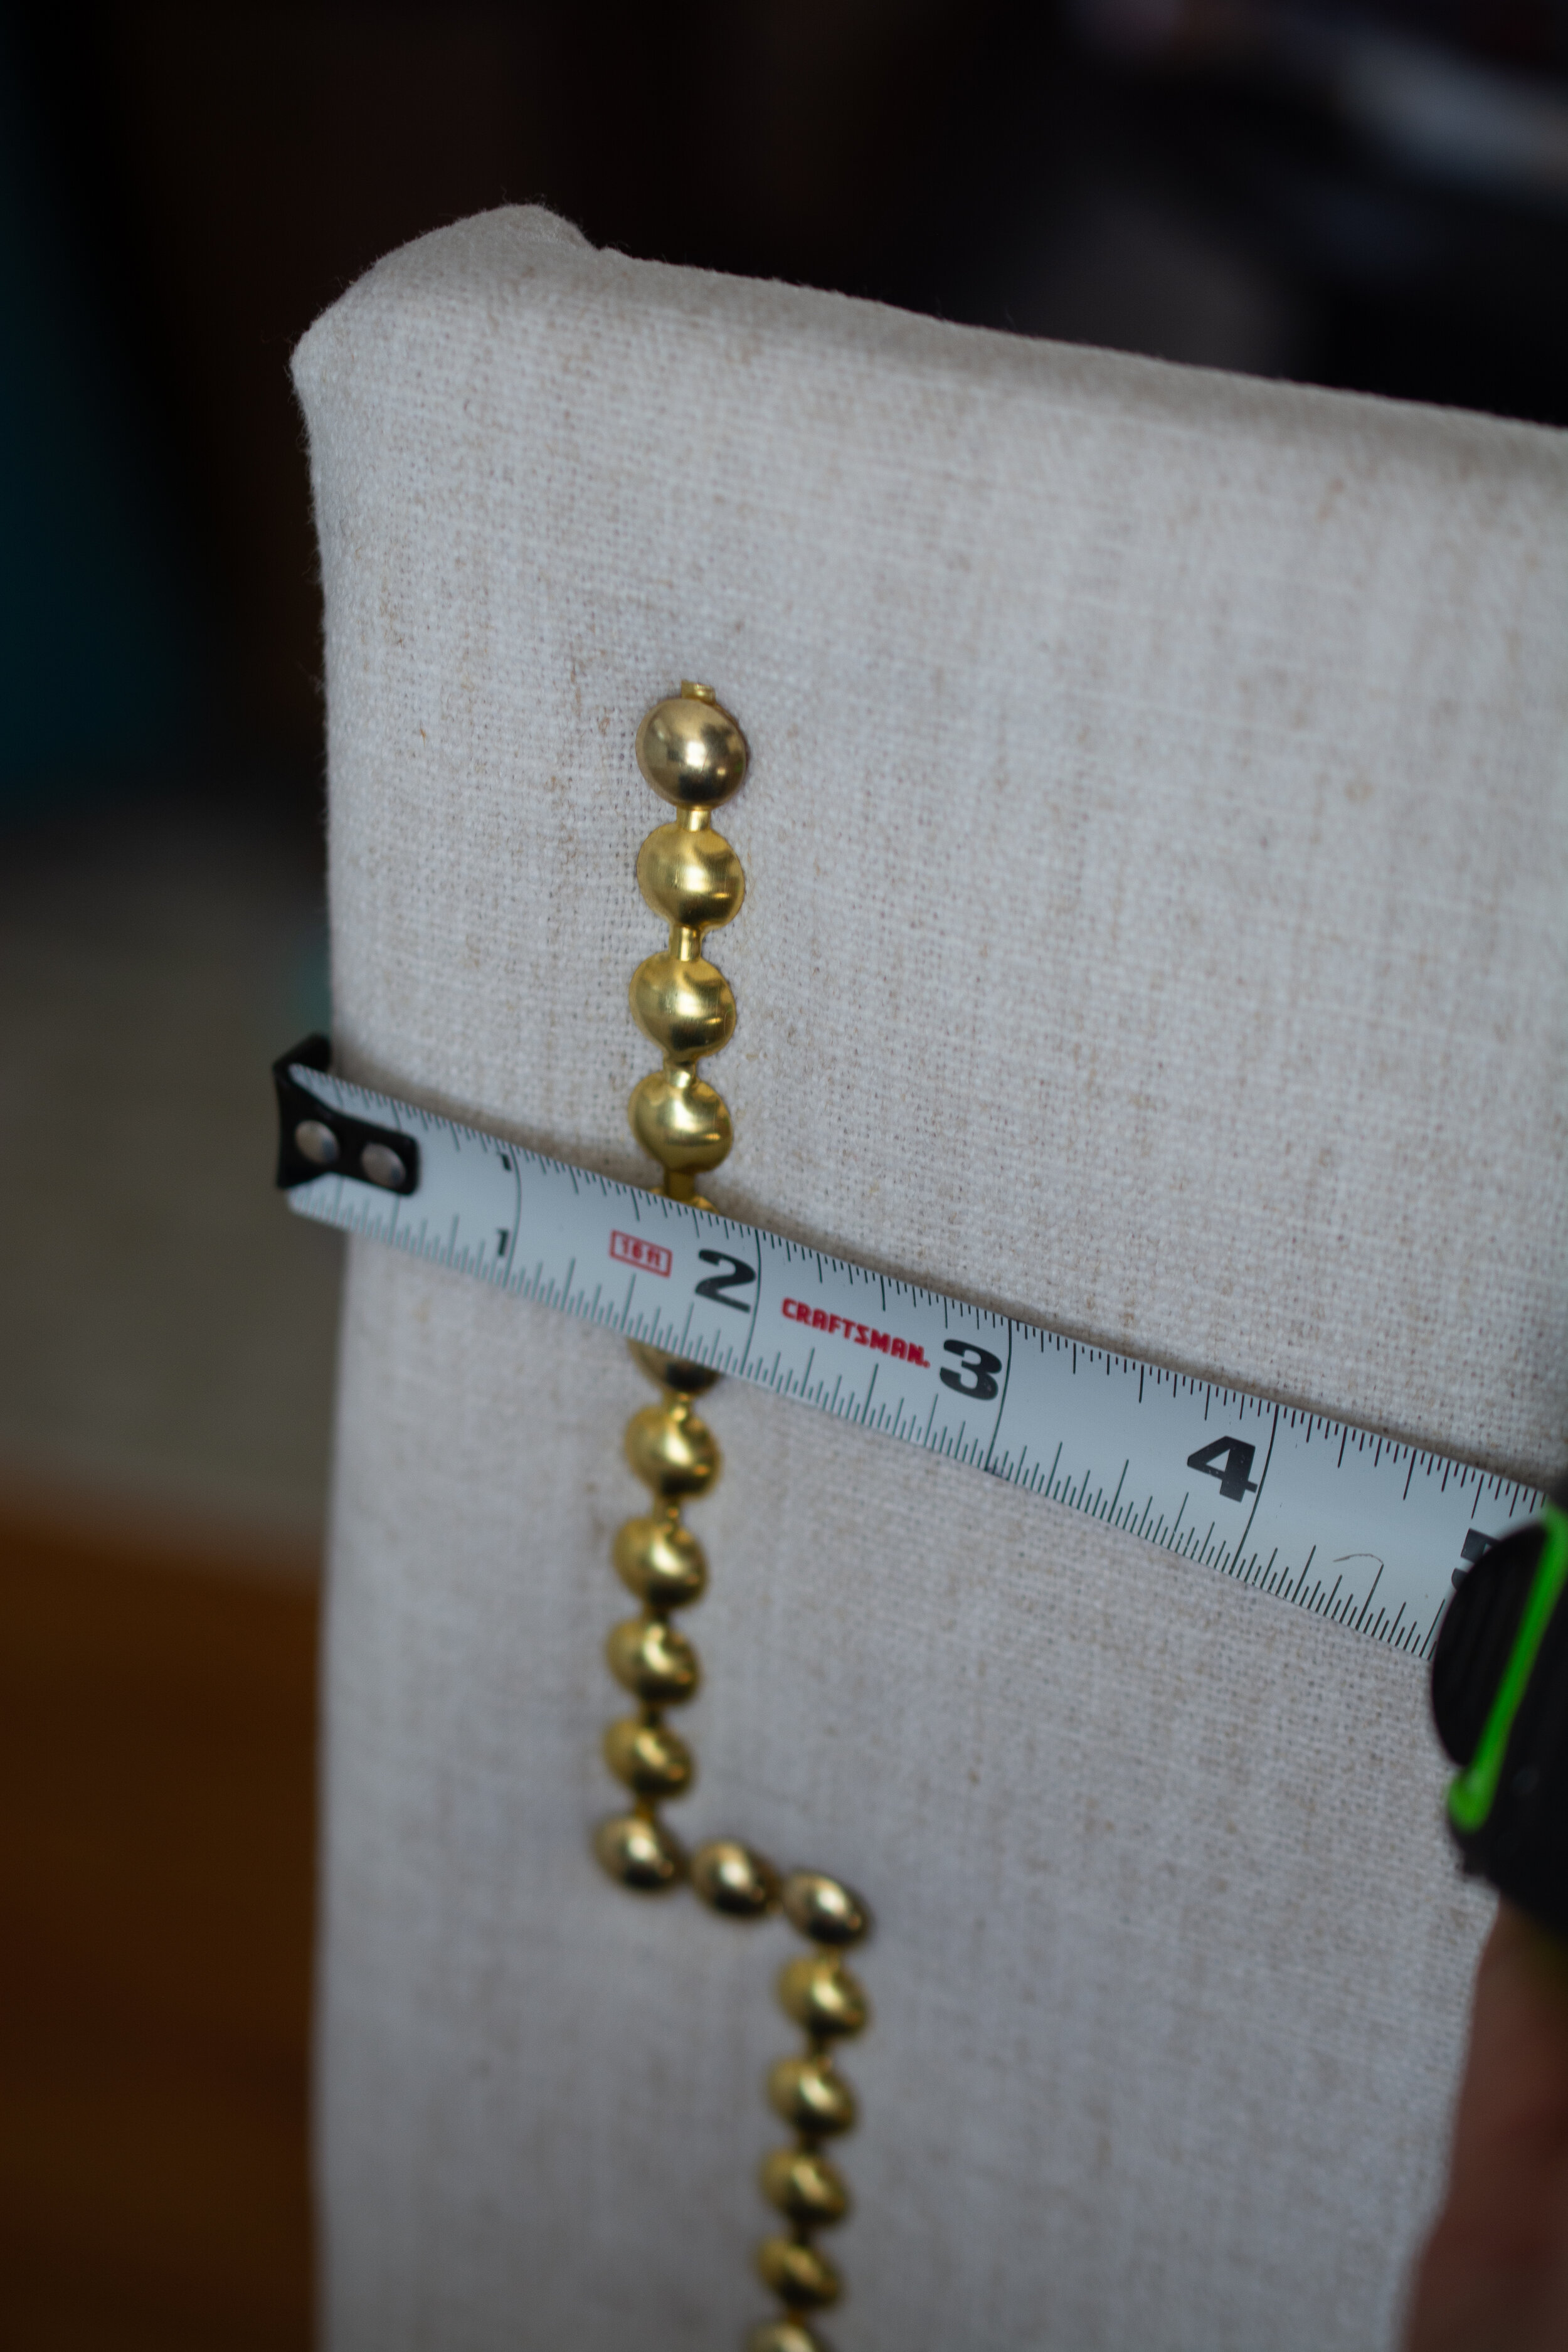
Here is the secret sauce to this project: nailhead trim!
With this product, you only need to insert nail heads every section of 6, rather than individually! It doesn’t work for all upholstery projects, but it works great for those where you are using them in straight lines.

How to
The first thing I did was join the two cork boards together.

To join them, you will need to use scraps of cardboard or thin plywood for the back. We used one large piece of cardboard we had on hand but then needed to make a narrow strip for the top. It doesn’t need to be pretty, as it won’t be seen. Just make sure the cardboard doesn’t have any folds or creases. We used .25” screws but the size will be determined by your cardboard/plywood thickness. You want the screws to be long enough to get through the layers of cardboard and cork, but not too long that they come out the other side. Buy a variety pack and hold them up to the side of the sandwiched boards to see what will work best. Be careful moving it at this point, because the boards can easily come detached from each other if bent. Once it is on the wall, you won’t need to worry.

Next, lay it on a clean floor on top of the batting. Make sure all the wrinkles are smoothed out of the batting before you set the cork on top. You will need someone else to help you lay the cork on the floor at this point because it will likely come apart if there is any stress to the joint. Four hands will do the trick!

You will begin stapling the batting along the edge of your cardboard/cork so that it looks like this. If you’ve never used a staple gun on upholstery before, you really have to press hard to push all the batting down so the staple reaches the cork. If the staples don’t go in right away, don’t be discouraged - there is a learning curve and it takes practice. Discard the staples that don’t make it to the cork and try again, pushing down harder next time.
I didn’t obsess over the corners at this point because they won’t be seen. You just want it to be as tight as possible, like you are wrapping a present.
After you have completed that, you can lay it on top of your fabric (again, making sure to smooth out wrinkles)

Repeat the same process with your fabric, starting on the middle of each side and then working out towards the corners. Leave yourself about 10” or so from each corner to play around with the best fold to create a clean corner edge. Imagine you are creating an envelope fold- you don’t want any puckering. Creating several small flaps is going to produce a better result than just one, so take your time here.

Once complete, you can begin adding your trim. We placed ours about 1.5” in from the outer edge. We worked in sections of 11 nailheads (which mathematically worked best for this size with only a couple sections we had to use extra). Whatever size cork board you use, you will want to first figure out the total width and then divide by the length of sections between the nailheads with holes.
Use the wire cutters to cut your trim to size.
To create this pattern, we placed one nailhead to the right of our row, and then began a new section to the right of that.

Once you get the pattern down, it’s quite easy! Just keep repeating.

Make sure to check with your level each time you start a new section. You want it to be perfectly straight!

You’ll notice in the corner there is a slightly longer section. Due to the spacing between nailheads, this was the only way we could make this pattern work, on this size board, with the width of border we chose. I thought this would bother me, but it is actually unnoticeable.

The trim really is amazing and makes the job SO MUCH easier. Its not as perfect as applying them individually, but worth it in my book. When you are pushing them in, you just want to make sure they are going in straight, and not at an angle, so take your time.

Once you have completed your memo board, you will need to add a wire to the back. Turn the memo board upside down on the floor and wrap the wire around two short screws you will insert on the left and right side of the board.
Have someone help you hang it on the wall, being careful not to bend it.

That’s it! Now you can fill it up with the people places and things that inspire and spark joy!

I look forward to seeing how this piece of “art” changes and evolves over time.
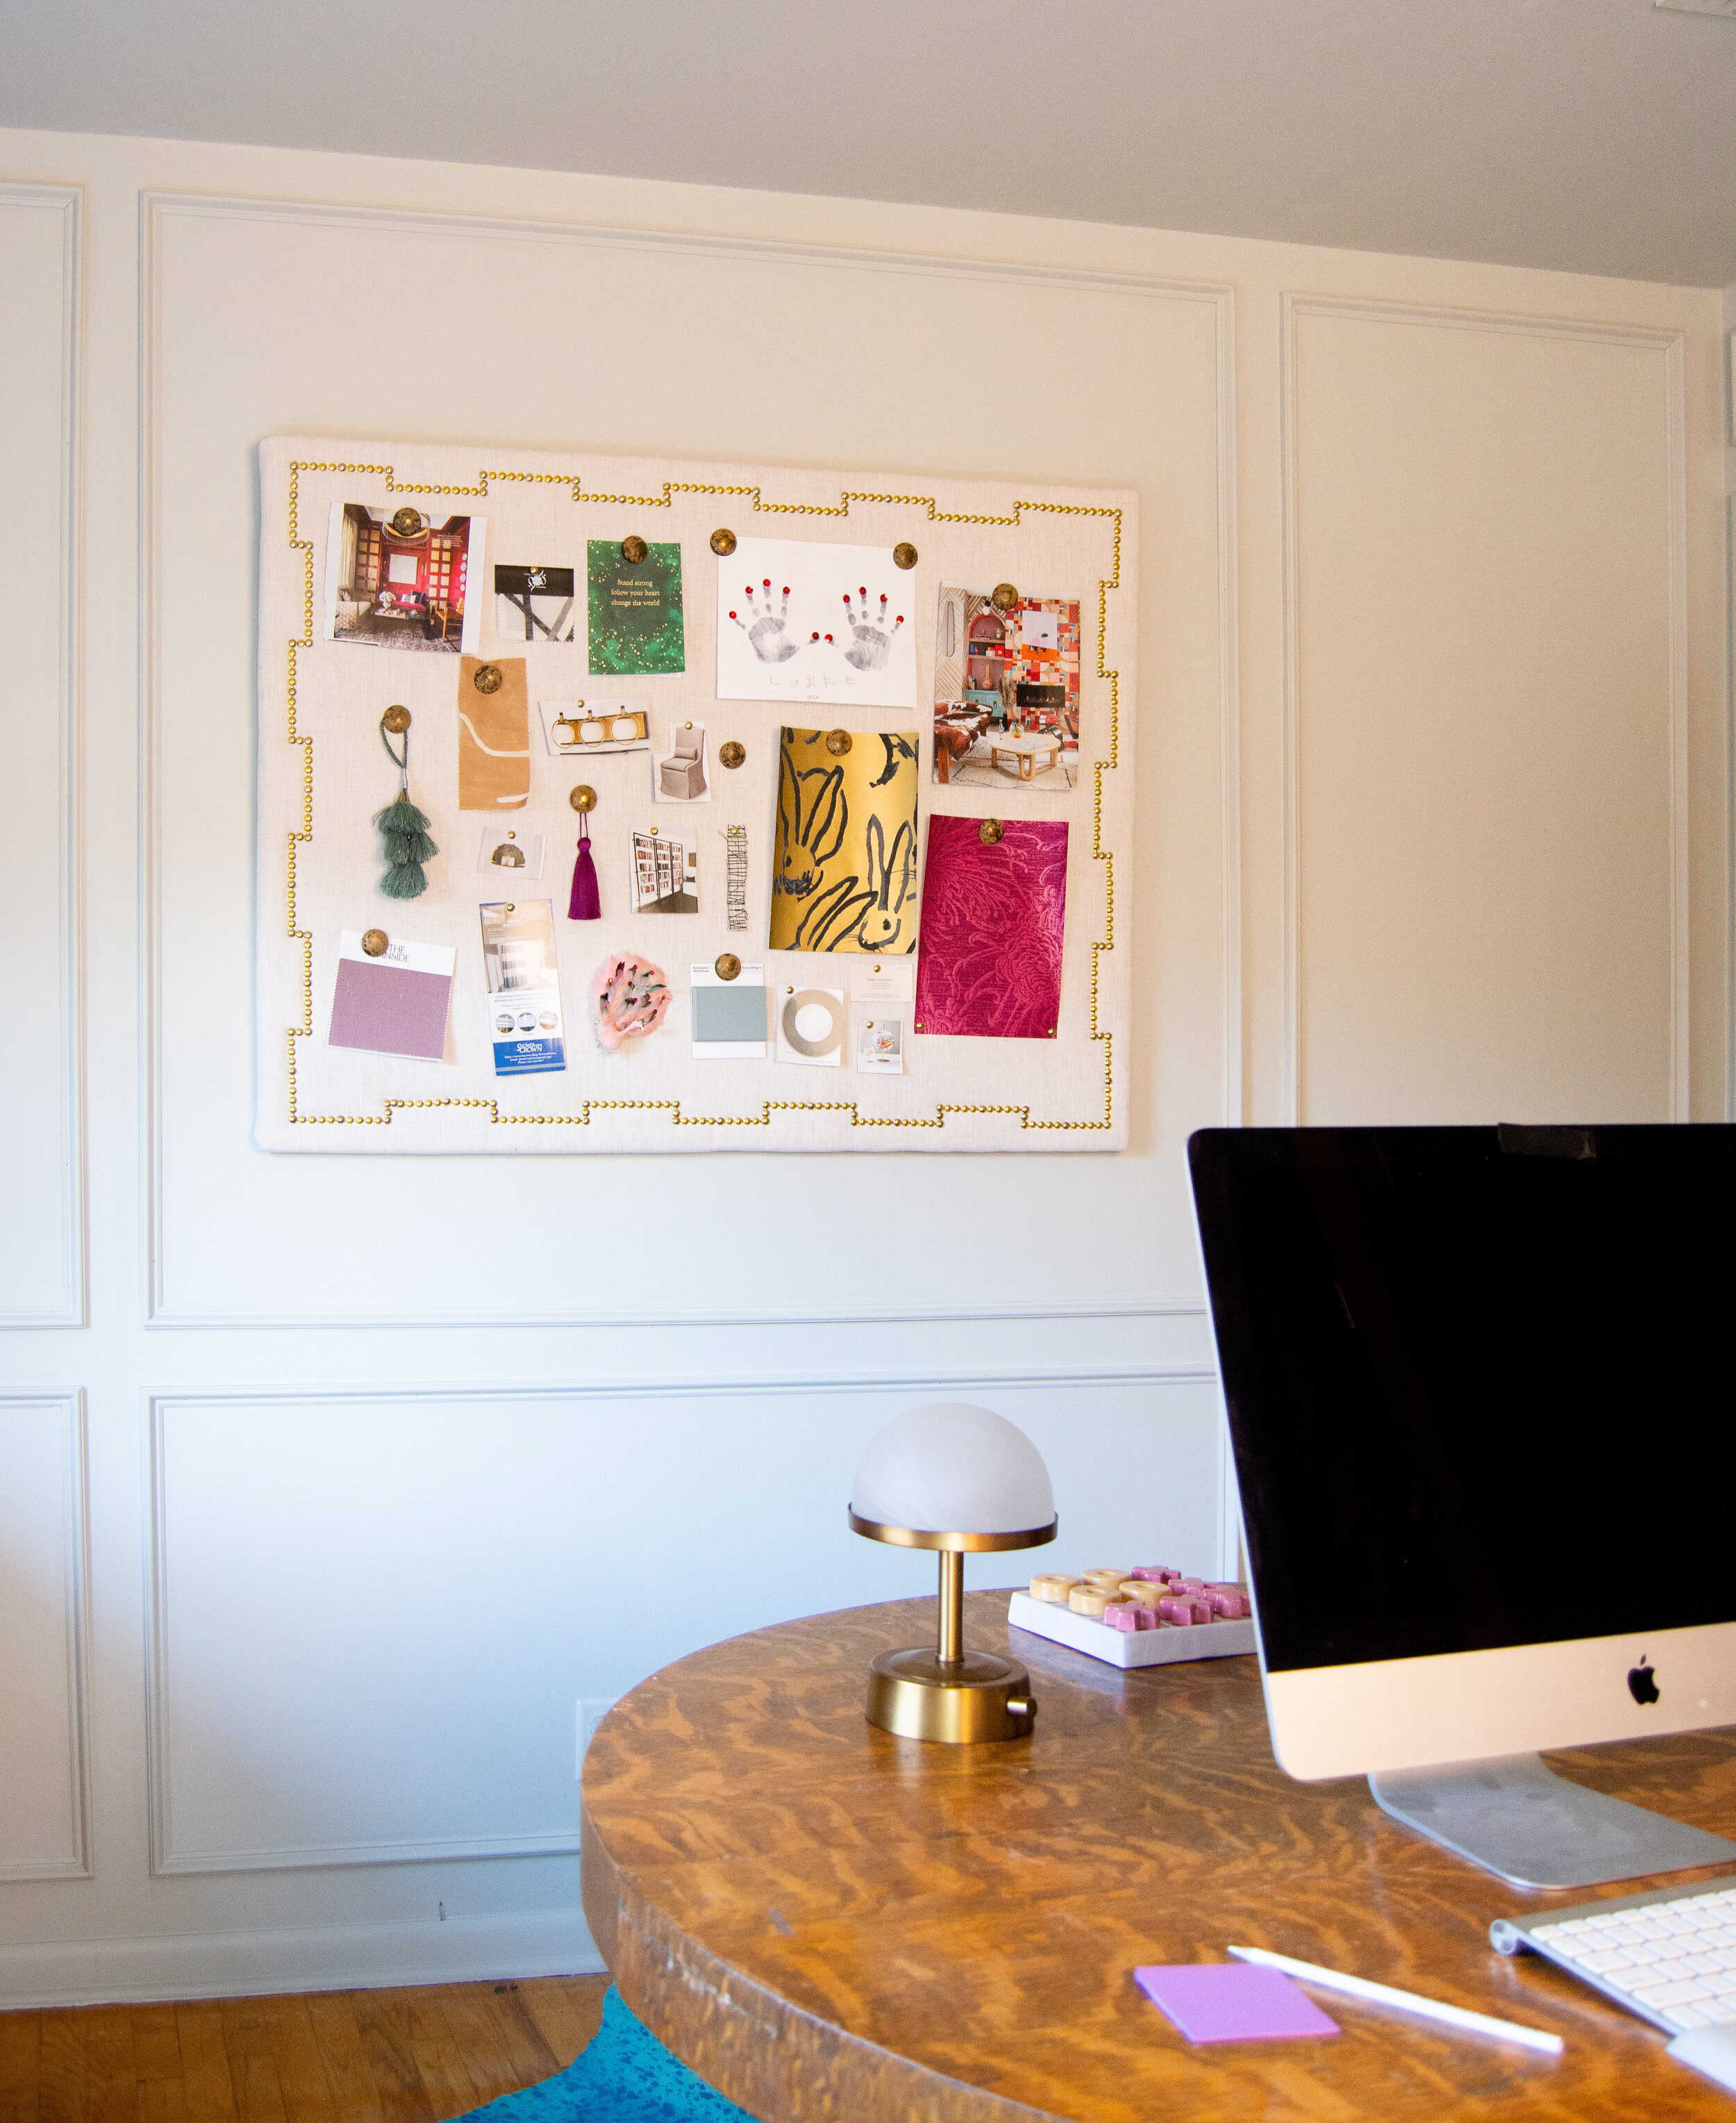
See more of this multi-use, family home office here
