Ikea Hack: custom built-in
One of the biggest needs I addressed in the design of our family home office was the need for storage. Not just for my interior design materials, but craft supplies for my daughter as well. So to conserve costs, I decided to use some Ikea Kallax shelving units I have had in storage. They were a glossy white when I purchased them, but have taken a beating over the years, so were in desperate need of some attention.

To my delight, the units fit perfectly into this room side by side! So I decided to refinish them to make them feel like more of a built-in. I did this by painting them the same color as the walls and adding some finishing details to give them a customized look.
Before

After

Read on for the how-to…

Materials needed:
Electric sander
Safety mask and eye protection (this is going to get messy!)
Bulls Eye 1-2-3 primer
Good quality interior paint (use one with an added primer for durability). I used Valspar zero voc. in a matte finish.
wood filler
Rolling brush with smooth finish sponge
Gorilla 10 second gel glue
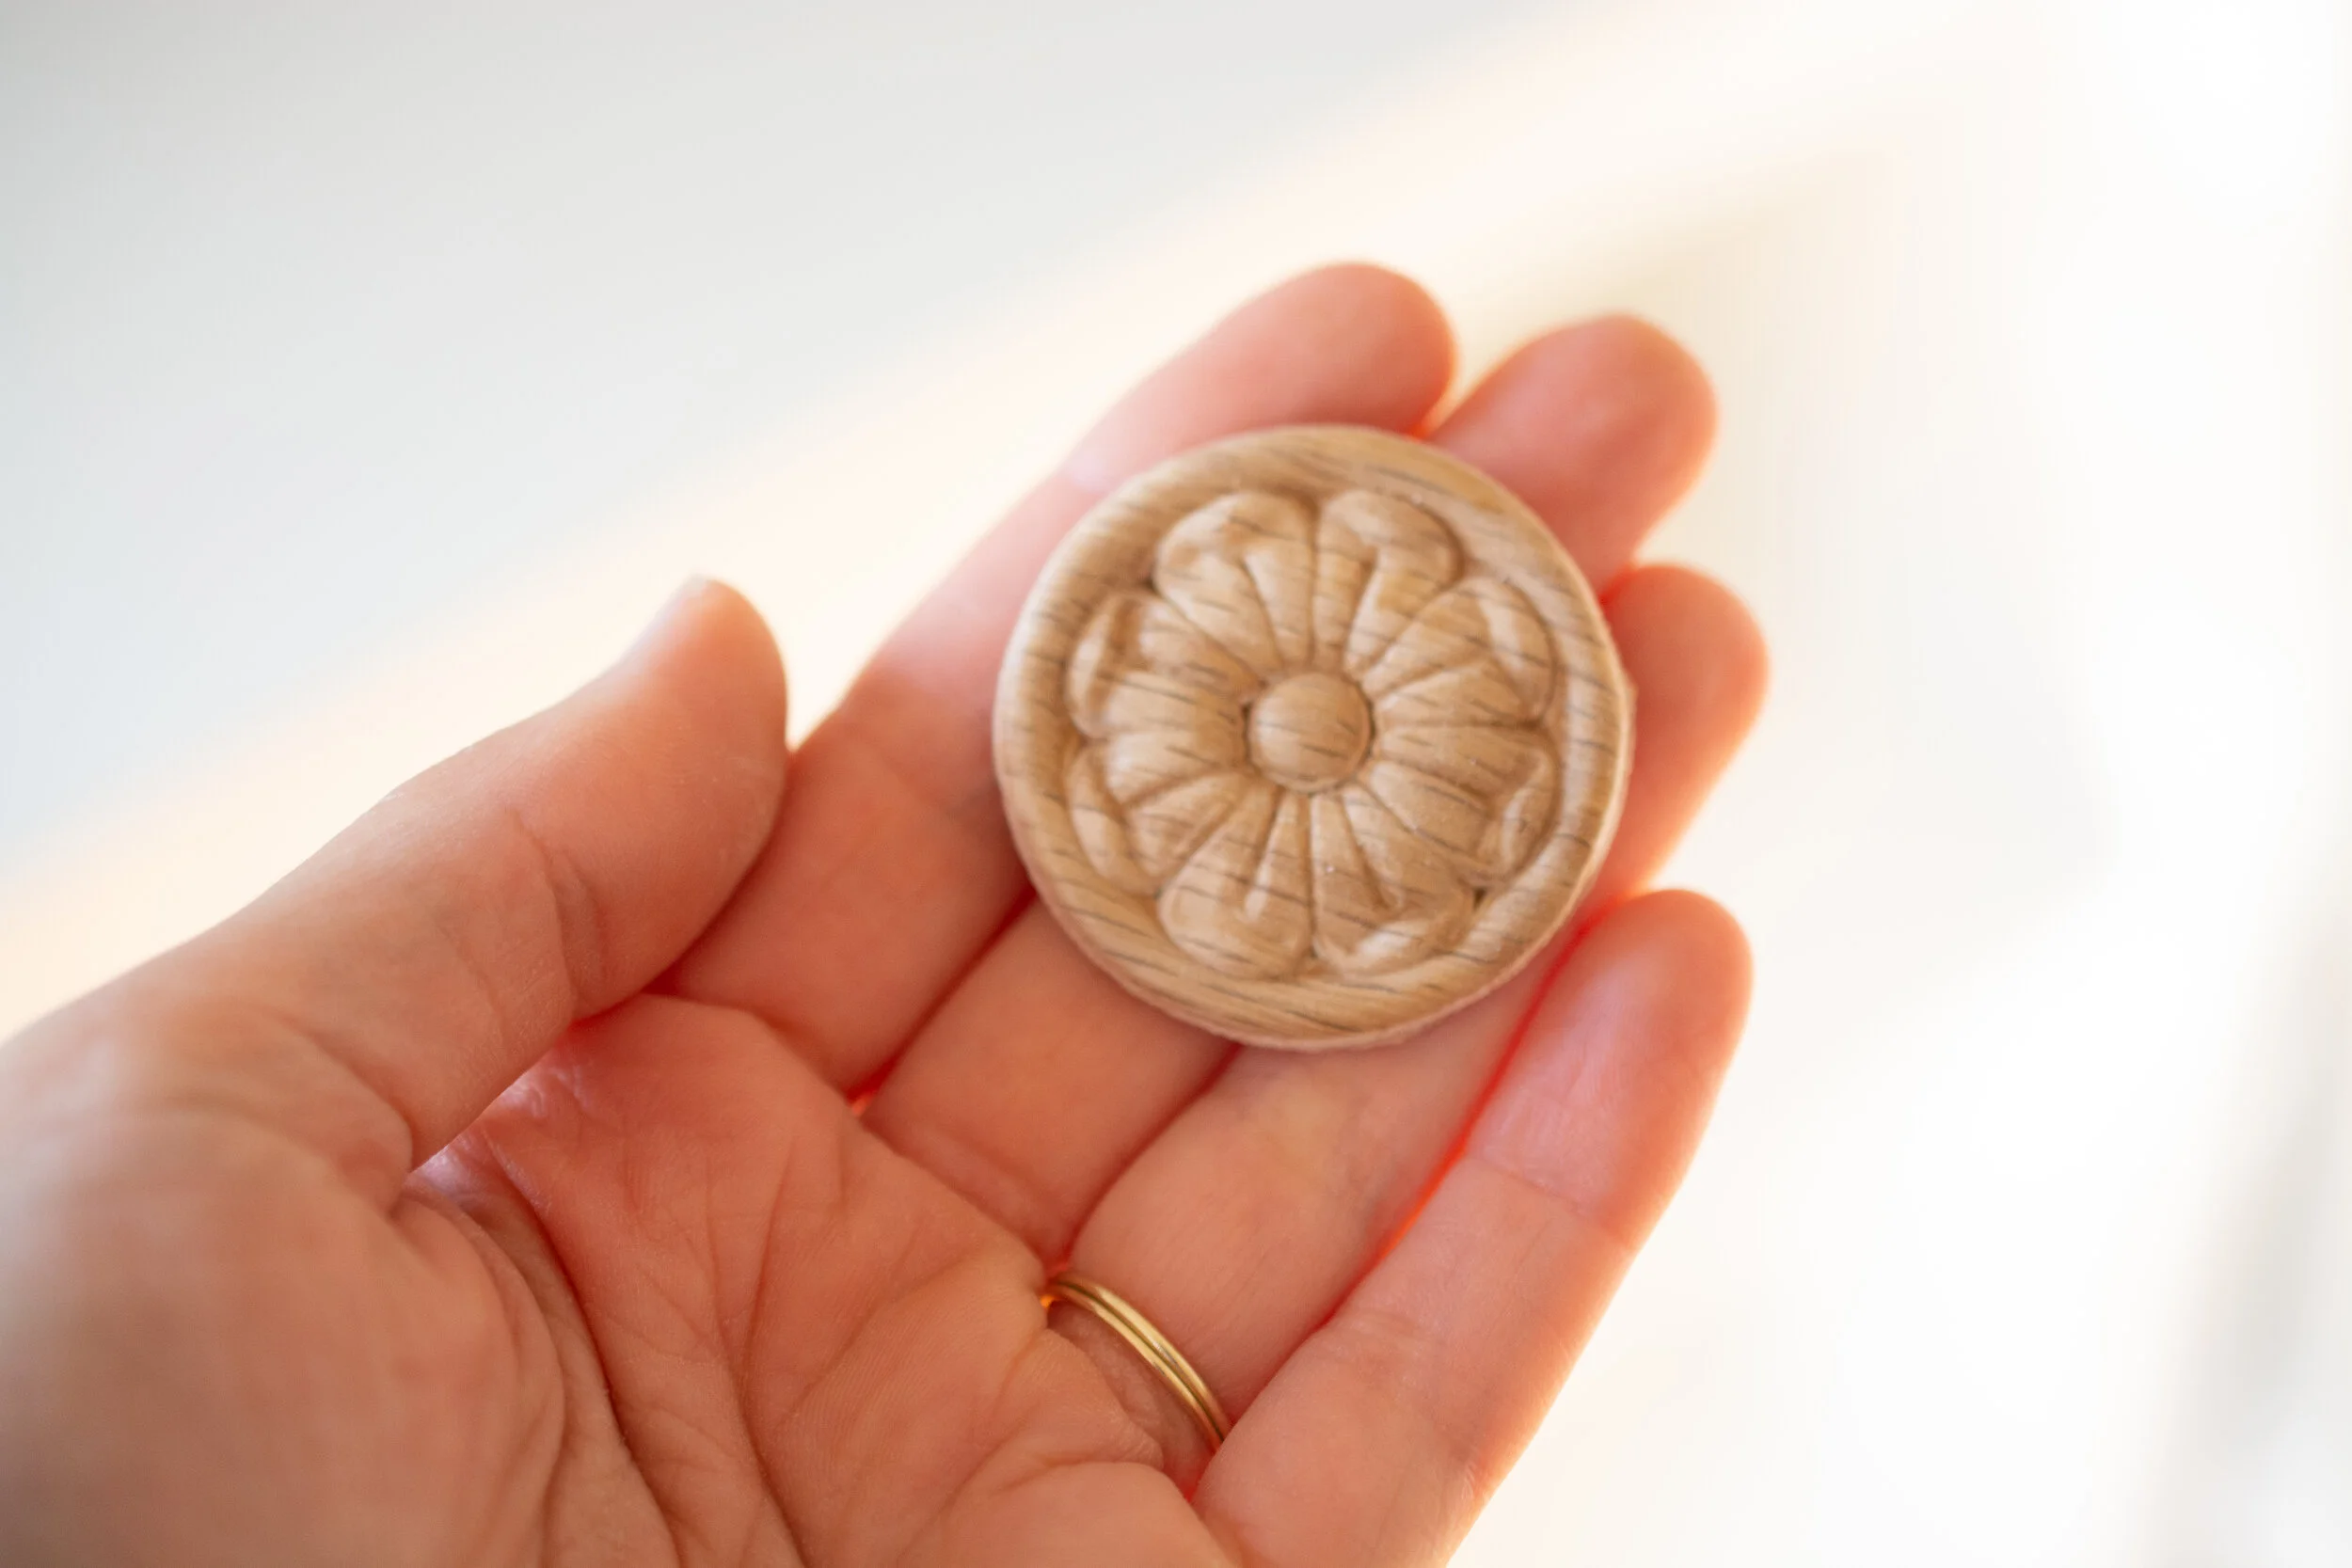
Wood appliqué of your choice for finishing detail (optional) I used these
To get started, you’ll want to have someone help you move the unit outside. Since there is a lacquer laminate finish to these, you really need to rough up the surface a bit prior to painting them. Rent an electric sander i you don’t have one, as it would be torture to do this part by hand!

Do this until you no longer see a shine to the finish. You will see brown parts of the particle board appear, that is okay. No need to entirely remove the color though - you don’t want to go too deep to the point you create undesirable texture.

Examine the corners and edges for any places were the laminate has become detached. Reattach these if necessary and use some wood filler (spackle) to fill in the gaps or dings. Don’t worry, this won’t be visible after you are finished. Sand smooth with sand paper (by hand ) once dry.


Next, give everything a good wipe down to ensure all the dust is removed.

Now you are ready to prime. I used Bulls Eye 1-2-3 primer with Purdy white dove rollers for extra smooth finishes. I am not a fan of foam rollers, but you can certainly use those as well. The paint will self level so don’t worry too much about texture you see at initial application.

Now you are ready to paint. Now here is the trick to getting this to feel like a custom, built-in: choose a paint color that matches your walls. I used a matte finish paint to minimize any flaws or textures to the finish. The end result is very clean looking.

Next, apply your wood appliqué if desired. I used these rosettes purchased on etsy, but Lowes also carries a variety. I painted mine prior to application but you can use wood filler on the seams and paint after if you really want to make this part perfect.
Use Gorilla 10-second gel glue to apply them as you will need to hold it onto the surface (if it’s vertical)) while it dries. You don’t want to be standing there all day and using a clamp on the thickness of this frame makes wood glue nearly impossible.

Ahhh so pretty!

The ornate wood finishing detail really makes all the difference. You would never guess it was once Ikea at this point!

I added one rosette to each of the four outer corners (skipping the middle). By doing this, it made the two shelves feel like more of one unit.

The biggest tip I can offer at this stage is to really give your shelves the full cure time before you start setting things on top of them. They will feel dry to the touch very quickly after painting, but need a fews days for the paint to really harden. If you do this, they will be very durable!

Now admire your work! And feel good about knowing you salvaged another piece of furniture from making it to a landfill! At this point, you can switch up the color down the road without all those other steps. So it’s really a piece you can have for life if taken care of.

See more of how I maximized this small space by clicking the button below:
