Sneak peek: Multi-Use Family Home Office
We have been busy working away at our next project: a multi-use, family home office! Sound familiar? I think everyone has been thinking about how to utilize the space they have at home more efficiently. Especially when space is limited (like in our 1200 sf brick ranch). Homes have become offices, gyms, classrooms…you name it. And ours is no exception.
This (former bedroom) space is going to primarily be my new office/studio for my design clients. Since people are staying at home more these days, I am offering edesign services and needed a place where I could FaceTime and zoom with clients, showing them samples etc..
BUT, it doesn’t stop there. With my daughter starting kindergarten next year, and really having no idea what THAT will look like, I wanted to set up a homeschool area. Even if she isn’t schooling full time at home, I want to be prepared with a work station for her. No, I won’t be getting work done in here with a 4 year old by my side (I’m realistic lol), but I wanted to make sure it was a place she could also utilize when I’m not working. Oh, and did I mention I needed a place for my tread mill? And all my design samples? And a place we can play games together as a family? And work on crafts? And that the room is 10x10 feet?
Okay, okay, let’s get to it already.
BEFORE
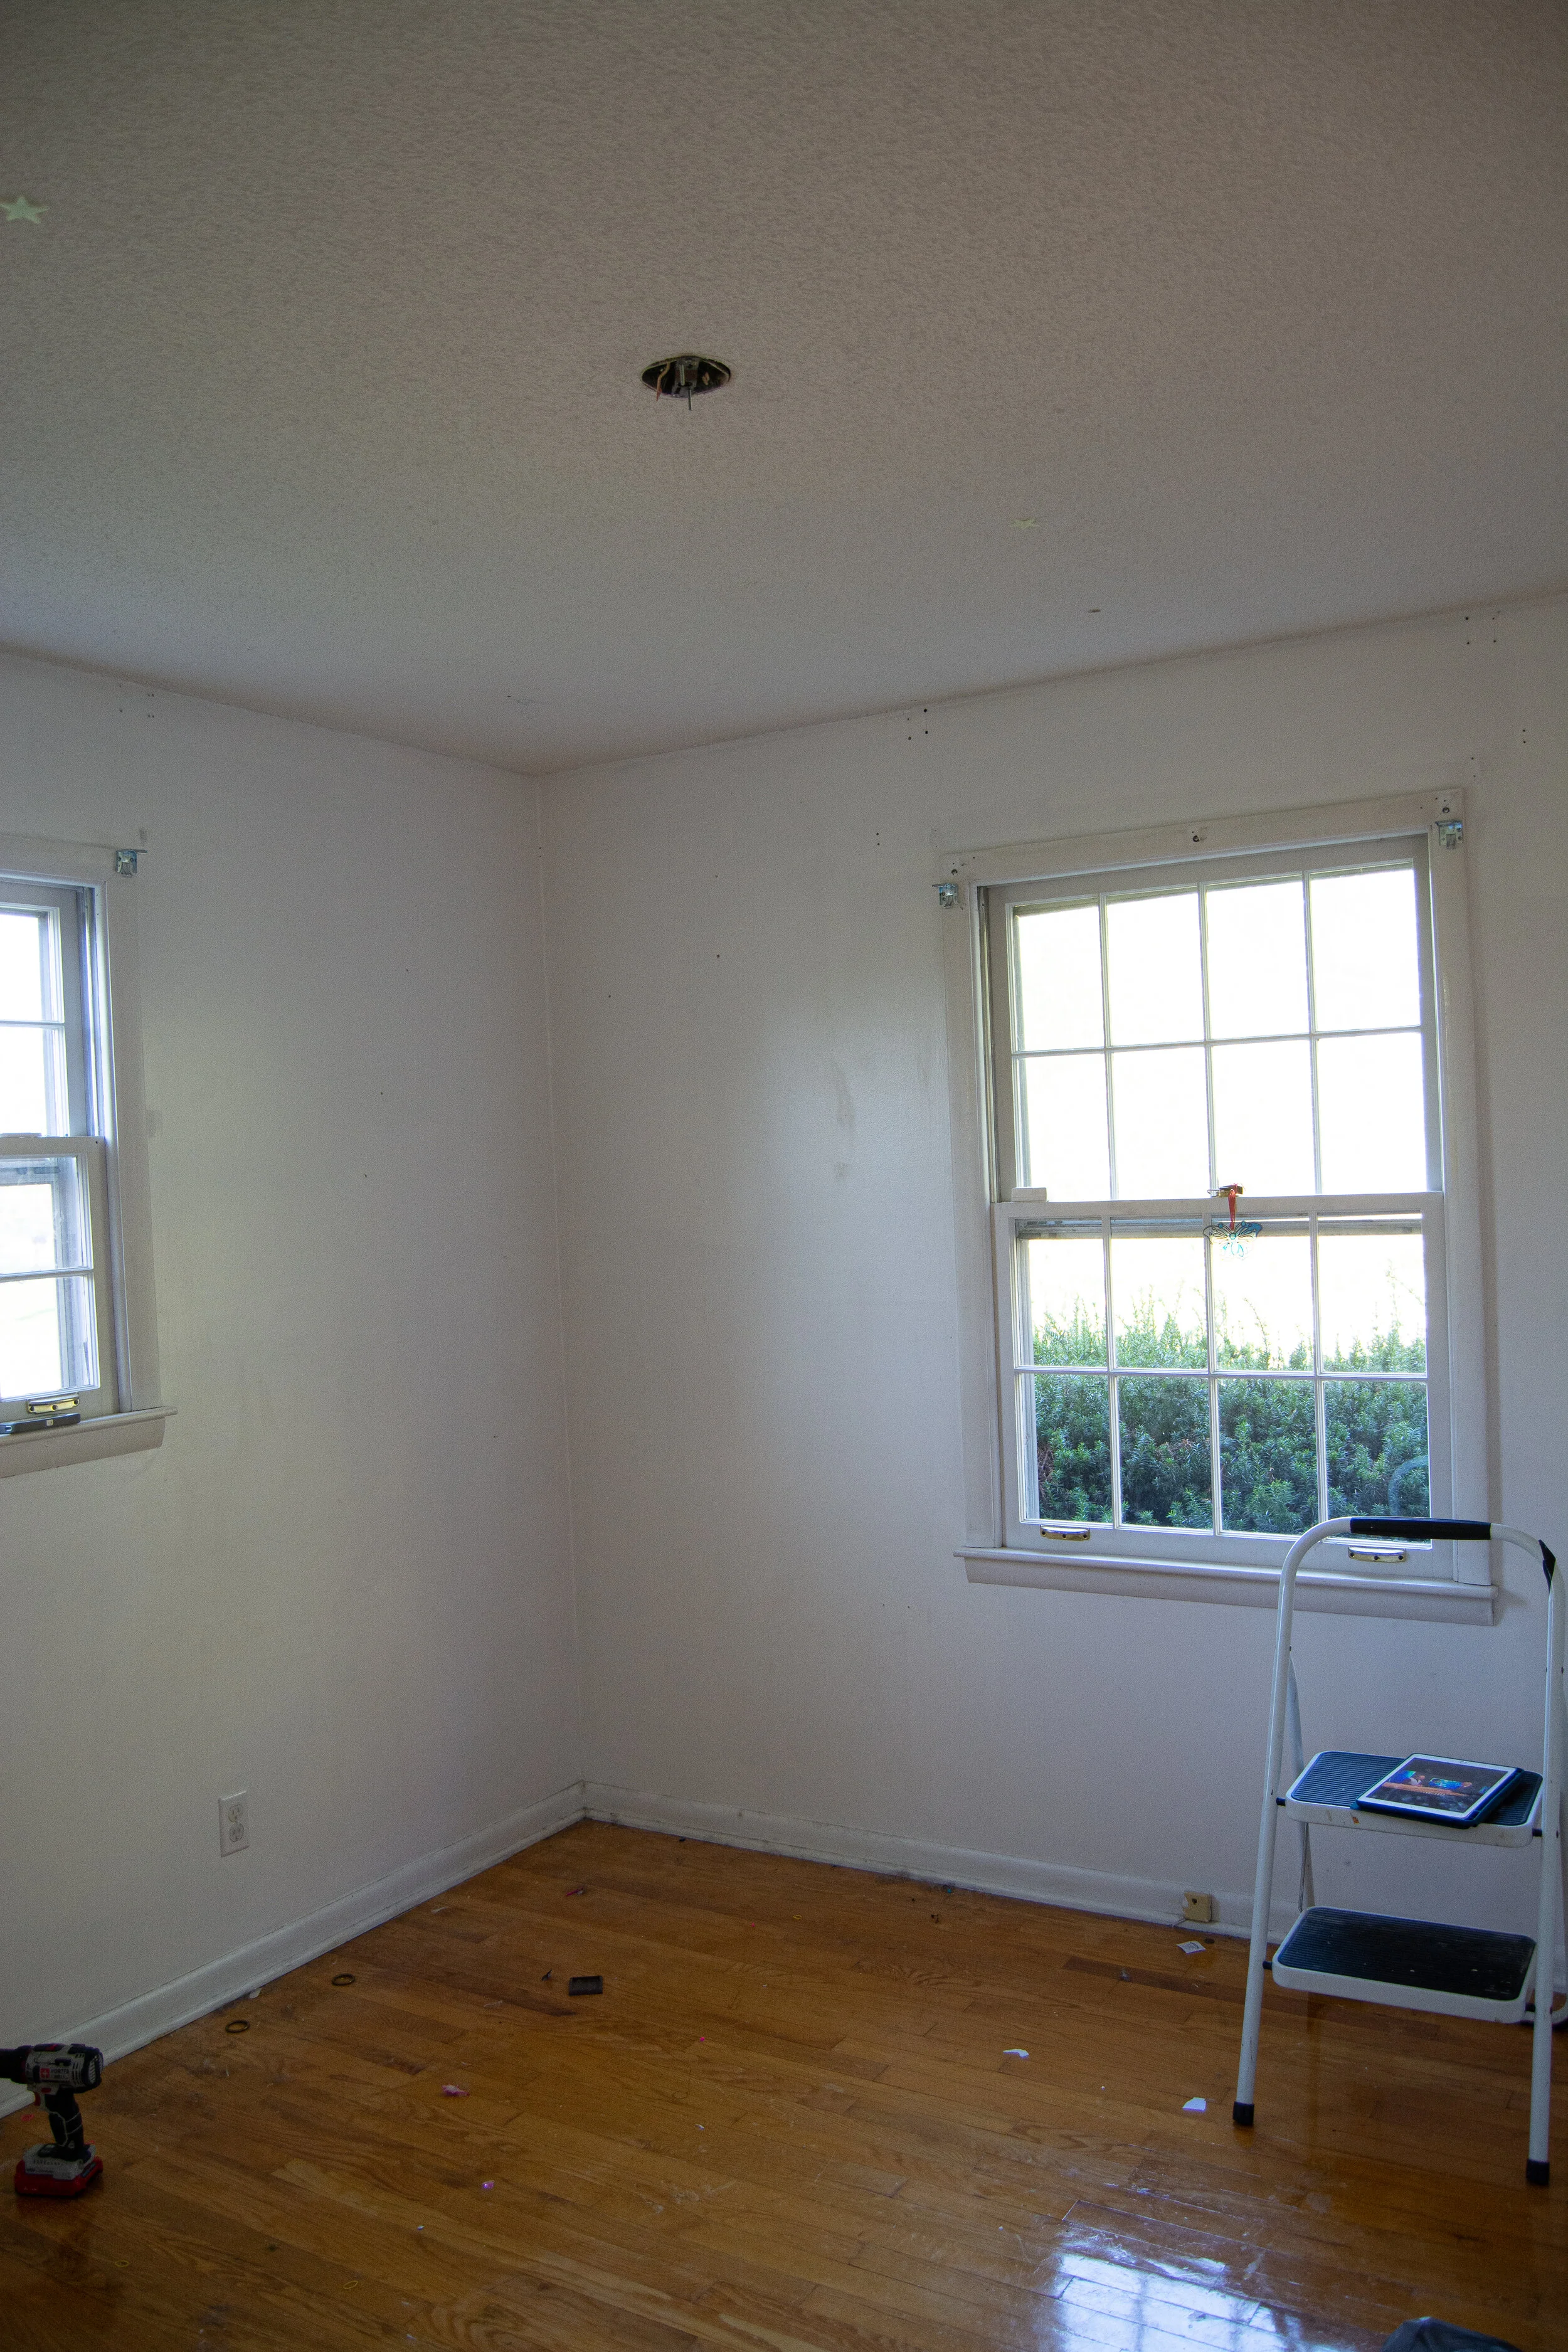
office before
First thing to do was remove the popcorn ceiling. I couldn’t find a contractor who was willing to come out and do the labor for just this one small room (can’t blame them) so I did it myself! More on that later…

removing popcorn ceilings
Already you can tell such a huge difference. This is what the dry wall looks like underneath the popcorn.

popcorn ceiling removal
The next thing I did, was add a fresh coat of soft gray paint. If you remember from my last post on making ceilings appear taller, I added the wall color to the ceiling as well to open up the space visually.

light gray wall paint color
I’ve always admired picture molding in other peoples homes but never thought of it for myself. Mostly because it felt soooo over-the-top luxurious and didn’t really fit in line with the period of our home. But then I decided to throw all of that out the window and do what I want! We are having fun in 2021.
So I played with some tape to get the placement just right (I’m behind the camera, as usual lol)

picture moulding how to
And my handy husband was nice enough to build them for me.

installing picture moulding
With space being so limited, there isn’t a whole lot I can fit in here in terms of furniture (especially with a GIANT treadmill situation that takes up…I swear…1/4 of the room), so I decided to give these ikea cubbies a makeover. We need all the storage we can get and these will be perfect. I’ve had a pair for the longest time almost tossed these to the curb more times than I can count. Really hated them, but now I LOVE THEM!

how to refinish ikea shelves
I really reworked these suckers - sanding them down and refinishing them with custom details to make them feel more like a built-in. More on this later…

how to refinish ikea shelves
We got creative with our desk and I decided to do something a little unconventional since there are going to be multiple people using this work surface. This piece of furniture has the date 1907 on the bottom - swoon! My first thought was, it’s made it so long, I really hope we don’t break it. LOL. The grain is so gorgeous. We just needed to make a couple of alterations to it to make it function for our family.
Getting our daughter in here has helped her feel like a part of the process. It’s all starting to feel so special!

My favorite part of the room has to be this closet. Unfortunately I don’t have a before pic, but it was a typical bedroom closet with clothing rack. It really is spacious (compared to our other closets) and since this room wasn’t functioning as a bedroom, I wanted to utilize the extra square footage as part of the office. Closets should have more fun in 2021, too. Don’t you think? They are a great place to use a bold color or wallpaper since they aren’t spaces you actually spend any length of time in. Every time you open the door, it’s just a happy surprise. What could be better?
I knew the moment I saw this Spoonflower wallpaper entitled, “Italian Tiles”, that it was the one I wanted to use in this closet. Can you guess what I will be storing in this here? My tile samples! Now who’s clever? LOL
I love the way it looks with this print from Artfully Walls.

wallpapered closet
I snapped this pic before the molding went up. This space already feels so inspiring. I even enjoyed it for a few days with no furniture - it feels so clean and open.
Right now, we are working on all the finishing details: installing window treatments, cord management, installing lights, waiting on seating to arrive, figuring out craft storage and something special to conceal the treadmill. I will also have some fun DIY projects to share.

light gray wall color
STAY TUNED for the final room reveal coming soon!!!