How to paint a fridge (without emptying it)
One of the most impactful changes to my recent kitchen renovation was the simple glow-up I gave to this old fridge! This was such an easy project but I really wanted to make sure the finish lasted before I shared a tutorial.

how to paint a fridge
This post contains affiliate links, which means I make a small commission at no extra cost to you. See my full disclosure here.
Well, I got news for ya, It did last! With just some small hiccups. It’s definitely clear to me what I would do to make it even better next time.
Read on for the tutorial and to see how it looks 3 months later!

how to paint a fridge
How to paint a fridge
Materials:
wall filler (spackle)
cleaning cloths or magic erasor
latex bonding primer I used this one
latex paint of your choice in flat or eggshell finish (see my notes below) I used Valspar Signature interior paint and had the color matched to my wall.
clear paint sealer like this one

how to paint a fridge
Remove the branding if you like. This pops off easily with a putty knife.

how to remove the branding from a fridge
Use wall putty to fill in the hole remaining.

removing the branding from a fridge
2. Go over the surface with a fine grit sand paper.

sanding a fridge
This is going to rough up the surface and allow for better adhesion. As you can see, the surface is scratched up quite a bit.

sanding a fridge
3. Clean the surface thoroughly

how to paint a fridge
4. Next you are going to go over it with a bonding primer. I used a gray primer because I was going from white to a very dark color.

how to paint a fridge with bonding primer
Although the surface of the fridge is textured, I didn’t want to add to that so I used a roller with a smooth nap.

how to paint a fridge
Now, I know the way to do this right would be to remove the contents of your fridge and turn it off, but not having a backup fridge, I didn’t want to do all that! So I used an angled sponge brush to paint all of the exposed areas. Make sure you don’t get paint underneath the suction pad as it will make it sticky later.
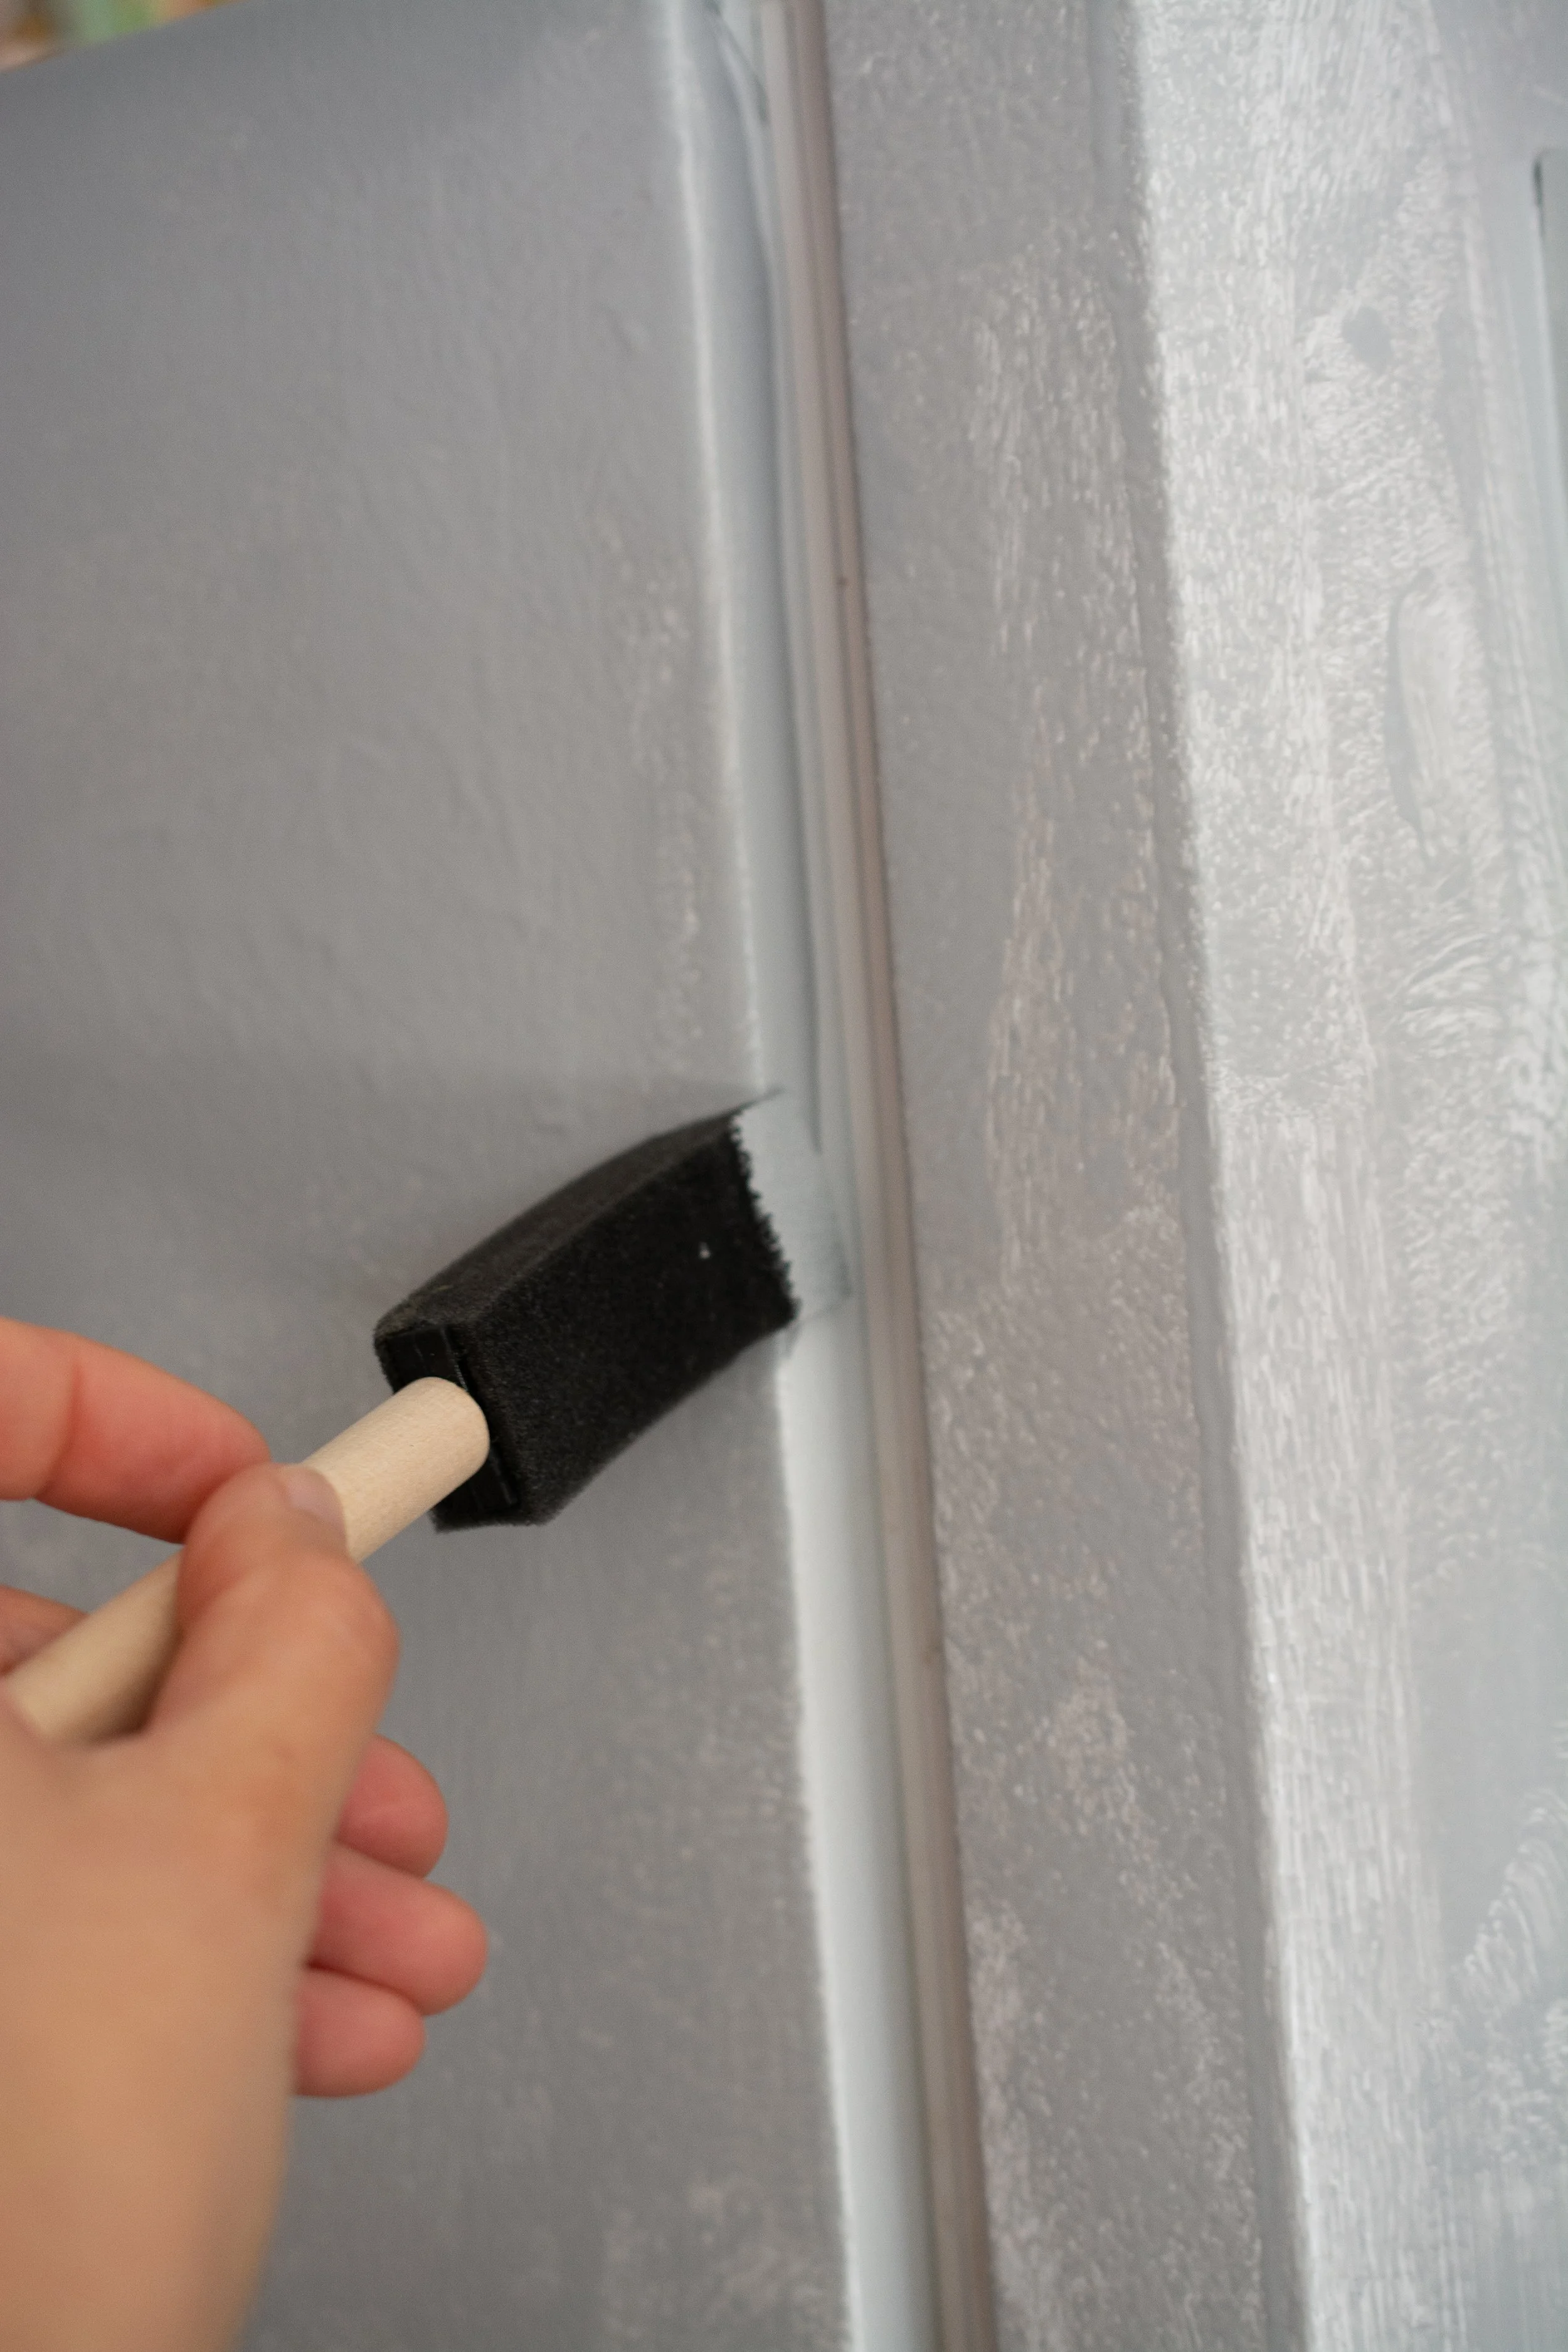
how to paint a fridge without emptying it
At this point, you might be wondering what mess you have gotten yourself into. Just keep going!

how to prime a fridge
Don’t forget to also prime the handle. Again, I was lazy here and didn’t remove it, but you certainly can if you prefer.
how to paint a fridge handle without removing it
The only part I didn’t touch, was the white strip between the freezer door and fridge door. It was enough that I had to do the sides with the brush - ensuring a straight line. I just didn’t want to do it again here. I didn’t want to open the fridge door and see a bunch of wavy paint lines, so I left it alone. All things considered, I’m fine with that.
Don’t worry too much about the appearance of the primer coat. After it has completed drying (according to the directions on your primer can), you are ready to start painting.
how to paint a fridge
5. Now you can start painting! I used the same color as my wall color, because I wanted the fridge to have a built-in, paneled look. Make sure to use a flat or eggshell finish as anything with more sheen is going to accentuate the texture on your fridge.

how to paint a fridge
And you are basically going to repeat what you did with the primer, only this time applying more coats.
One additional step I did take was to go over the handle with an paint sealer. Because the handle is what actually gets touched the most, this is an important step (see my additional notes below)! I used the sealer from my floor paint kit.

painting a fridge tutorial
I used a small paint brush to get in the nooks. You will need to open your door to paint the top of it. Don’t worry, once you close to let it dry, it will not mess up the finish.

painting a fridge
And there you have it! Waaaaaay better, right?

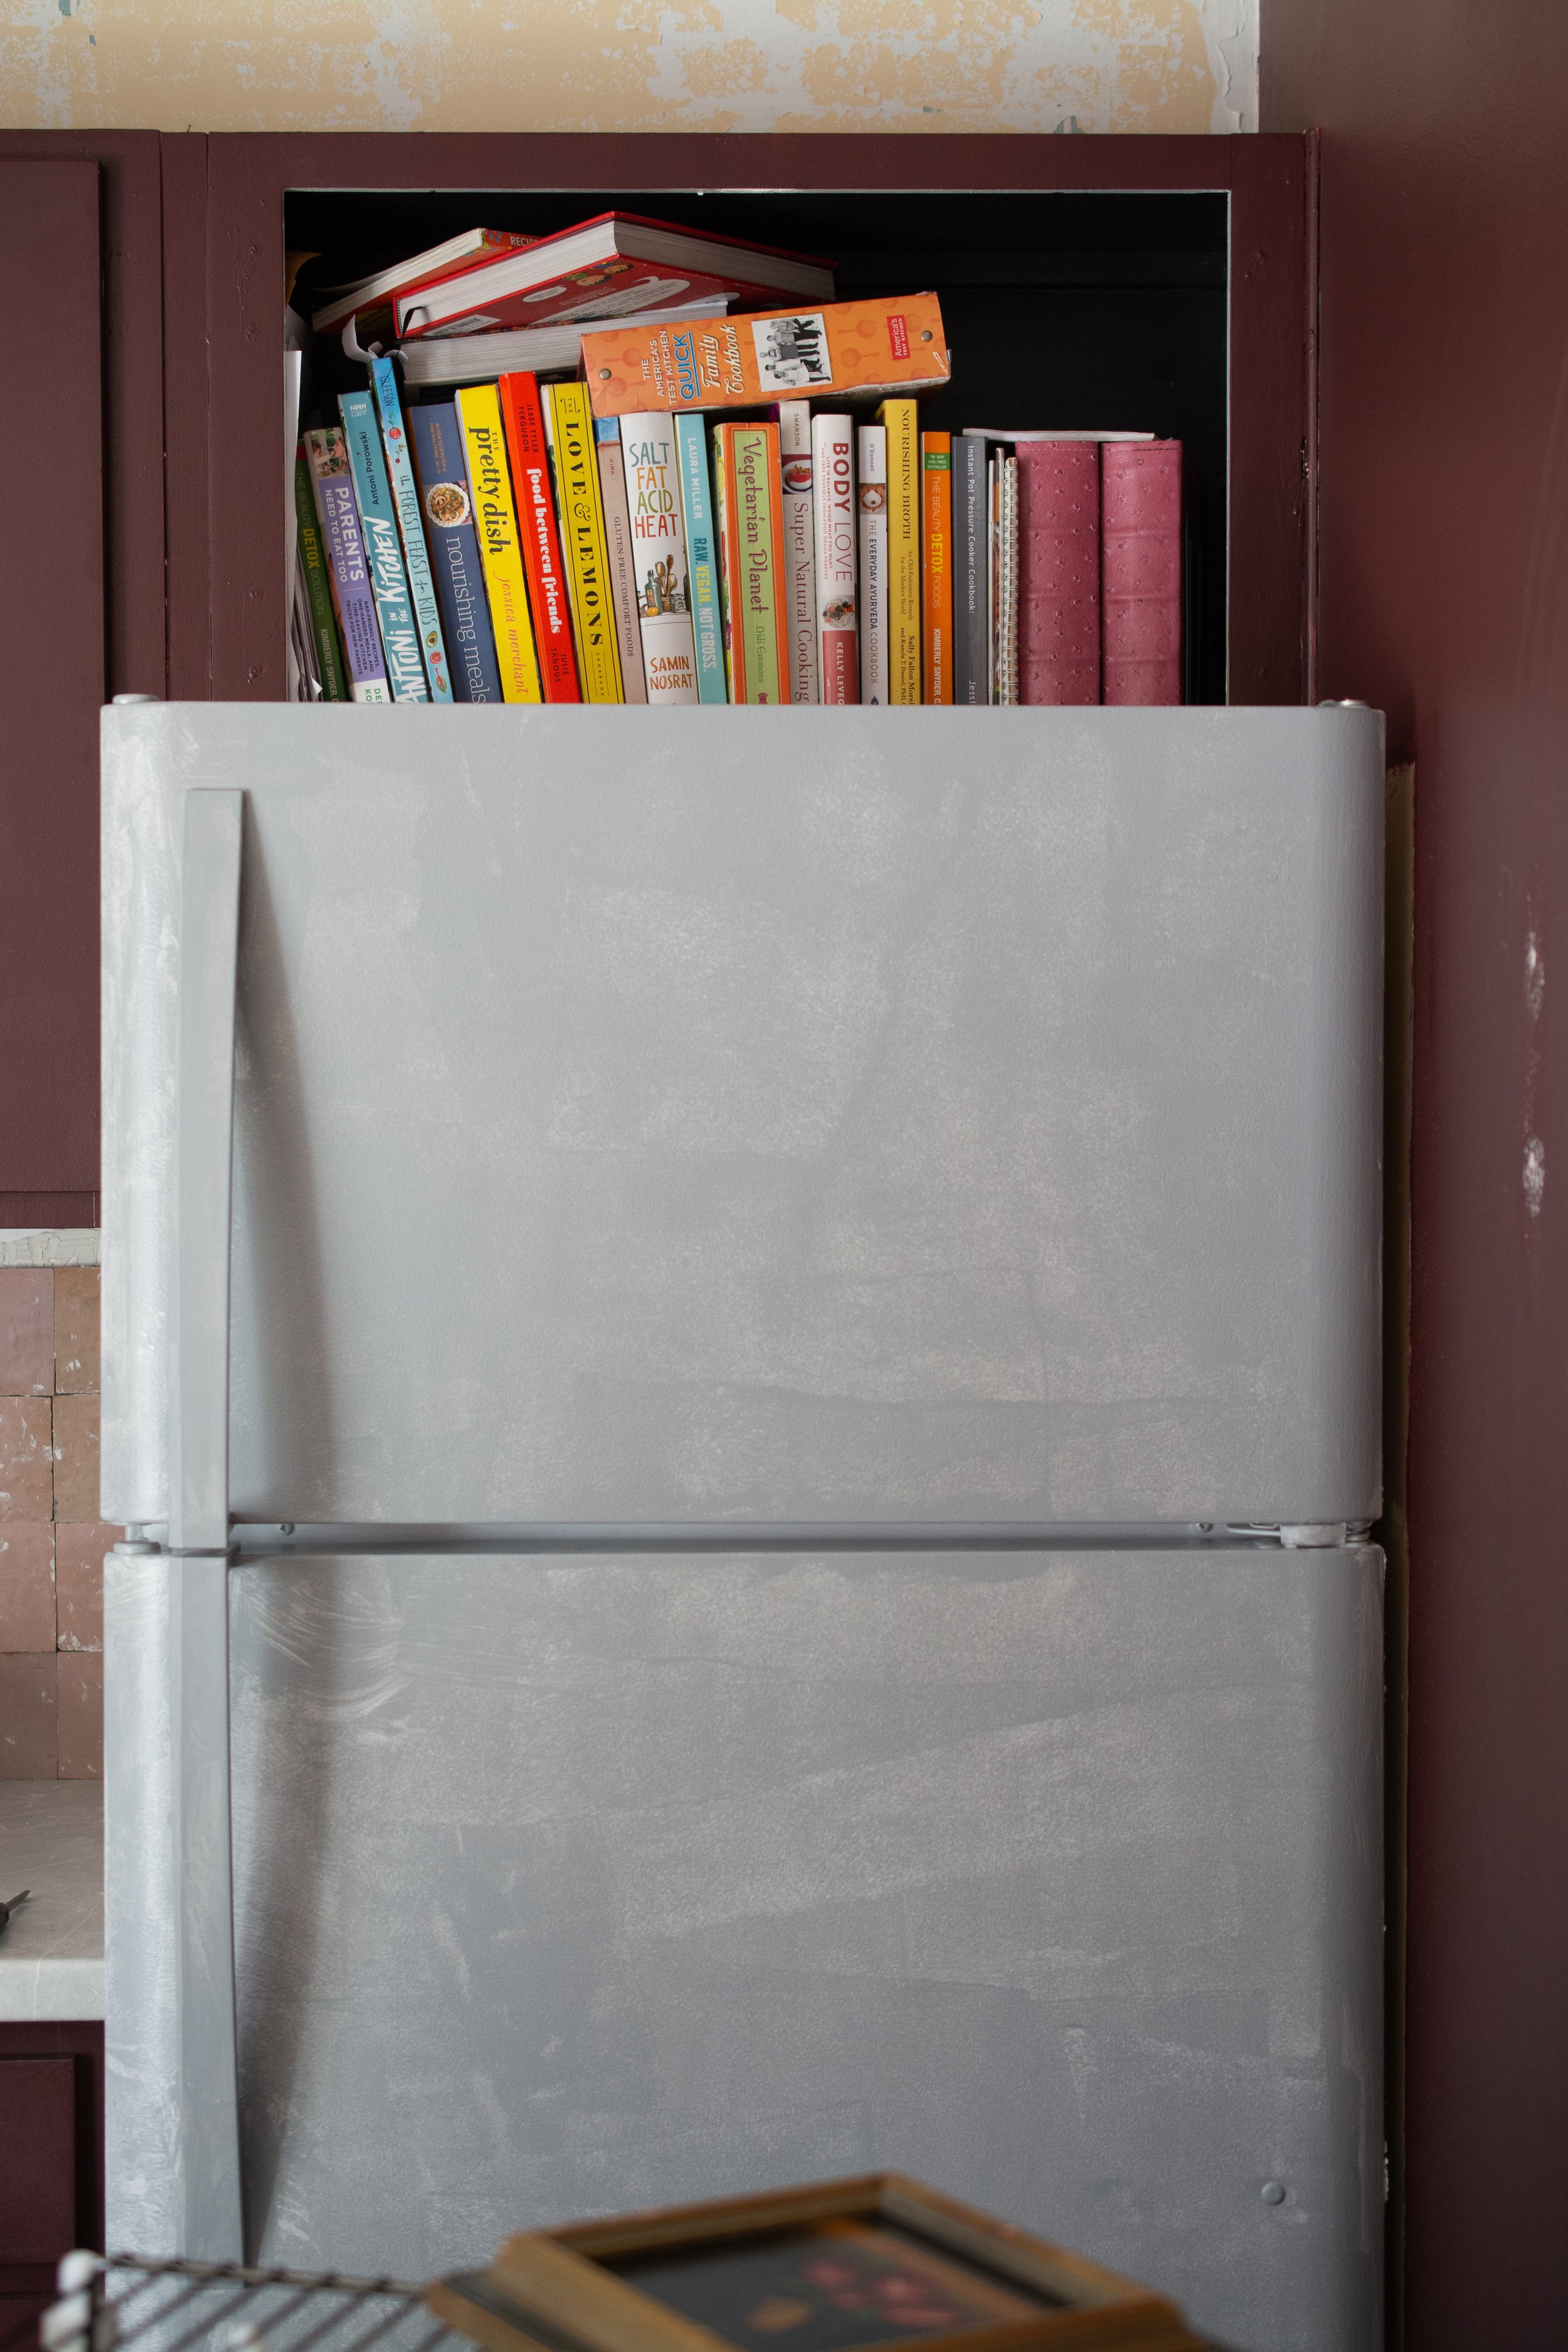
painted fridge in kitchen
So what does it look like after 3 months of wear and tear? Still great! The surface of the doors and side have had no sign of wear and I have been able to wipe them down with no problem (the haze you see on some spots is from wiping it down just before snapping this photo and apparently it wasn’t all the way dry - whoops!).
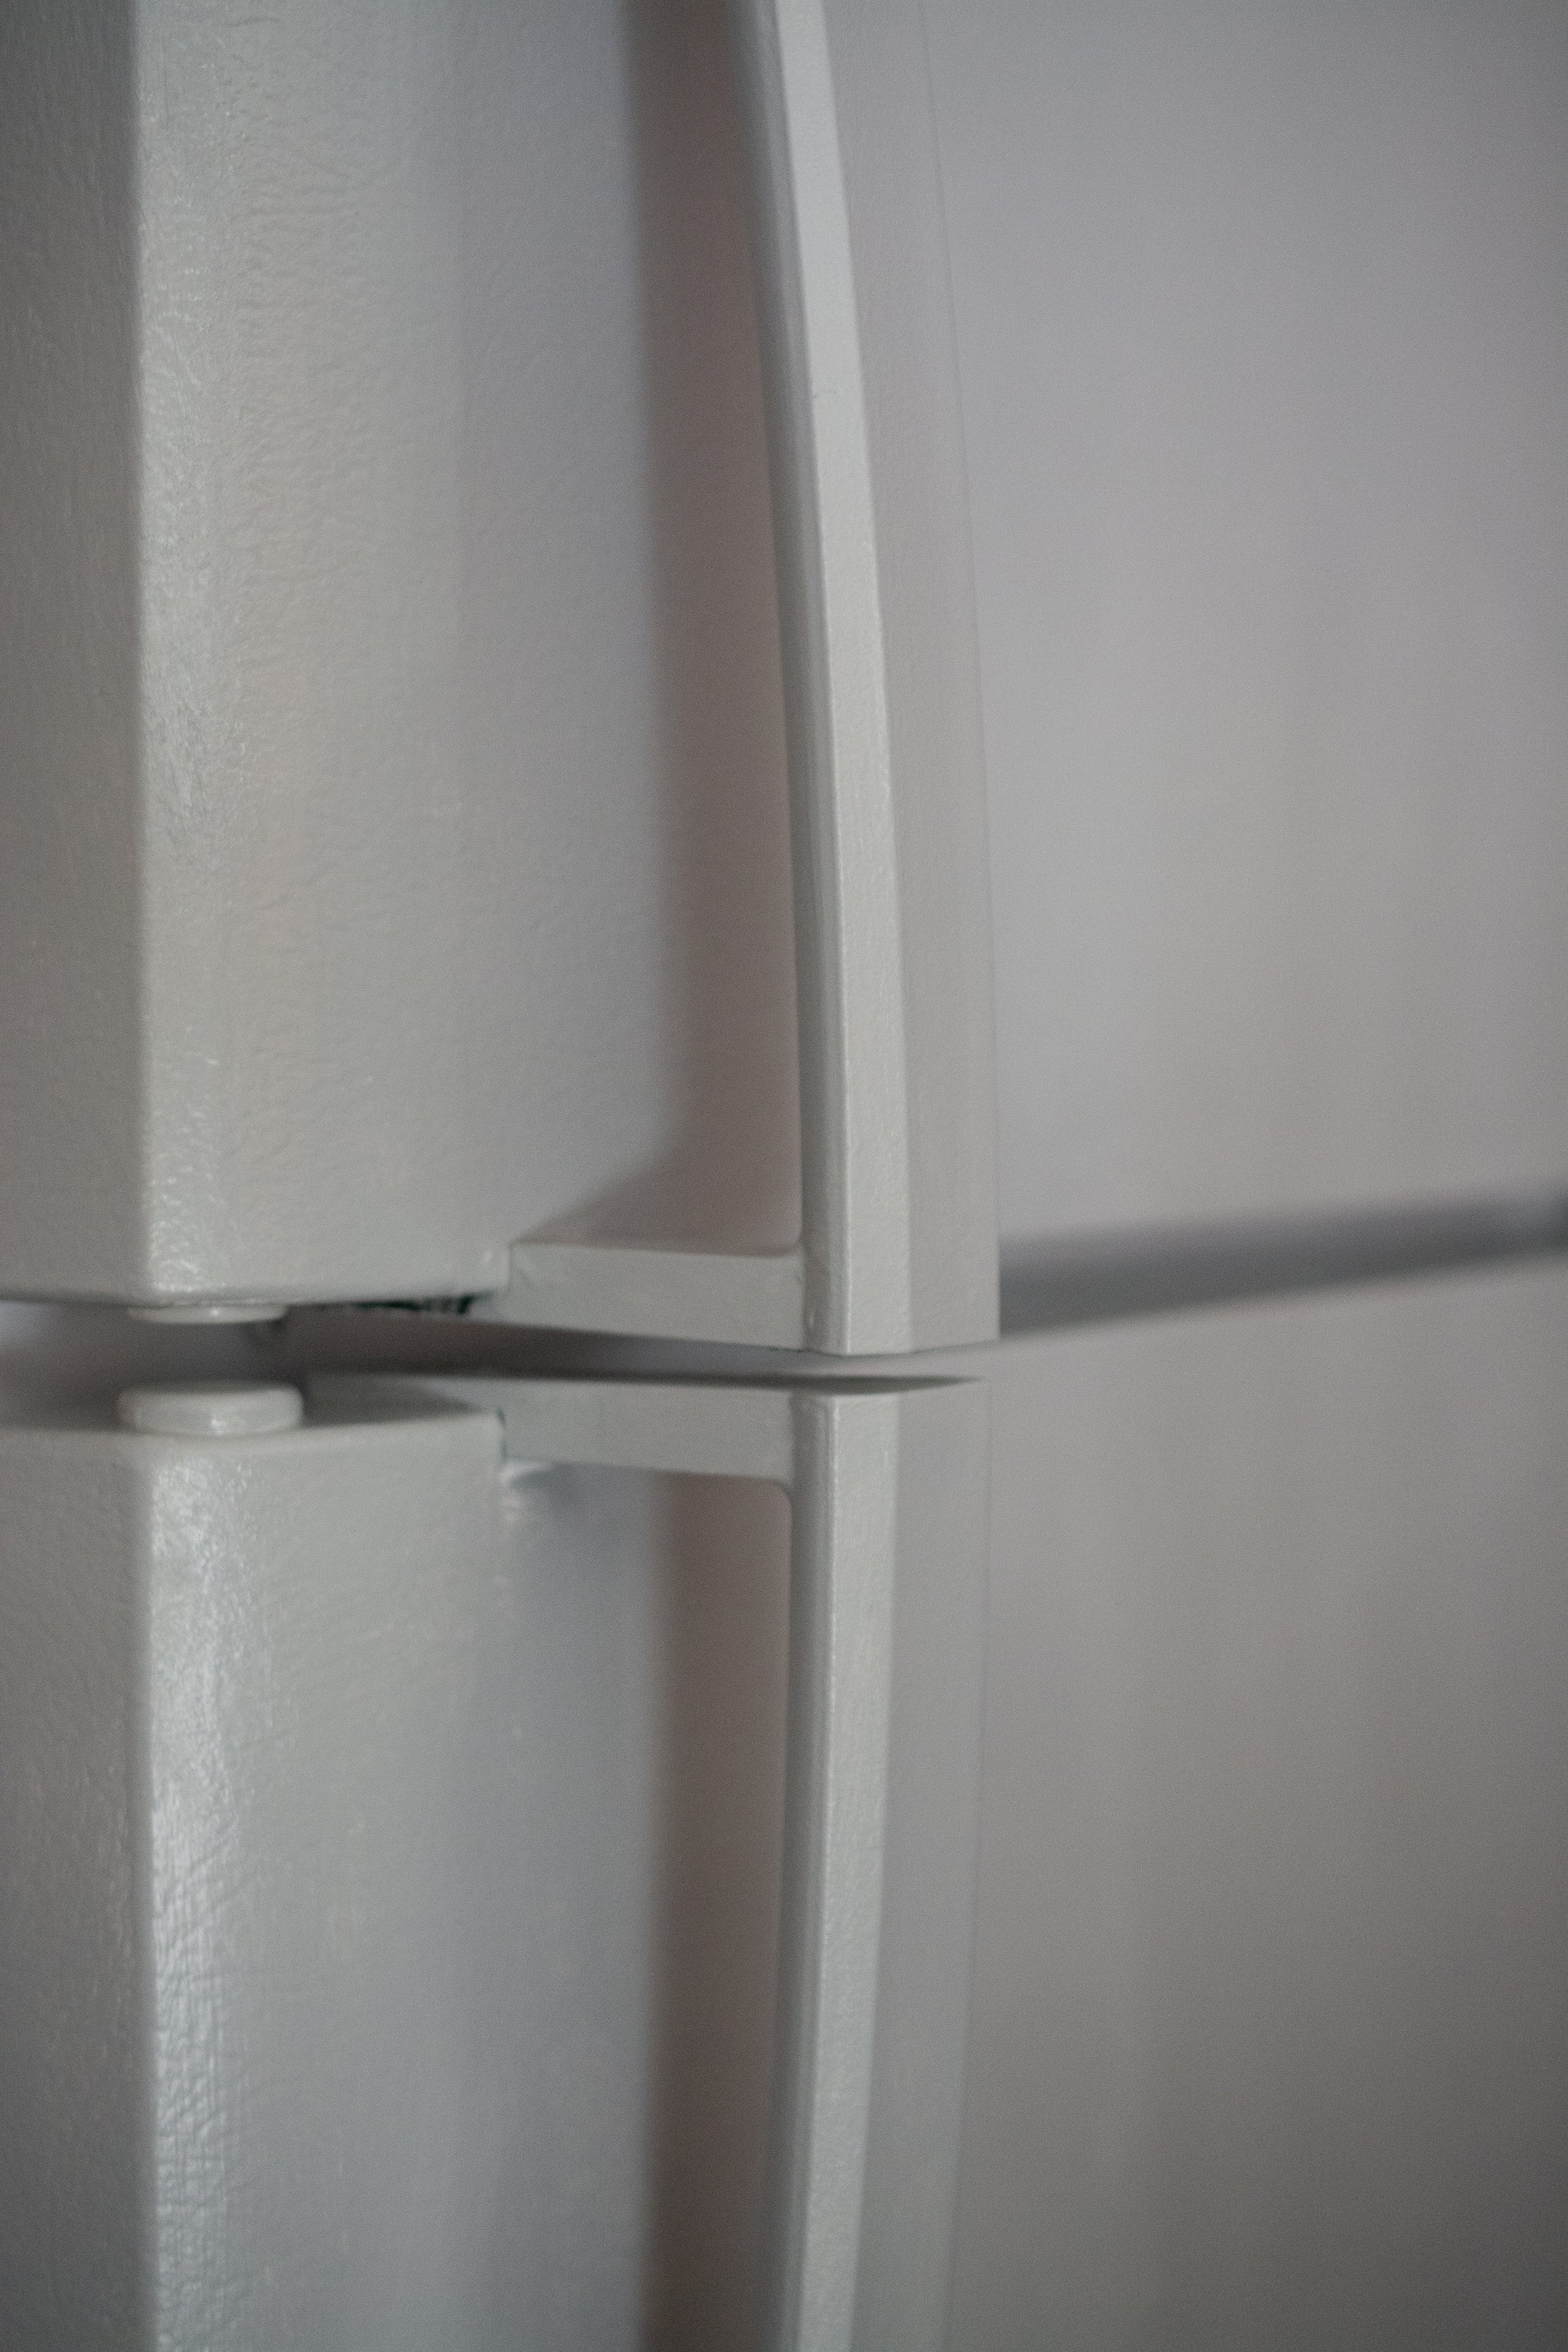
What did have some minor chipping was some parts around the handle itself. In hindsight, I’m actually not surprised as these are parts I really didn’t think about during the process (the joints and underneath portion).

painted fridge
You see that little button at the top? Apparently this part is where your hand rests when the door is open, and rings must scratch it. I didn’t even think about sealing this part. And when I did seal, I only sealed the front of the handle, not all around it, and in the joints. Next time, I would apply extra sealer to the entire handle. Come to think of it, I don’t think I sanded the handle either. Since this is a much harder plastic than the vinyl of the fridge doors, it makes sense to me that this peeled.

painted fridge
Would I do anything different next time?
Other than sanding and sealing the handle thoroughly (twice), I might actually use the paint I used on my floor instead. It has held up to soooo much abuse, and I can see why it would work like a charm on a fridge (particularly thinking of the handle here). You might be wondering why I didn’t just use my cabinet enamel on the fridge? The reason being the cabinet paint had a satin sheen to it, and I didn’t want the fridge to have any shine for fear the texture would stick out. Otherwise, this would have been another great option!

how to paint a fridge, step by step tutorial
All in all, I’m very pleased with how it has lasted!

painted fridge in kitchen

Meet your eDesigner
Katherine Thewlis