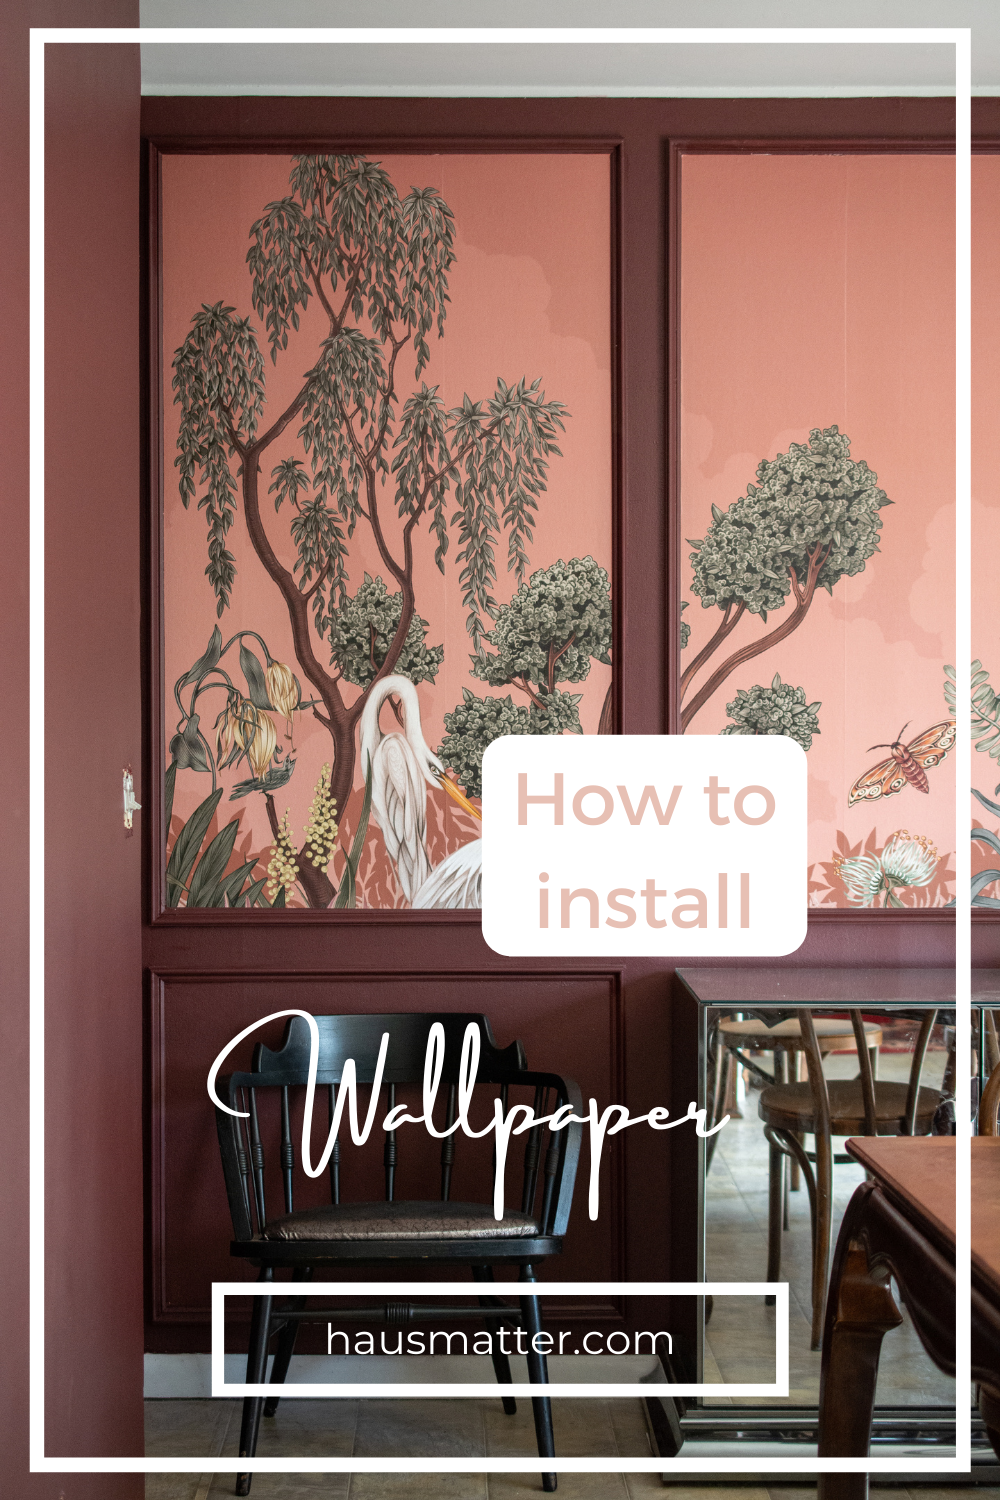
How to install wallpaper - HAUSMATTER INTERIORS One Room Challenge kitchen/diningWEEK 3

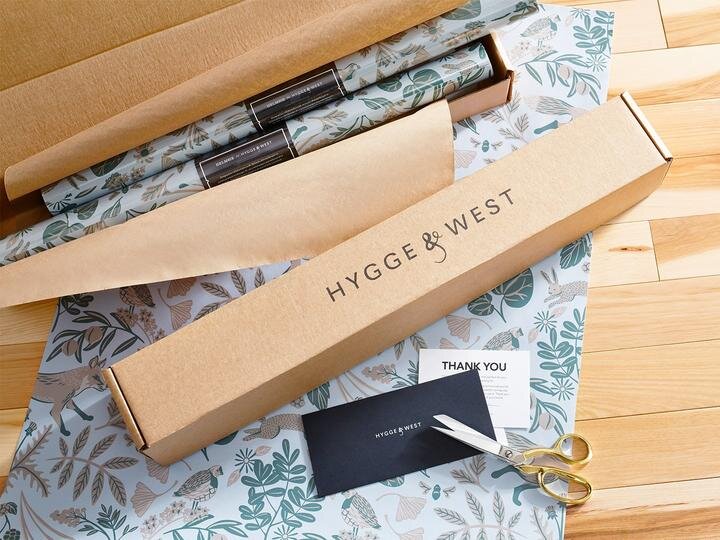
This week we installed this gorgeous mural wallpaper from Hygge and West.
how to install wallpaper
Installing wallpaper is a job a lot of people choose to hire out. And I’m not here to talk you out of that, but I wanted to share how simple this is to do yourself. In fact, of all the jobs we do ourselves, this is one of the ones we really don’t mind doing. If you are wallpapering a ceiling, or a small area with a lot of corners and windows, that’s another story (although we did that here and here). If you are just wallpapering across a wall straight, you can totally do this!
I’m going to share how to install a mural in picture moulding, but the process is very much the same for any wallpaper - mural or not. We have used traditional, peel and stick, and pre-pasted and pre-pasted is by far our favorite. It’s the most forgiving to work with in my opinion. Each paper is different, so make sure to check with the manufacturer’s installation instructions.
How to install pre-pasted wallpaper
If you are using a mural within moulding, it helps to have a sample, reduced to size. We ordered this from the manufacturer. This will help you get an idea of where the details in the mural will be oriented. We wanted to ensure we didn’t cut a heron’s head off for example LOL. So we used the sample to group into sections for our moulding. We ended up using a second mural to make it even wider.

Hygge and West mural wallpaper
2. Make sure you have a surface to roll the paper out onto. Something that’s plastic is better as you will be dealing with water here. You can certainly use your tub if it’s clean. We prefer a folding table like this one which we added to our dining table to get even more surface area.

how to install wallpaper
3. Next, measure your wall or moulding. Measure twice, so you can cut once ;) You are measuring the length and width. You want to mark the distance with a pencil on your wallpaper once you have it rolled out, leaving about an inch extra on top and bottom. Mark in three spots: left, middle, right. Then use a metal yardstick to match up those points, and draw your line for cutting. We used sharp scissors to cut across.

how to install wallpaper
4. Next you are going to use a paint roller with water to saturate the back of your wallpaper. This will activate wallpaper that already has an adhesive on it. If you have a traditional wallpaper, you will need to use wallpaper paste.

how to install wallpaper
You really want to soak the paper, making sure to get all the way to the edges. Don’t worry about water getting on the front of your paper. Alternatively, you can dip the paper into a tub or clean water.

how to install wallpaper
5. Next, fold the top to the middle of your panel. This lets the flavors mingle and activates the glue.

how to install prepasted wallpaper
Bring the other side to meet it. Smooth everything down to ensure the water has reached all the edges.

installing hygge and west wallpaper
6. Next use a damp cloth to wipe down the top of the paper. You basically want to wet the entire thing. Not soak, but damp. Leave this for a few minutes.

installing pre-pasted wallpaper
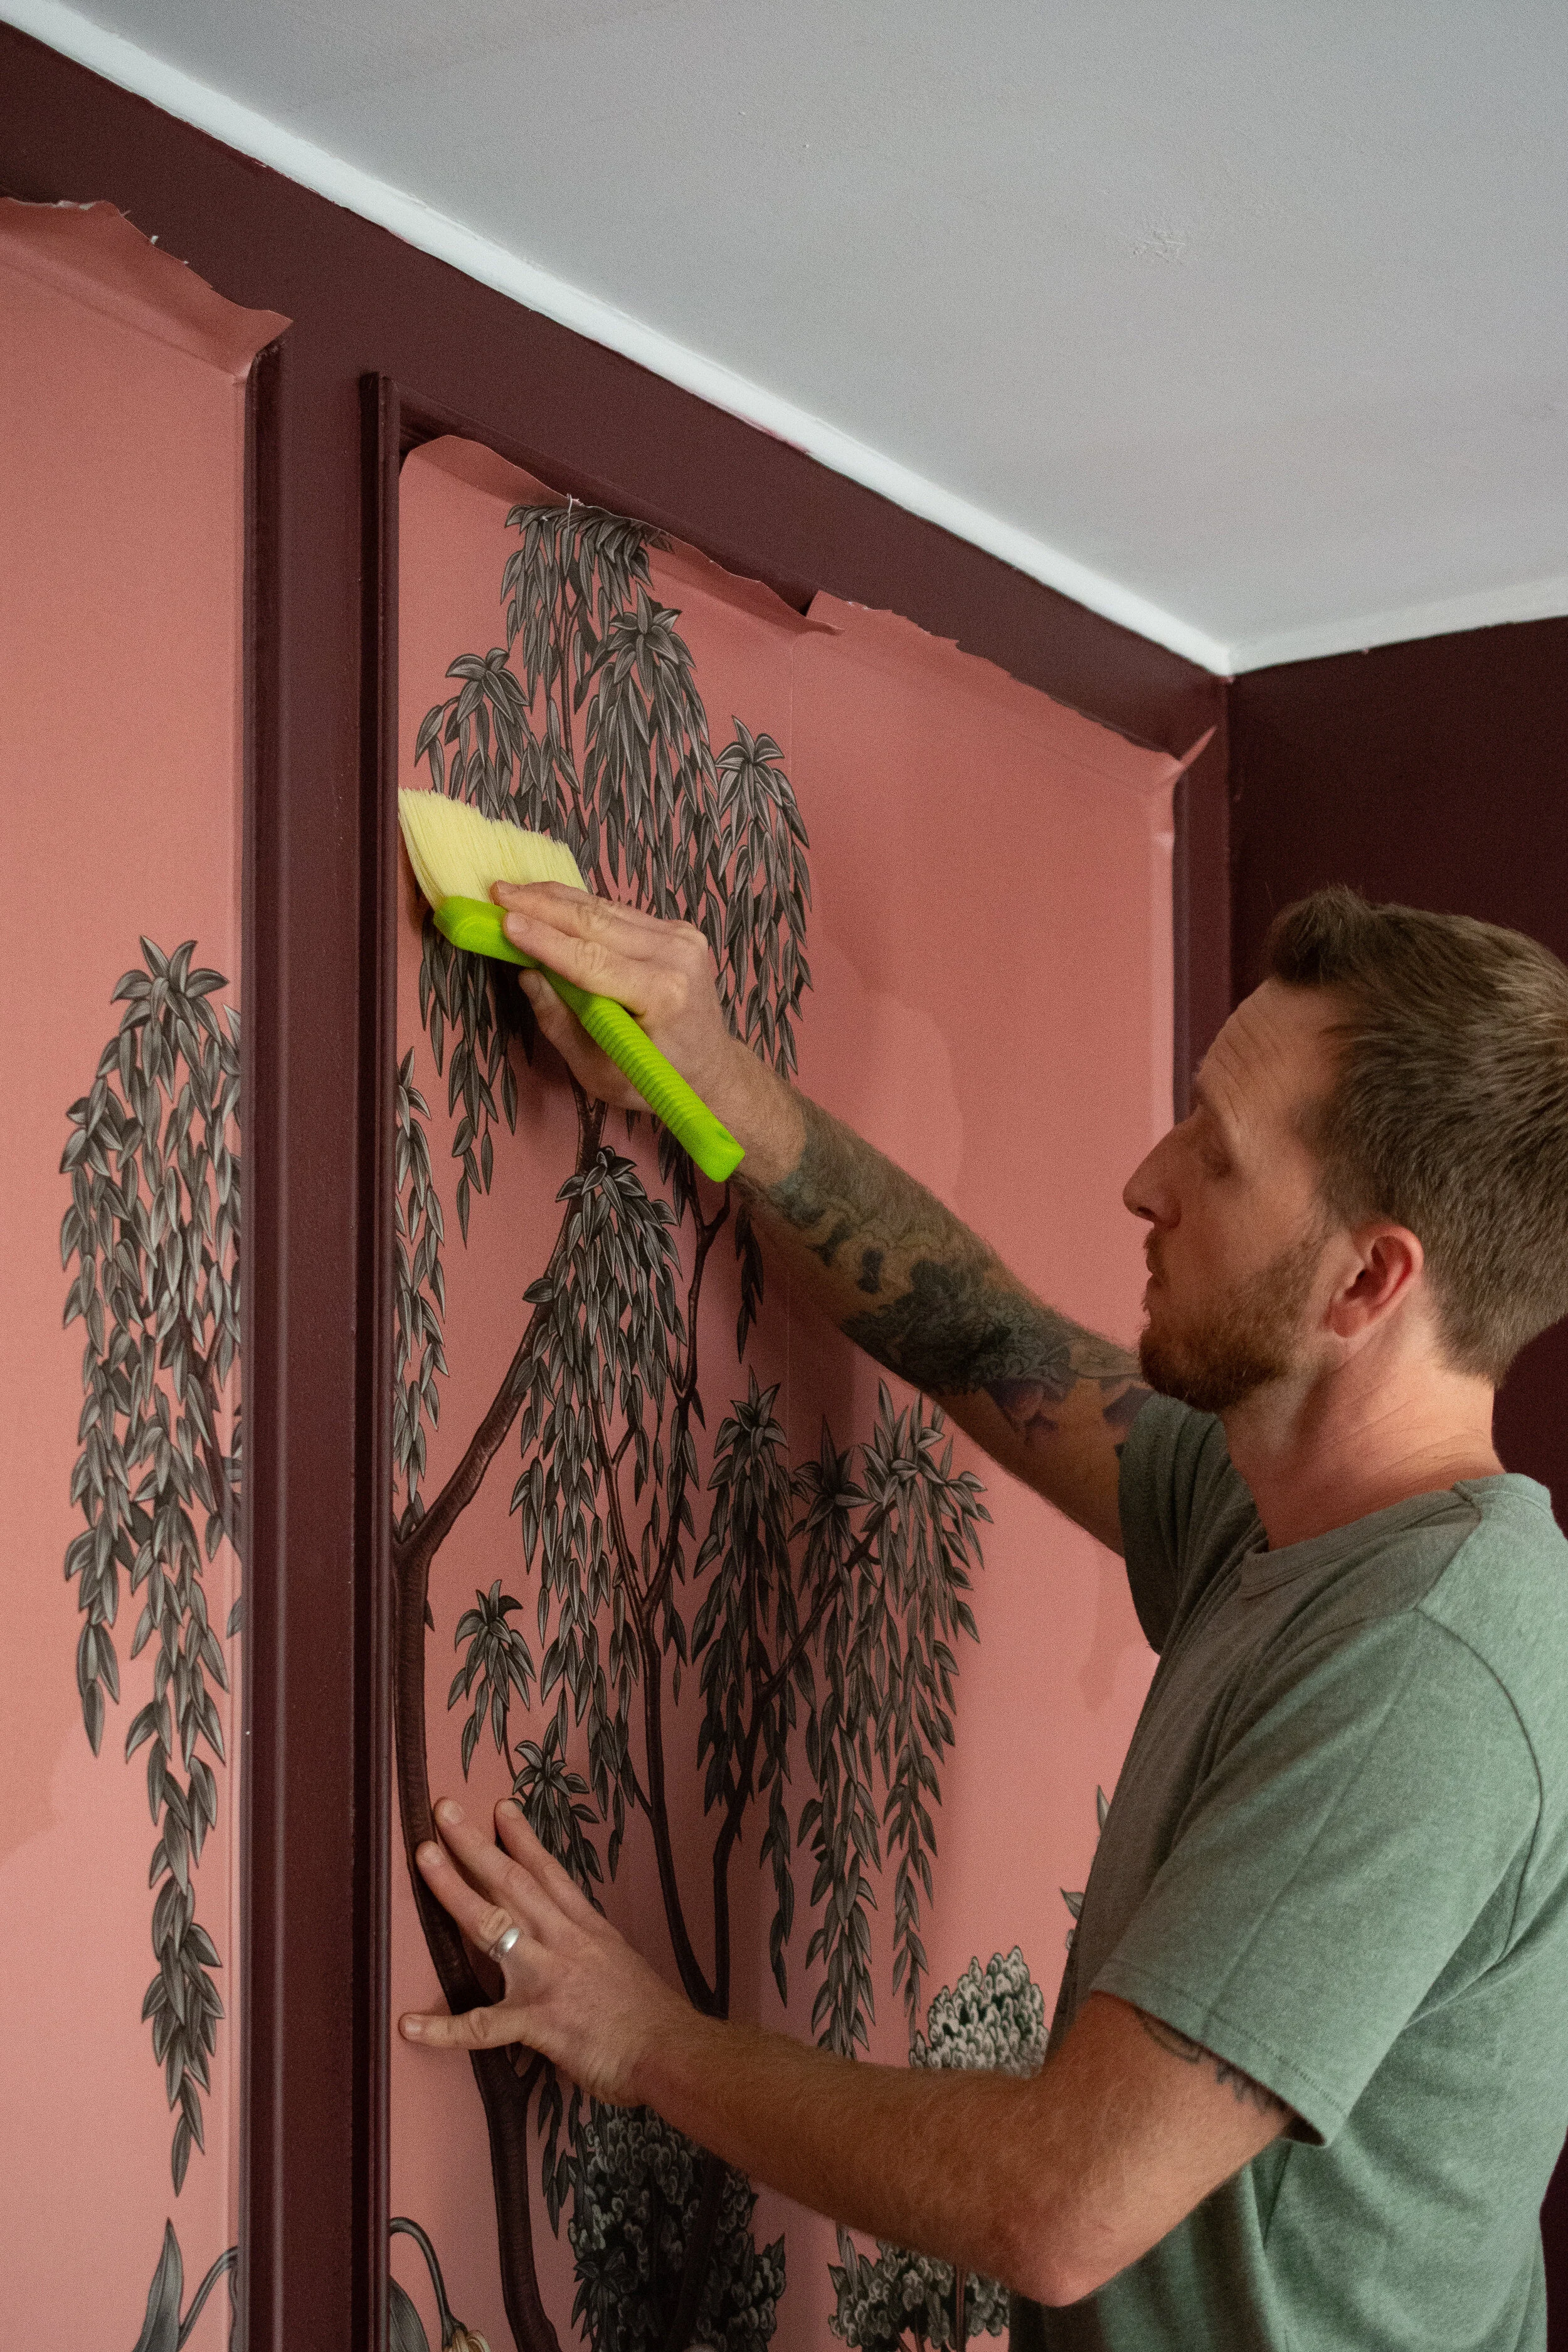
7. Begin installing it on the wall leaving your inch of excess on the top and bottom.
This part takes some time. Don’t stress too much here. If you make a mistake, you have some time to pull it off and reposition. As it dries, it contracts just a bit, so make sure you don’t have any wall exposed at the seams. You don’t need to overlap them, just try to get them as close together as possible. Also, don’t worry about the little bubbles you aren’t able to smooth out. They will disappear as the wallpaper dries.

installing a mural from hygge and west
A wallpaper brush will help you smooth out the wrinkles without damaging the surface.
installing a mural wallpaper from hygge and west
This squeegee tool will get the paper to crease into the moulding or ceiling edge so you can cut the excess away later.

how to install wallpaper at home
8. You can then use an exacto knife or box cutter to trim the extra inch of wallpaper you included away. And you are done!
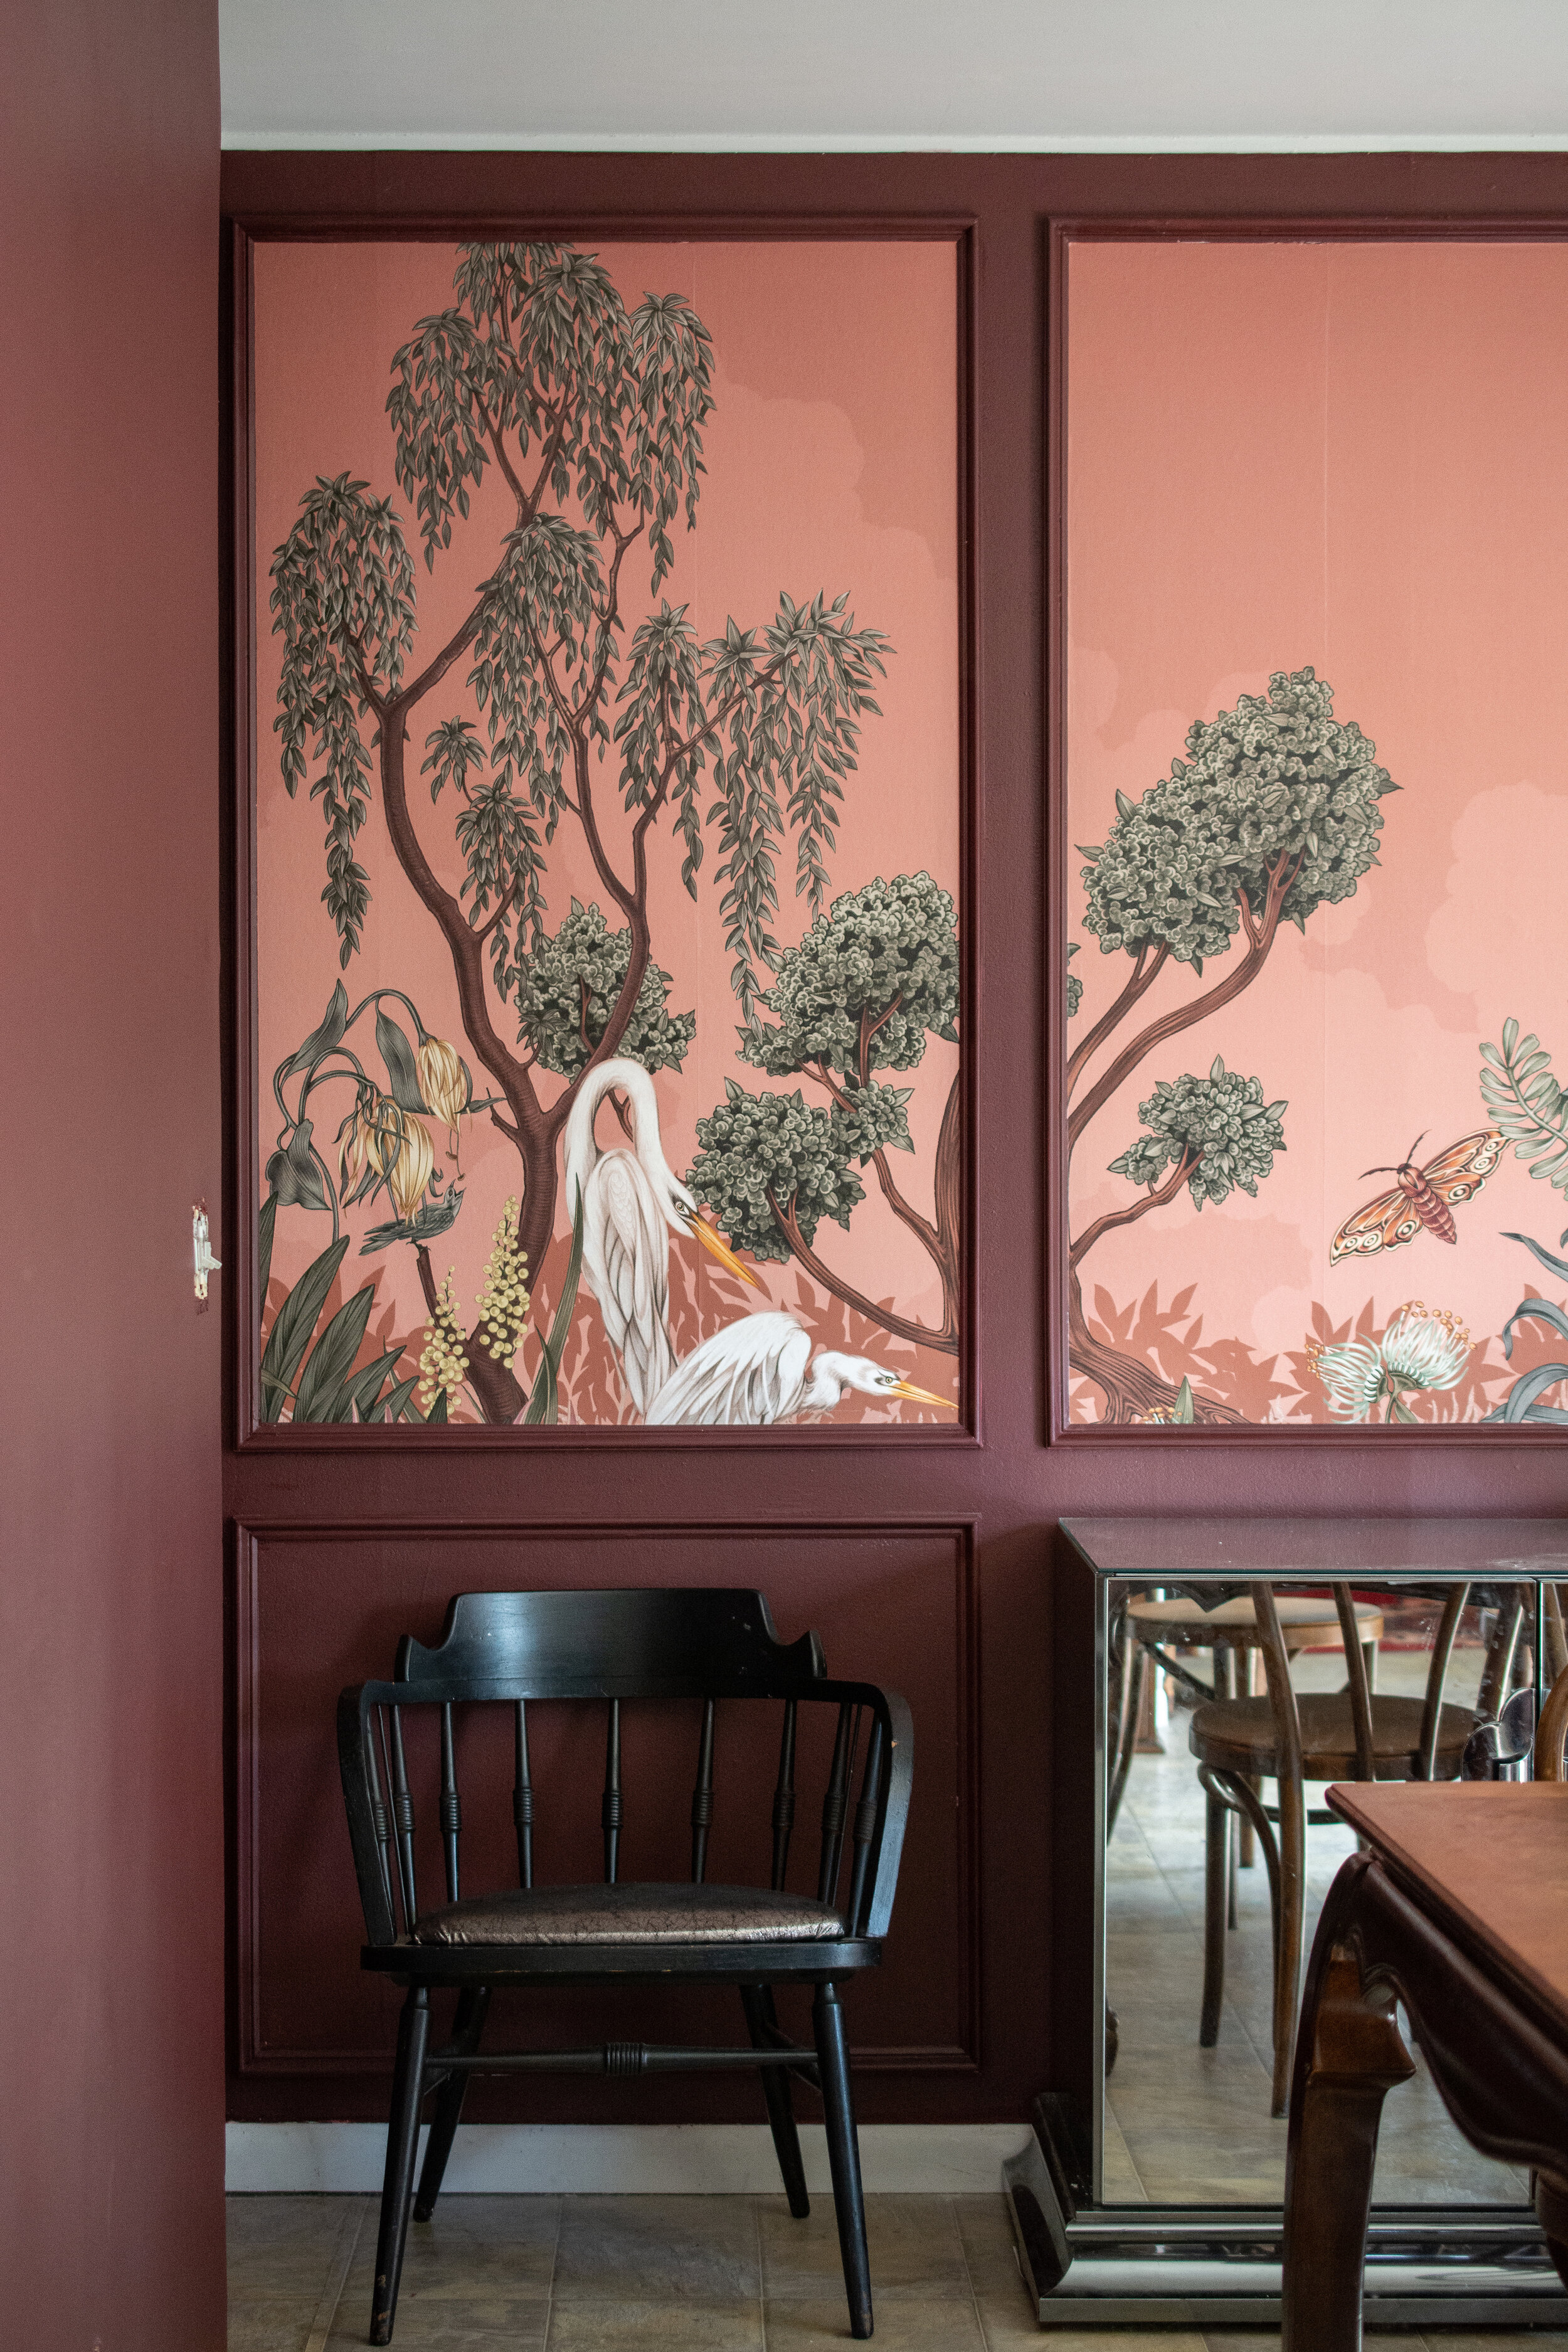
Now on to some other updates for the room….
This chandelier has been sitting on our dining table and I’m so anxious to get it installed!

The lucite bounces light around like a crystal, but I think it feels just a little more modern than a traditional crystal chandelier. Maybe less fussy? I don’t know, but I think they are cool. That said, I think they can look dated and cheap in the wrong context, so I really just need to see this up before I decide it can stay. Fingers crossed, as I don’t have a back up plan here!
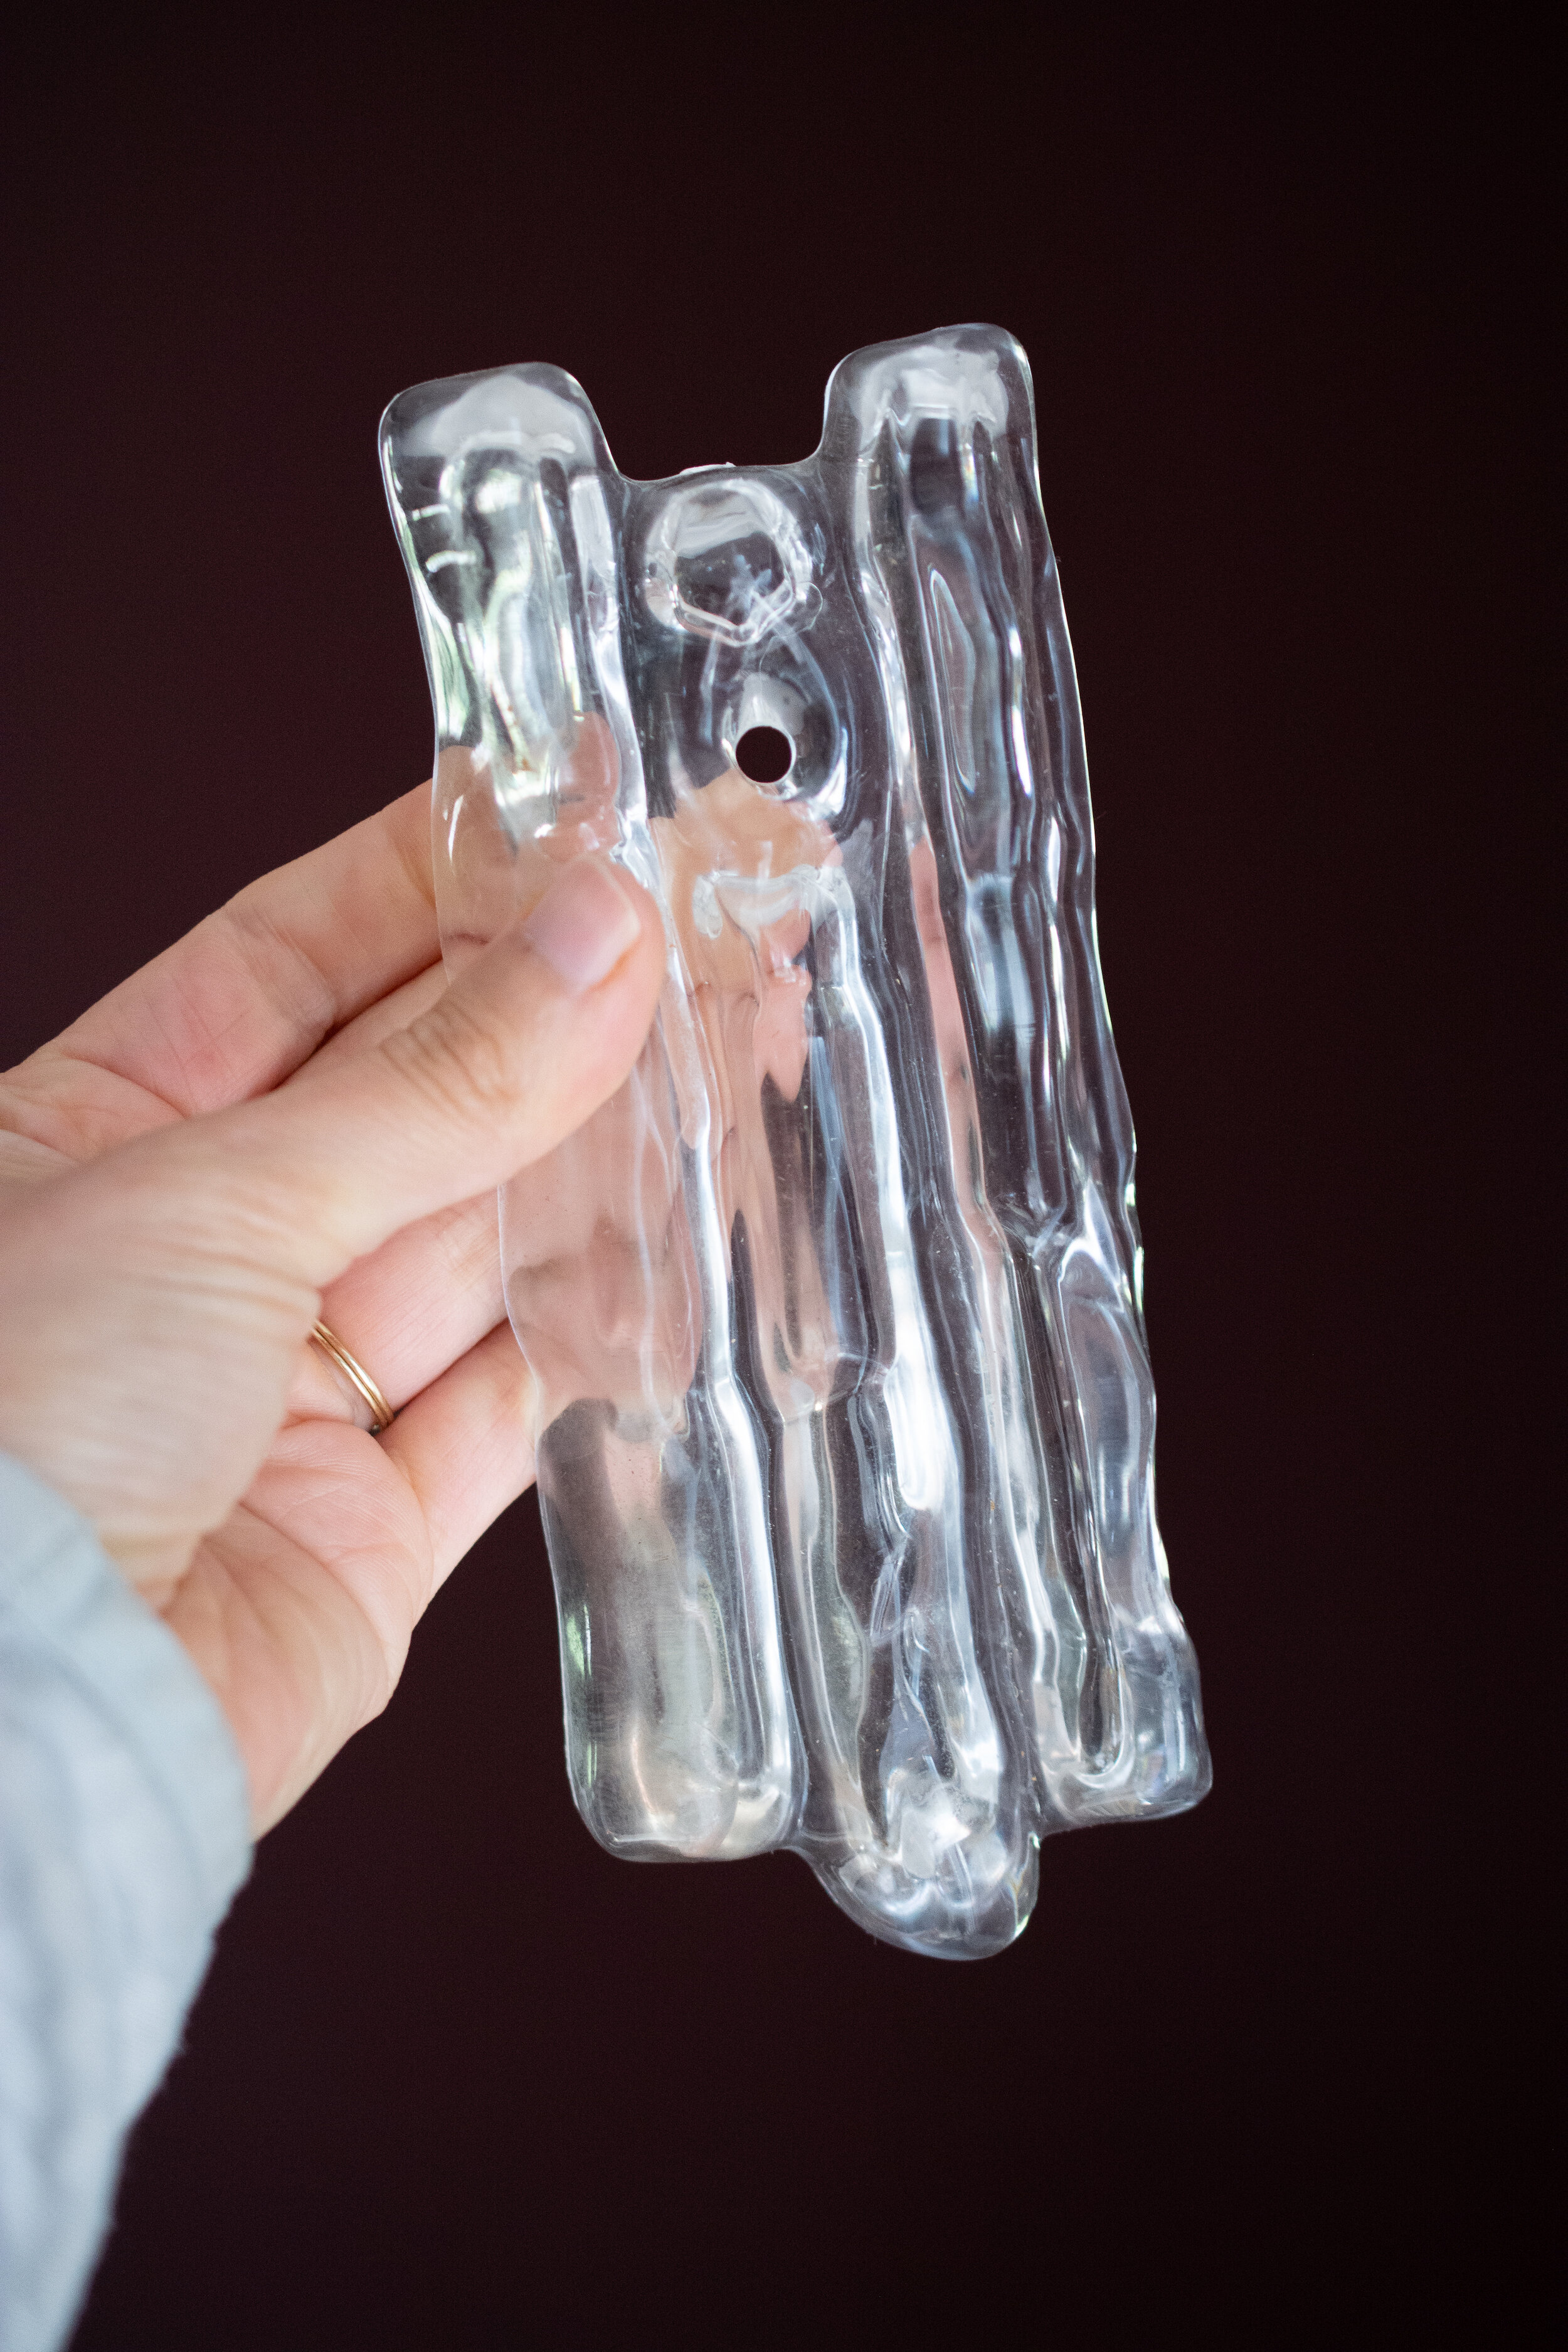
lucite chandelier
I also began removing the doors on my cabinets and was reminded why I don’t have open shelves. There is just no way to make THIS cute. LOL. Very much looking forward to getting these doors back on, because frankly, it’s depressing to look at. I still need to get organized…I know. Anyone want to Marie Kondo this for me? Anyone? Anyone?

A digital mood-board is great, but I always make material mood-boards for my clients as well just to ensure things are feeling good. This room feels bold and risky, so it’s nice to be reminded that the nuts and bolts of the design are harmonious together.

Hausmatter Interiors Mood-board
Left to do:
remove popcorn ceiling
paint walls
install mural
install dining chandelier
paint floor
order table and have plastic cut to protect the top
order chairs or repaint old chairs
order drapes and install
finalize dining room art selection
source styling accessories
check with landlord on countertop replacement
paint cabinets (a few need sanded)
fill in old hardware holes
paint new cabinet hardware
make art selections for kitchen
install tile
install kitchen wall sconces
figure out a way to hang the heavy mirror
create art box for range exhaust
customize the shelving unit and place order ASAP
Paint fridge
Order rug and accessories for styling
install art
convert sconce to plug-in for dining room
install new countertop
install new sink and faucet
install wall shelves
Please take a moment to visit my sponsors