How to recover a lamp shade - SPRING 2021 ONE ROOM CHALLENGE WEEK 7
It’s week 7 of the One Room Challenge and that means we are one week away from the FINAL REVEAL!


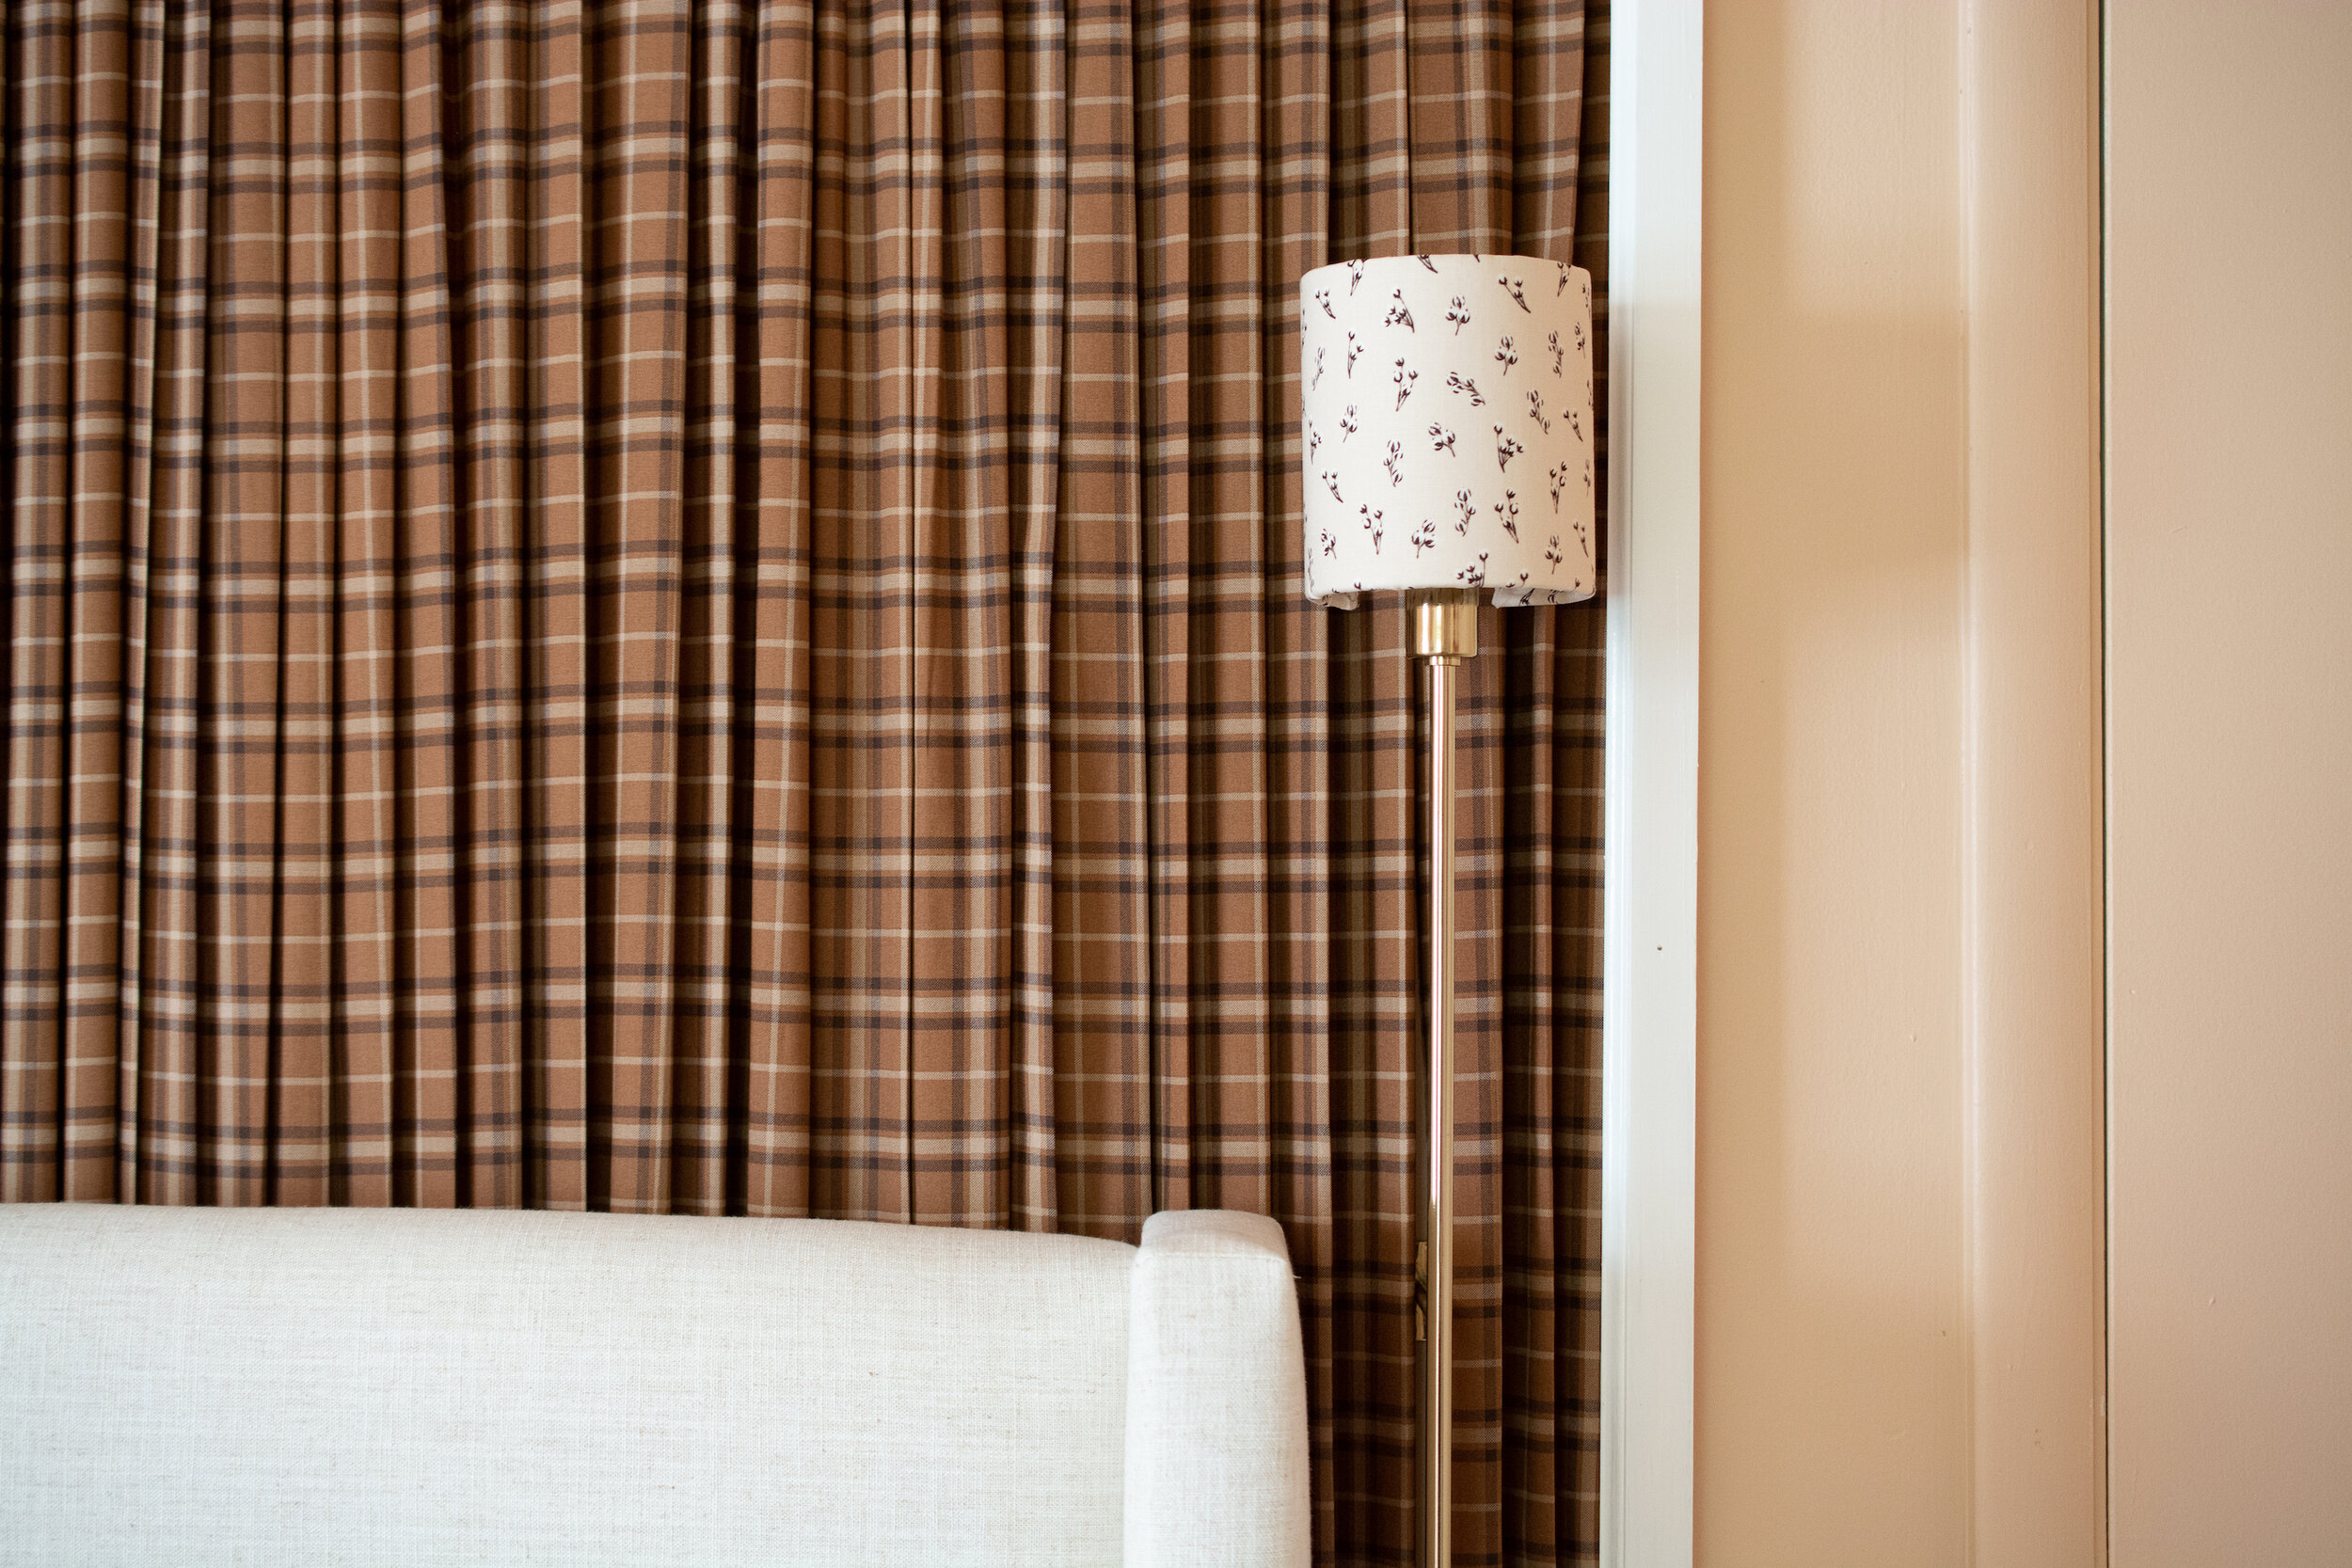
How precious is this print!? And this really was an easy DIY and mostly uses items you already have around the house. I experimented with a couple of glues and found the best way to tackle this project like a pro. I will most definitely be looking around my house for other shades to recover in the future.
Got an old lamp that needs a refresh? This could really do wonders to update a lamp or sconce. Let’s get started!

How to recover a lamp shade with new fabric
Materials
Select a thin fabric for your project if you are covering existing fabric or styrene sheet. I used quilting fabric and it worked perfectly. You need enough for it to extend 1/4” on each end. I got this fabric from Hobby Lobby and only needed to purchase 1/4 of a yard so it was about $2 and some change to totally cover these!
Fabric sheers or sharp kitchen Scissors
Grandmother Stovers stikflat glue. I found this in the dollhouse section at Hobby Lobby
Spray glue (optional)
Small clothes pins. You’ll need a lot, depending on the size of your shade.
Iron
Pencil
Lint Roller
level or ruler
Popsicle stick
Total cost ended up being around $10.

Iron, we meet again. In case you missed it, I got more than my fair share of ironing during week 5, but my iron needed to make out with fabric once again in order to get this right. You really don’t want any wrinkles or creases, so take your time here.

2. If your shades are not new, go over them with a lint roller to remove any dust. Don’t forget to go over the rims as well.

3. Lay your shade on the underside of the fabric and make a mark with your pencil about 1/4” out from the edge. You want to have enough to tuck around the rims but no more. You will then roll your shade up with the fabric until the shade it completely covered. This will give you an idea of how much fabric you will need to cut in order to cover it. Use a level or ruler to make sure your lines are straight.

4. Once you have your template marked, you can begin cutting. Try to cut as evenly as possible. Once the light is turned on, you will be able to see any un-evenness or extra fabric so take your time.

5. Now you are ready to start gluing. I originally sprayed the first shade with spray adhesive, but didn’t use it on the next one. If you are recovering styrene sheet (which is smooth plastic), this would help give the surface some grit, but if you are going over existing fabric (like the linen here), you really don’t need to use it.

I landed on this product which I am really just loving more and more each time I use it. It’s something I’ve used for wallpaper in the dollhouse and it just seems to be so user-friendly for other projects as well. It is a sticky, puddy-like glue that takes awhile to dry so it gives you some flexibility while you are working. It’s very malleable and helps everything lay flat and smooth.

Go over the rims and edges with the glue using a popsicle stick making sure to get a thin, even coat. My shades are for a sconce so they have an opening in the back, but for a typical shade, you should only have to do the top and bottom. Do NOT add any glue to the sides of the shades as it will show once the light is on - you really only need it on top and bottom.

6. Fold the fabric over the rim, add a clip and keep working around the shade until you reach the other side. Make sure everything is smooth and there are no bumps.

After an hour, start to remove the clips. You don’t want the glue to fully dry with them on as they leave little indentions. Plus, your clips could stick to the shade! At this point, your glue should be dry enough for everything to stay held down.
Smooth out any wrinkles or bumps and press all the seams down.

Depending on the fitting, you may need to make a little snip around the wires if they are near the top to fold the fabric on either side.

If you have a shade like mine, make a little envelope fold on the corners with a dab of extra glue under the flap.

7. Use your fingernail to tuck the fabric inside the form on the interior. If you don’t have enough fabric in areas to do this, don’t worry. Just do the best you can. If you have a shade that is fully round, you will need to fold the edge of your fabric to make a hem down one side. This won’t be seen if you position the hem towards the wall.

And there you have it! If you are making a pair like I did, the second will go so much faster.
Also, one other thing to note: my shades did not have trim on top and bottom. If yours do, you should be able to still do it this way if it’s not too thick. You can cover it with coordinating ribbon once you’re done if you like.
To make a lamp shade from scratch, see my post here.
After repainting the trim, I installed the roman shades I designed and had custom-made. They fit perfectly!

This week I will be finalizing the styling for the room which includes a mix of new and old accessories. This seems trivial since it’s the last task on the list, but it’s really the most important. Since styling is what translates the story you are trying to tell as a designer, it can really make or break the entire design. So, I’ve laid them all out as I normally do, and will be going through the process of editing and tweaking their placement. There really isn’t a lot of room for extra fluff in here so I don’t want to overcrowd the space with clutter!
Just to recap week 1, the theme for this room is Edwardian Modern Farmhouse, inspired by Mary Poppins and the doc-series Edwardian Farm

And now for the decision that caused me to frantically make 7 total trips to various stores and locations for the correct color and size….the throw blanket. LOL who does that? It’s always the decisions that have two good answers that torture me. For the love of pete, HOW CAN I MAKE THIS DECISION? 🤣
I have it narrowed down to these two. Either way, can’t go wrong with a cozy, faux fur!

I’m so proud of this room and can’t wait to share the finished product with you all next week!
In the meantime, please follow along on my social media channels to see more of my progress: